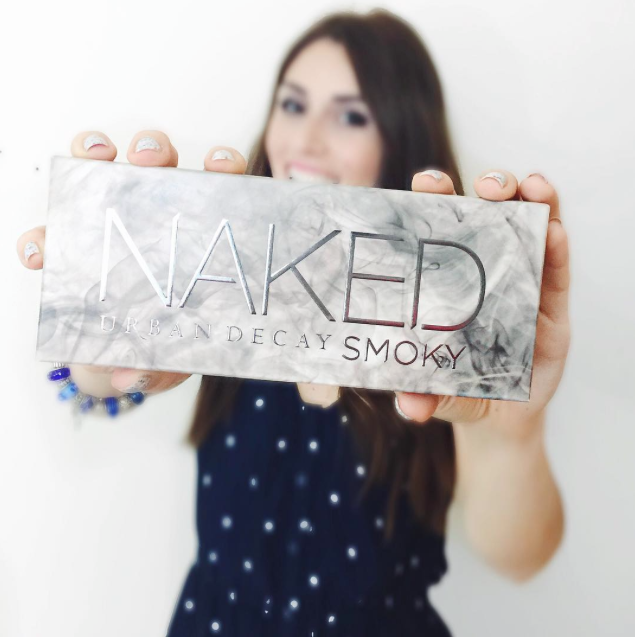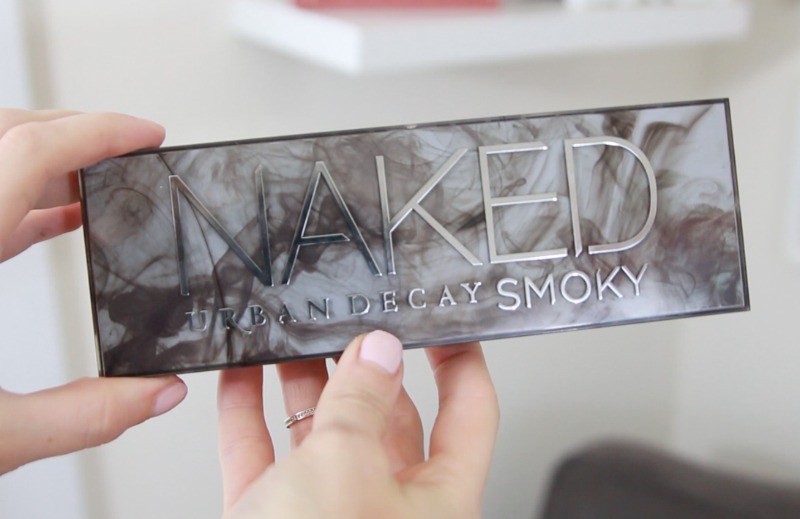
Hi all! Today I am excited to share with you my classic smoky eye tutorial, featuring the newest addition to the Urban Decay family, the Urban Decay Naked Smoky.
If you’re one that keeps up on these types of things, you may know that Urban Decay has three Naked palettes that preceded this one, conveniently named Naked, Naked 2, and Naked 3 (there has also been some cousins to this family: the Naked Basics and the Naked Basics 2, along with the Naked On-The-Run). This newest addition, the Naked Smoky.
Let’s take a closer look!
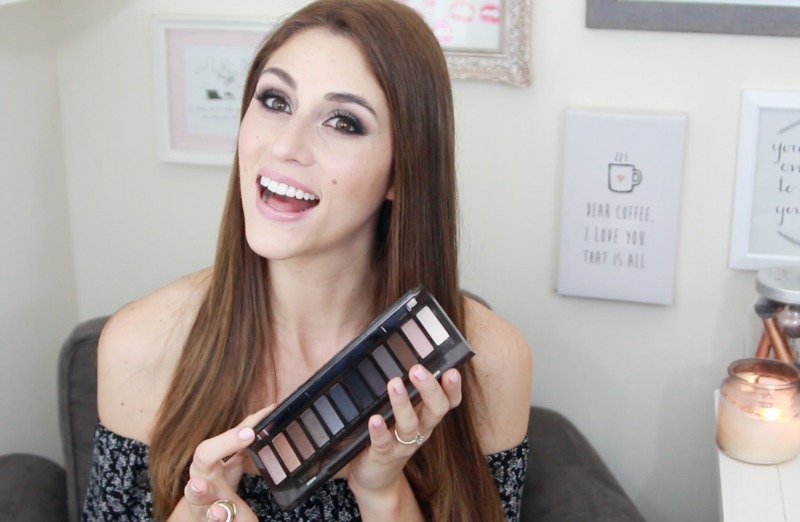
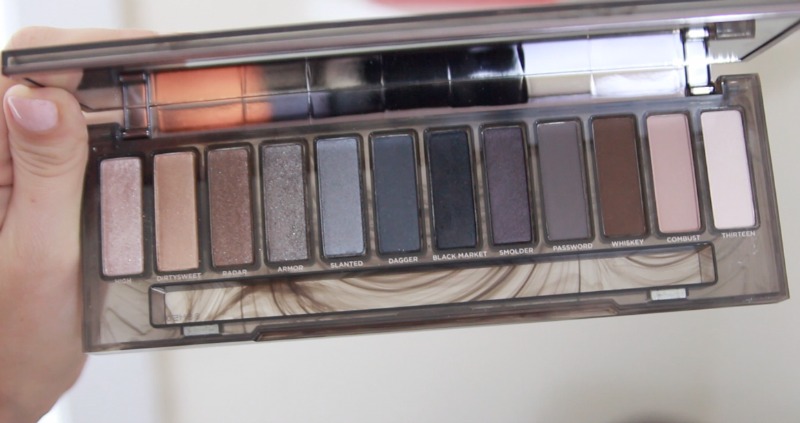
The palette features 12 shades in a mix of matte and shimmer and, unlike the Nakeds before it, it doesn’t stick to a color tone but instead was made to meet the needs of any smoky eyed desire. Its quality is right on par with the other Naked palettes, meaning it has awesome formulation, great wear, and to-die-for blendabilty. Long story short, this is another winner from the Urban Decay family. And, personally, it might be my favorite Naked palette yet because it’s so versatile. (GASP! Did she just say that?! That’s right, friends, I did.)
The new Naked Smoky is available for purchase starting July 8th.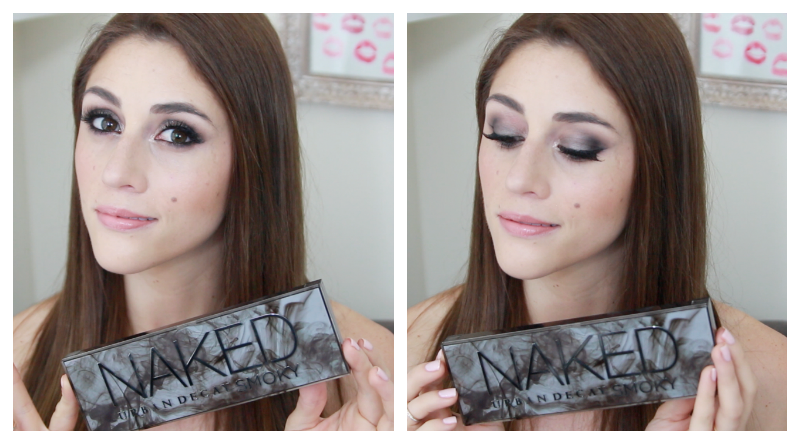
Now, since it’s called the Naked Smoky, it only seemed fitting that I use it to show you how I get a classic smoky eyed look.
The key to a good smoky eye is to blend up the colors from lighter to dark, and to take your time slowly adding color, blending out, and adding more color, and blending out. The smoky eye is actually not all that hard to achieve, it just takes some patience.
Here’s how I create a classic smoky eye using Urban Decay’s new Naked Smoky. Skip to about 1:40 in the video to see the tutorial, or check it out in picture/text version below!
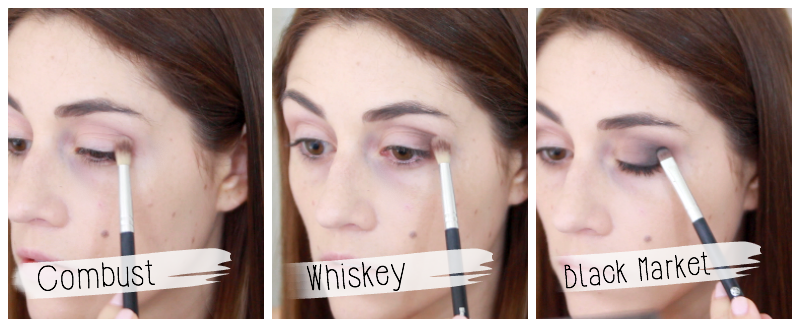
Starting with primed eyelids, dust “Thirteen” onto the brow bone.
Going in with “Combust”, blend this into the crease as a transition shade. Also blend a little along the bottom lash line.
Next pack “Whiskey” into the outer corner, and blend out. Again, blend a little along the bottom lash line.
Taking Black Market on a smaller brush, push this into your outer corner and along the lash line and blend. I do this a few times to increase the intensity of the color and achieve the super smoky look I want. Once again, push a little of this into the bottom lash line.
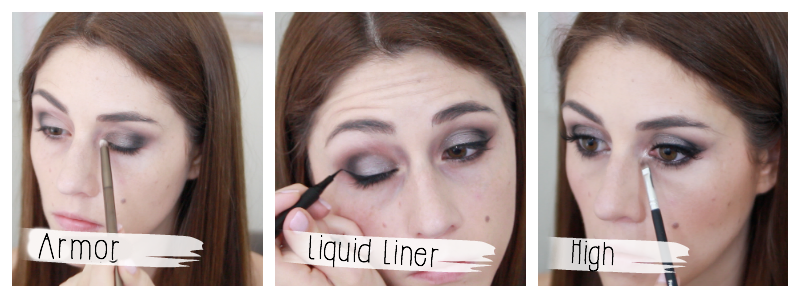
Lastly, use “Armor” to fill in the center of the lid down to the inner corner. Blend this very lightly into Black Market.
For liner, I use a pencil liner on my waterline and tightline. Then, with a liquid liner, I do a small winged line. At this point pop on any false lashes of your choosing (not required, but I think a bold look like a smoky eye always look best with a little extra lash), and finish your concealing/contouring/blush on the face.
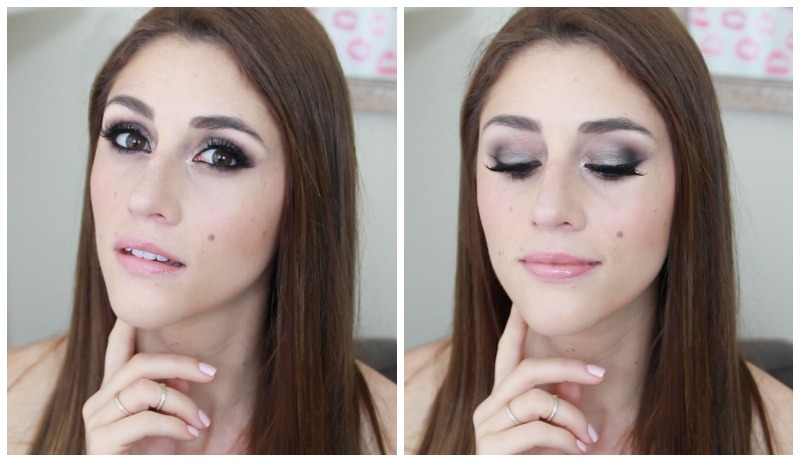
To finish, I’m taking “High” just into my inner corner for a highlight. And that’s it!
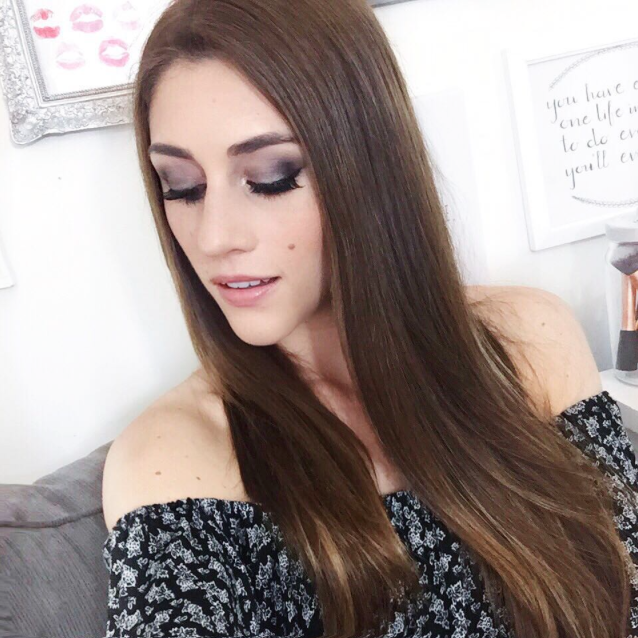
This same method can be used with many different colors combinations, the idea is just to follow that building up of shades, and to focus most the shimmer shades towards the middle and inner corner of the eye and the mattes in the crease.
This is a sponsored post for Urban Decay through Condé Nast. All thoughts and opinions are my own.


