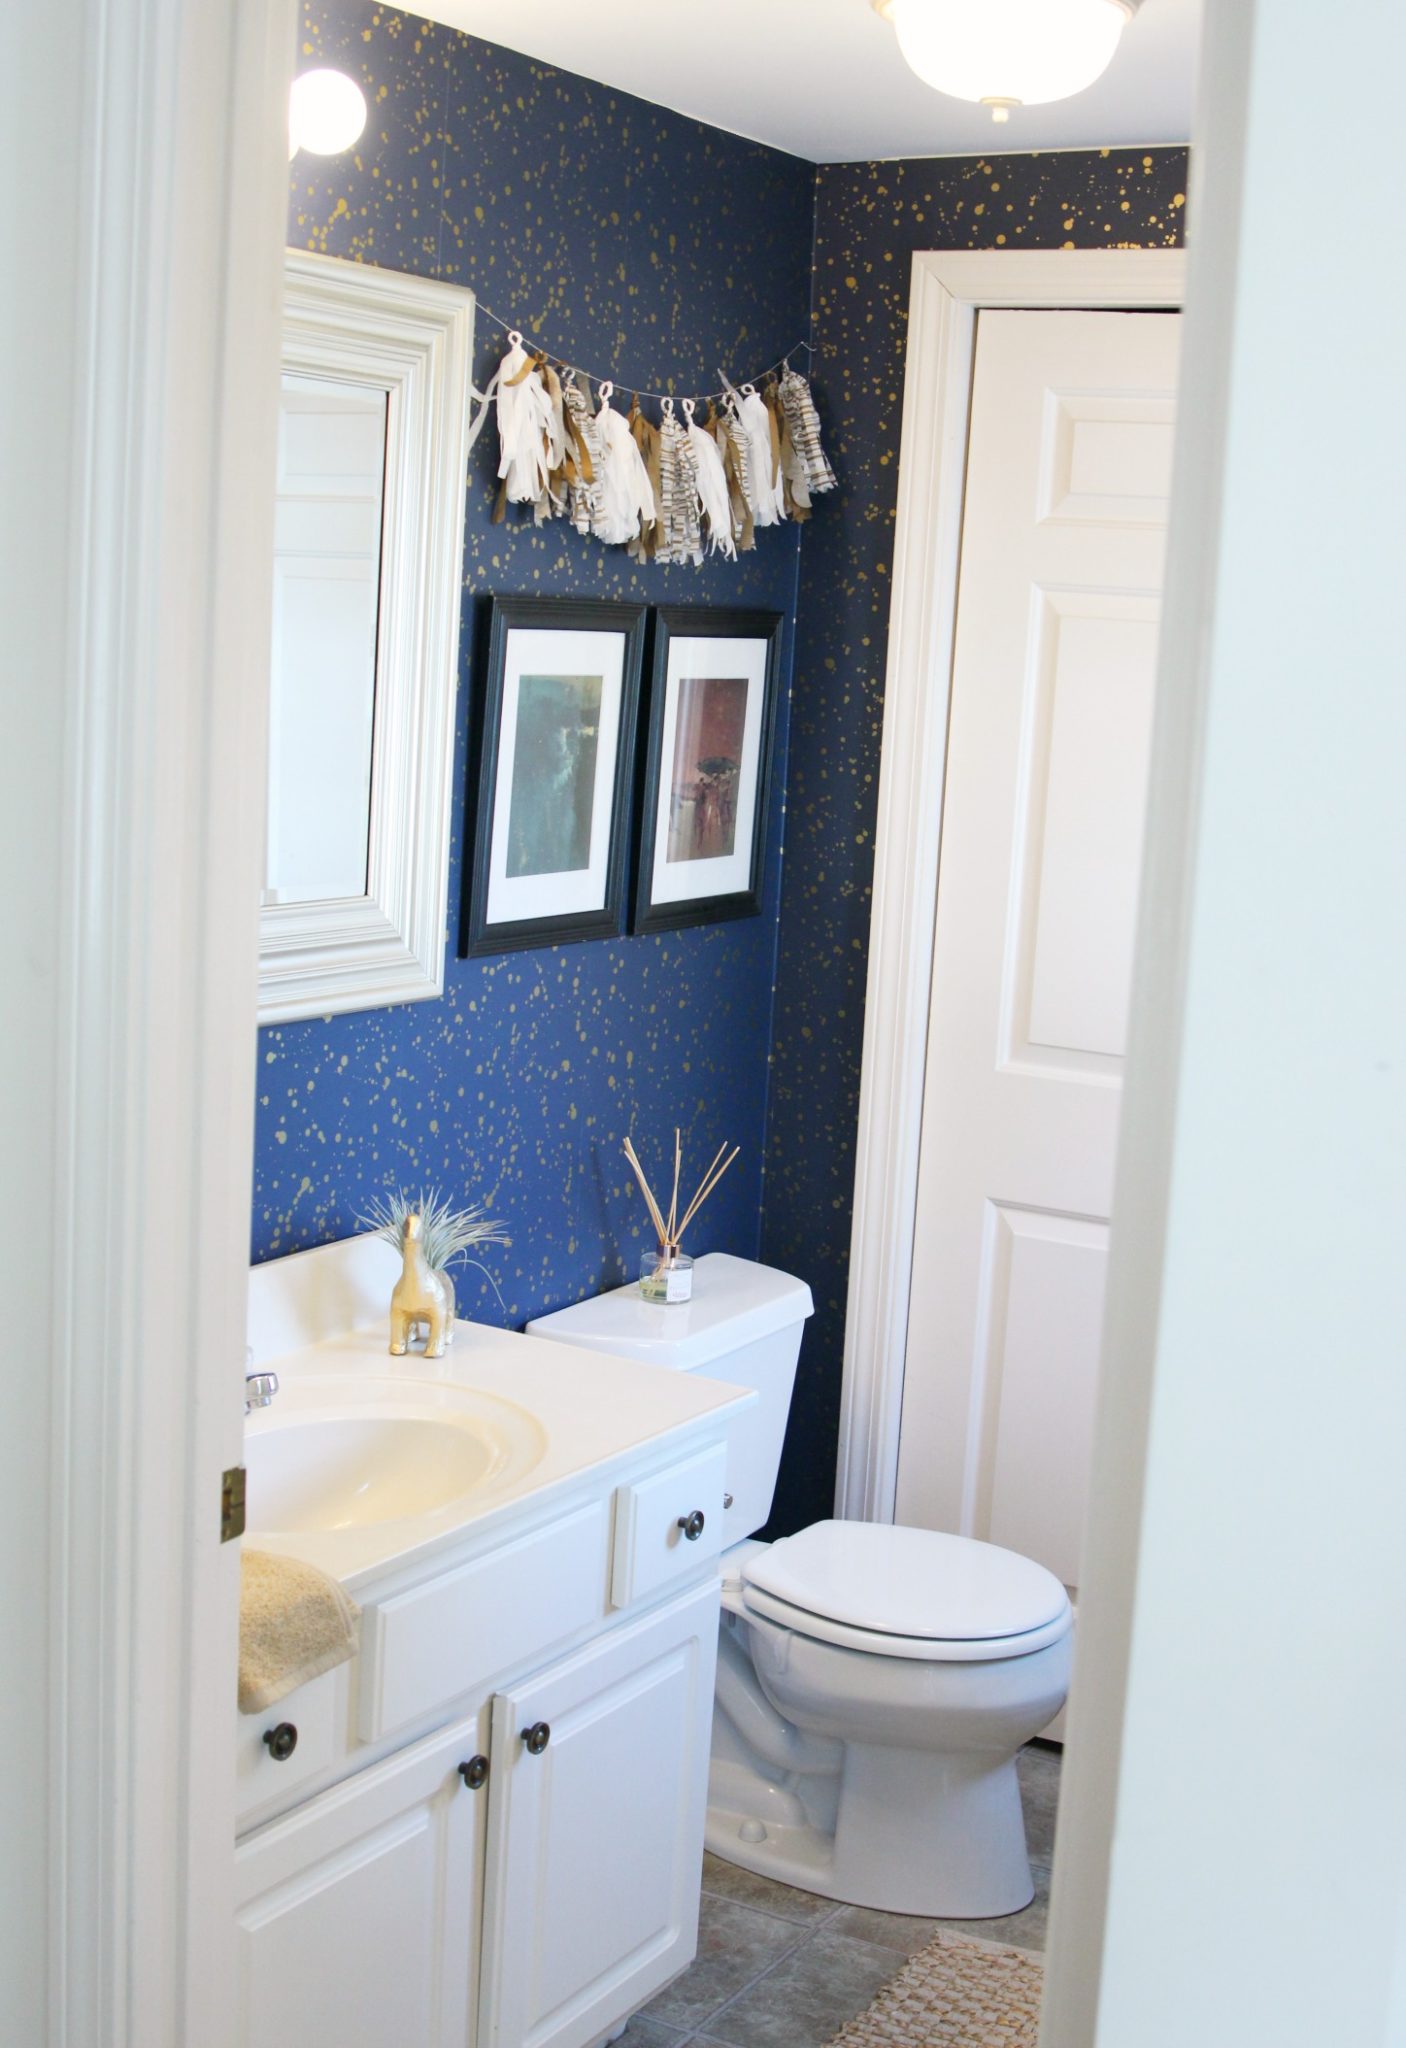
Happy Monday friends! I’m really excited to share the first completed room makeover in our new house. Now, we don’t own the house we live in. We’re still renters. Being a renter has its pros and its cons. One of the tricky things about renting is finding ways to decorate your space inside the confines of the rental space.
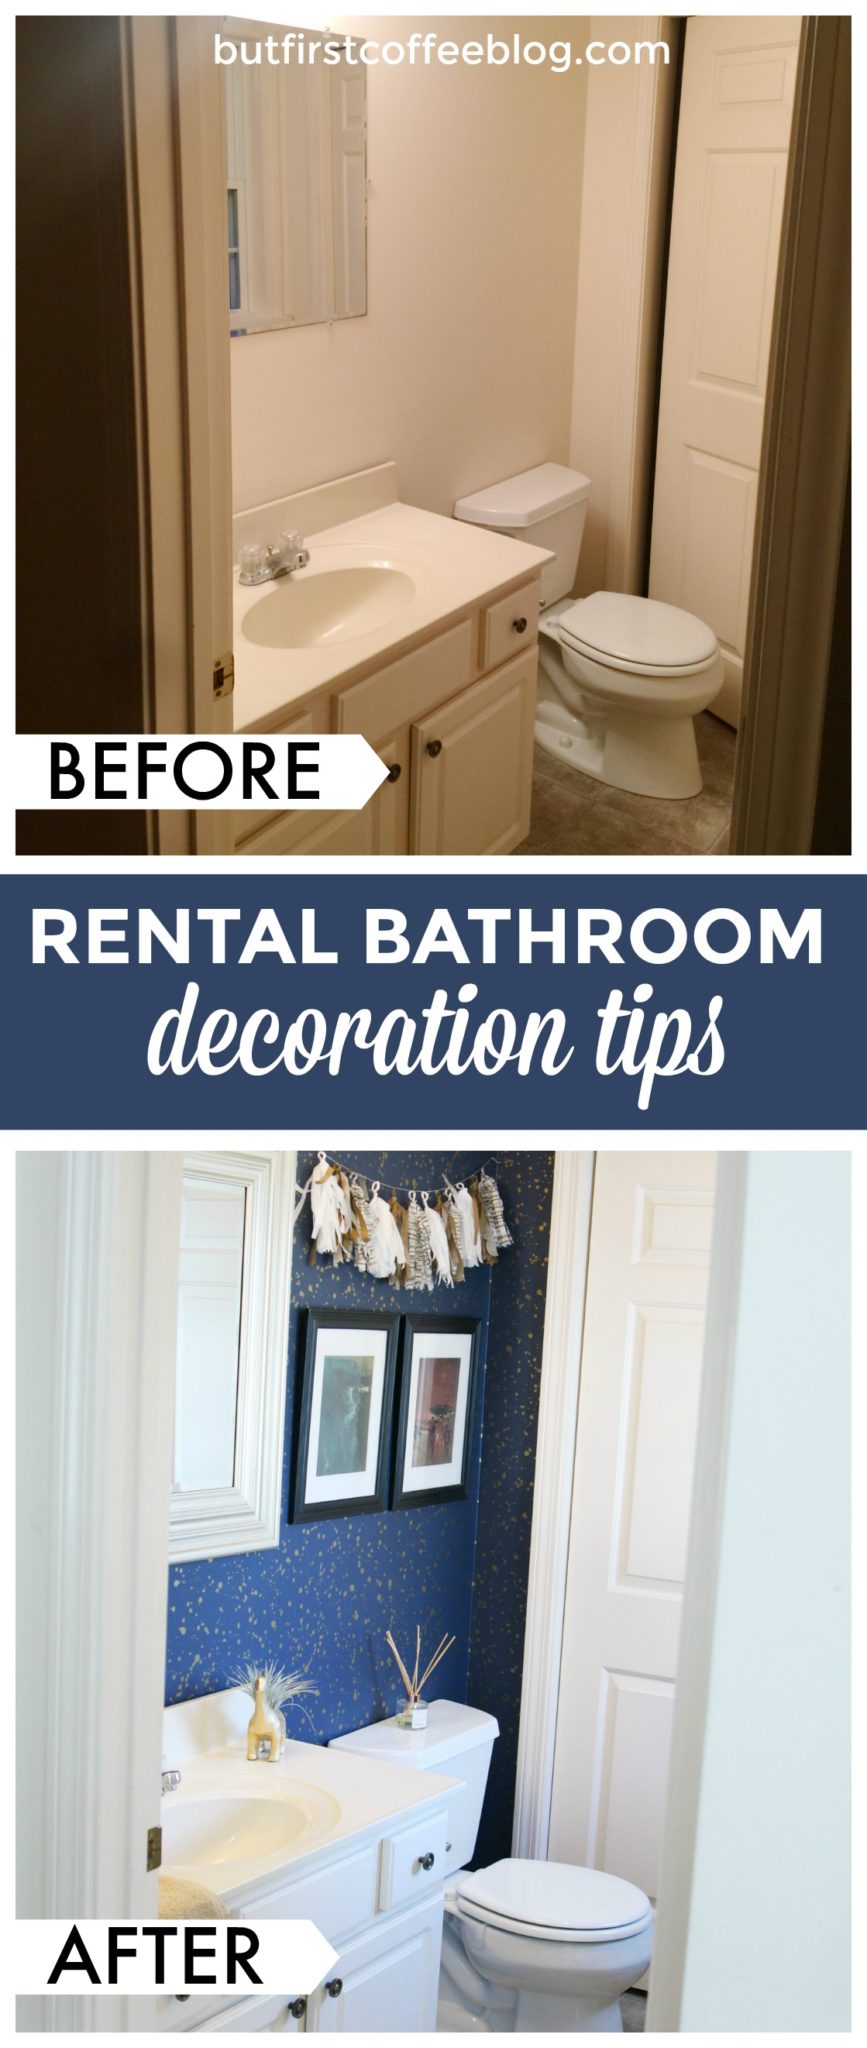
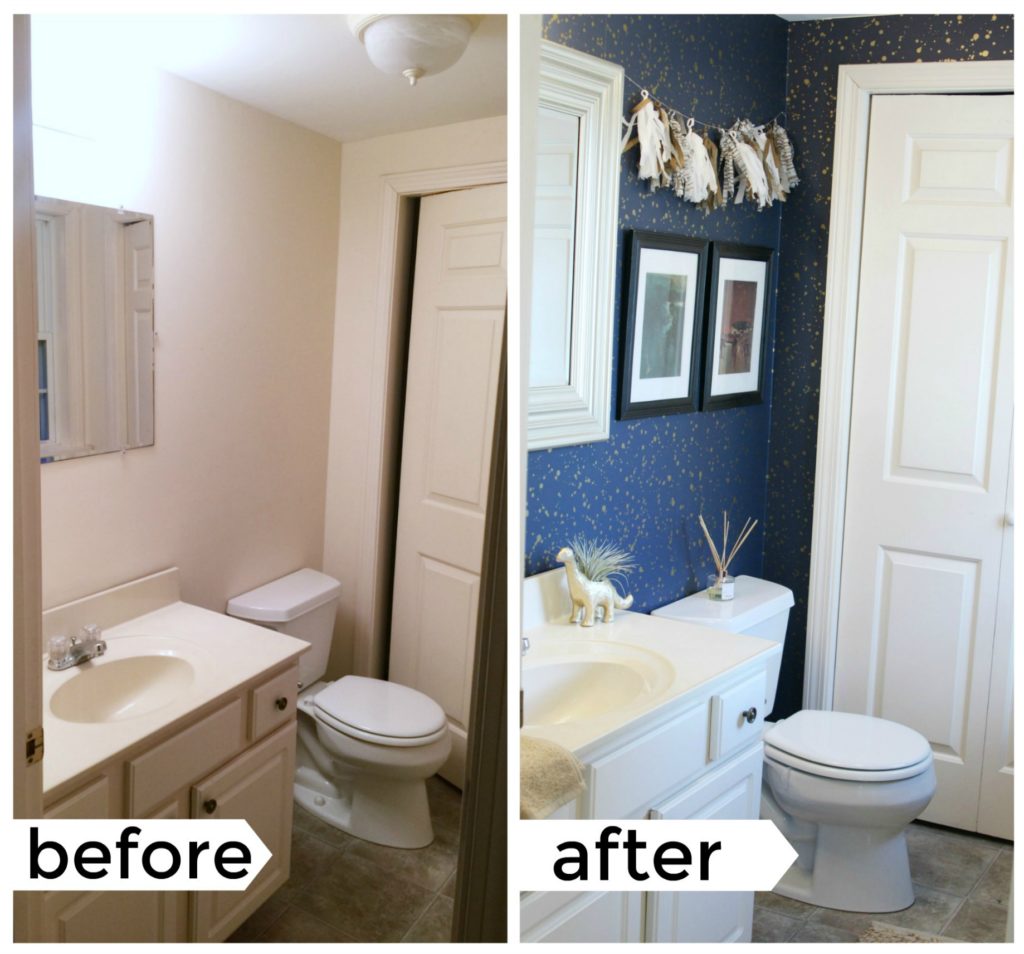
Rental bathrooms usually have a lot to contend with. You’re almost always dealing with mismatched features, outdated fixtures, and tacky mirrors. Today I’m going to share how I redid our downstairs guest bathroom in our rental space -giving you tips for your rental space (or forever home) along the way!

Rental Bathroom Decor – What I Did
The key to redoing a rental bathroom is to work around what you have. You likely can’t change out the ugly light fixtures or outdated faucets, so you want to bring in personality and color that detracts away from those things.
Walls
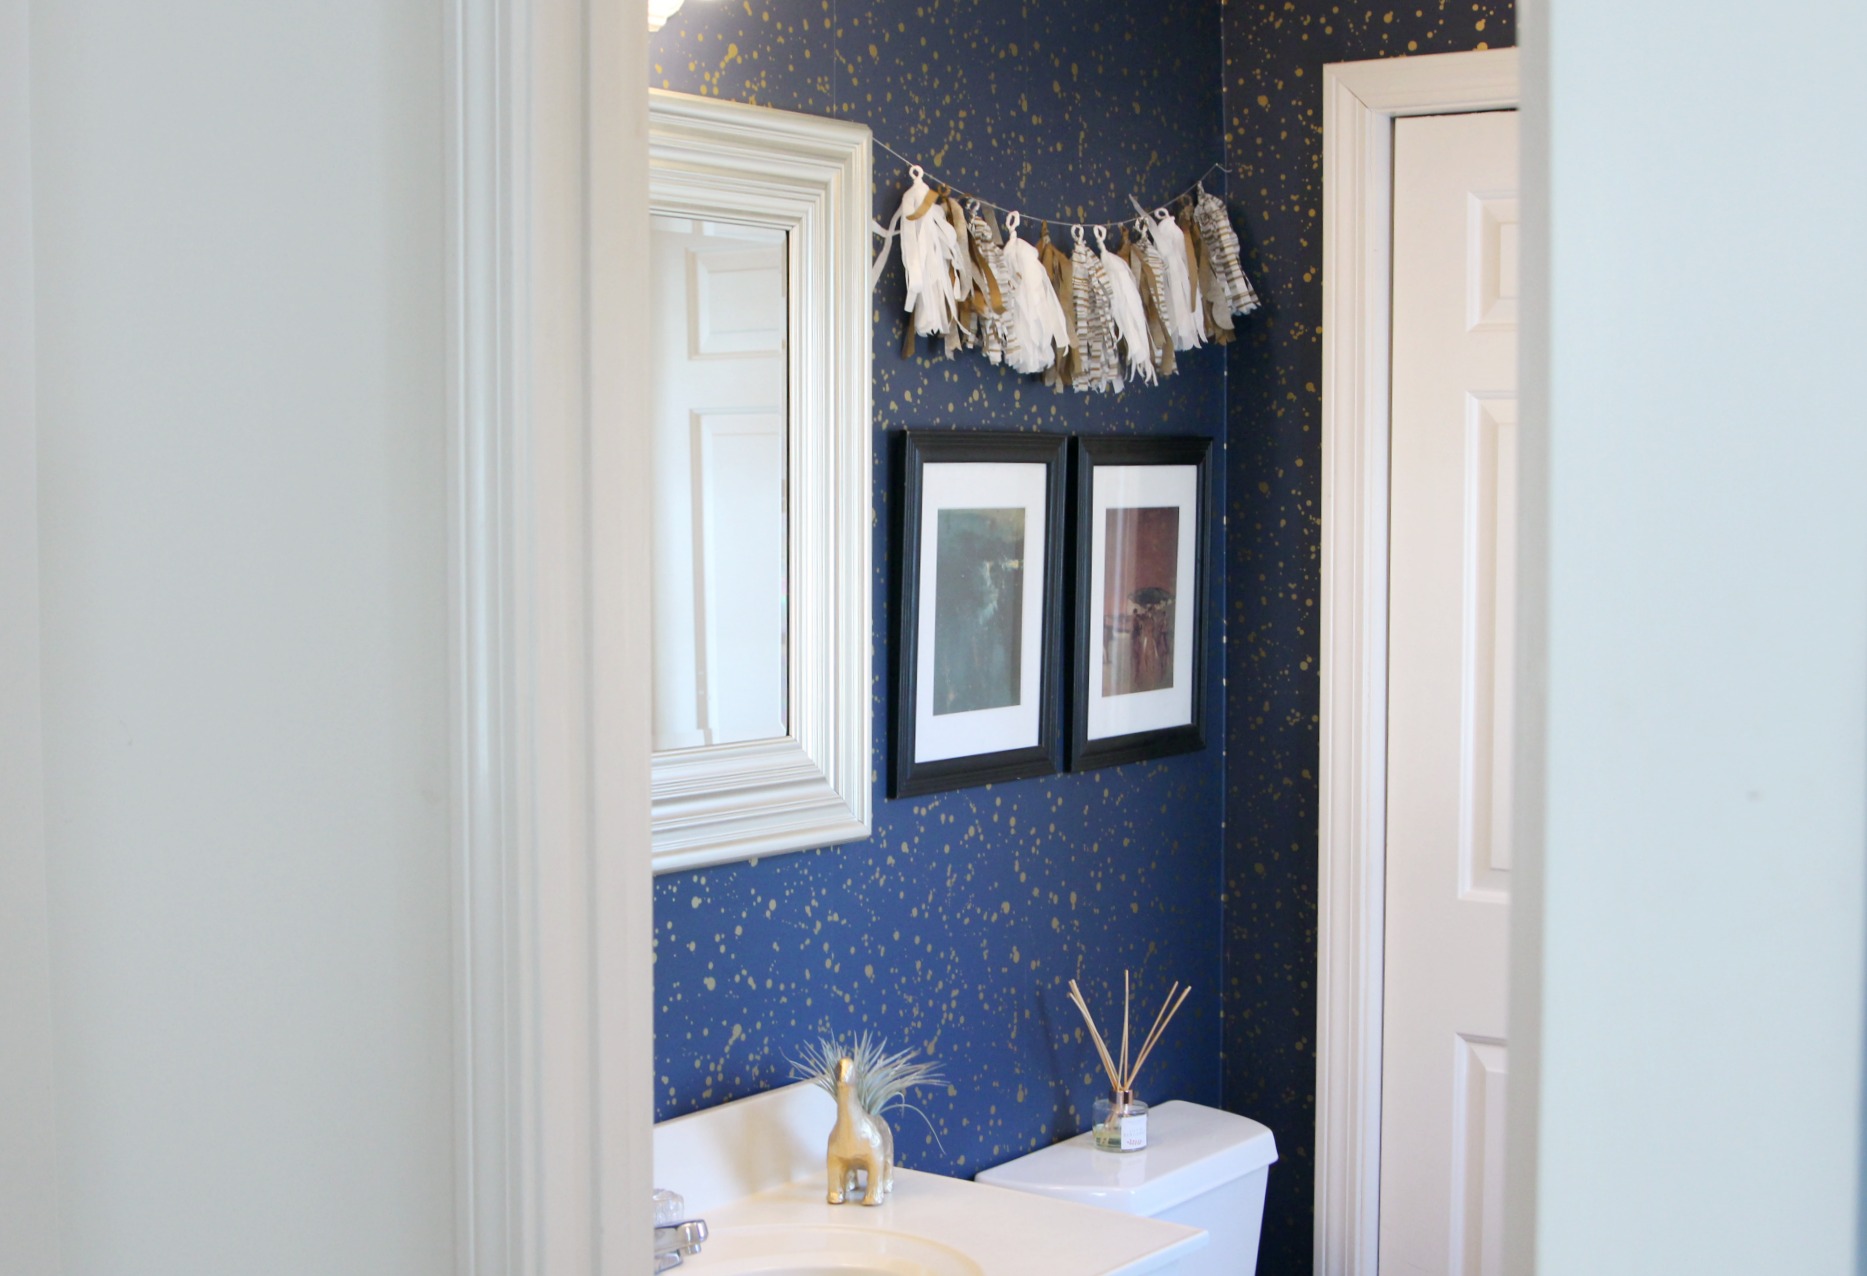
Wallpaper or wall color can instantly transform a space. Unfortunately, a rental home often doesn’t allow painting. If they do, you have to be in charge of painting it BACK when you leave. No thanks. Instead, I opted to temporary wallpaper. If you’re not privy, temporary wallpaper (also called “peel-and-stick wallpaper) is like contact paper. It comes in sheets like regular wallpaper but is sticky on one side. You pull away a plastic backing and adhere it to the wall. When you’re ready to leave, the wallpaper just pulls right off with no harm to the walls.
You can find endless sources for temporary wallpaper now-a-days. Some of my favorite options are Chasing Paper, Walls Need Love, and Target. We opted for this gold splatter on navy wallpaper from Target because it was a good price point for a rental property.
Mirror
Pretty much every rental property will always have an ugly mirror in the bathroom. It’s like a rental home requirement. These are SO ugly and updating one makes an immediate upgrade to any bathroom. Typically these mirrors are just screwed in with a few plastic clips and you can easily unscrew them off the wall. After you unscrew it, just wrap the mirror in some bubble wrap and store it in the attic or basement. Before you move out you can just quickly screw it back up.
In its place, I picked up a simple mirror from Home Goods. You can usually find them for a good deal if you have your eyes open, and we got this one for about $24.
Artwork
I think most people don’t think of a bathroom as a place for artwork, but a guest bathroom is a great place! Because there is no shower, like in a full bath, you don’t need to worry about steam ruining pieces. A guest bathroom is a place every guest who visits your house will go. By adding artwork it’s a great way to update the space and get it a little personality.
I had some prints I had bought when at the Detroit Institue of Art. Prints are such an affordable way to bring artwork into a space. The prints cost me less than $12 each, and then I popped them into some simple frames. I also had a framed block print from when we were in San Franciso. Buying artwork when I travel is my favorite kind of souvenir- as you can tell. It’s so much more personalized than just getting boring paintings from any old store that don’t have any meaning or purpose.
I also added some DIY Tassels I had made. A tassel banner might not be the first thing people think of in a bathroom, but I just wanted to have some fun with it. I also, of course, have my dinosaur planter, also a DIY project you can recreate here: DIY Dinosaur Planter.
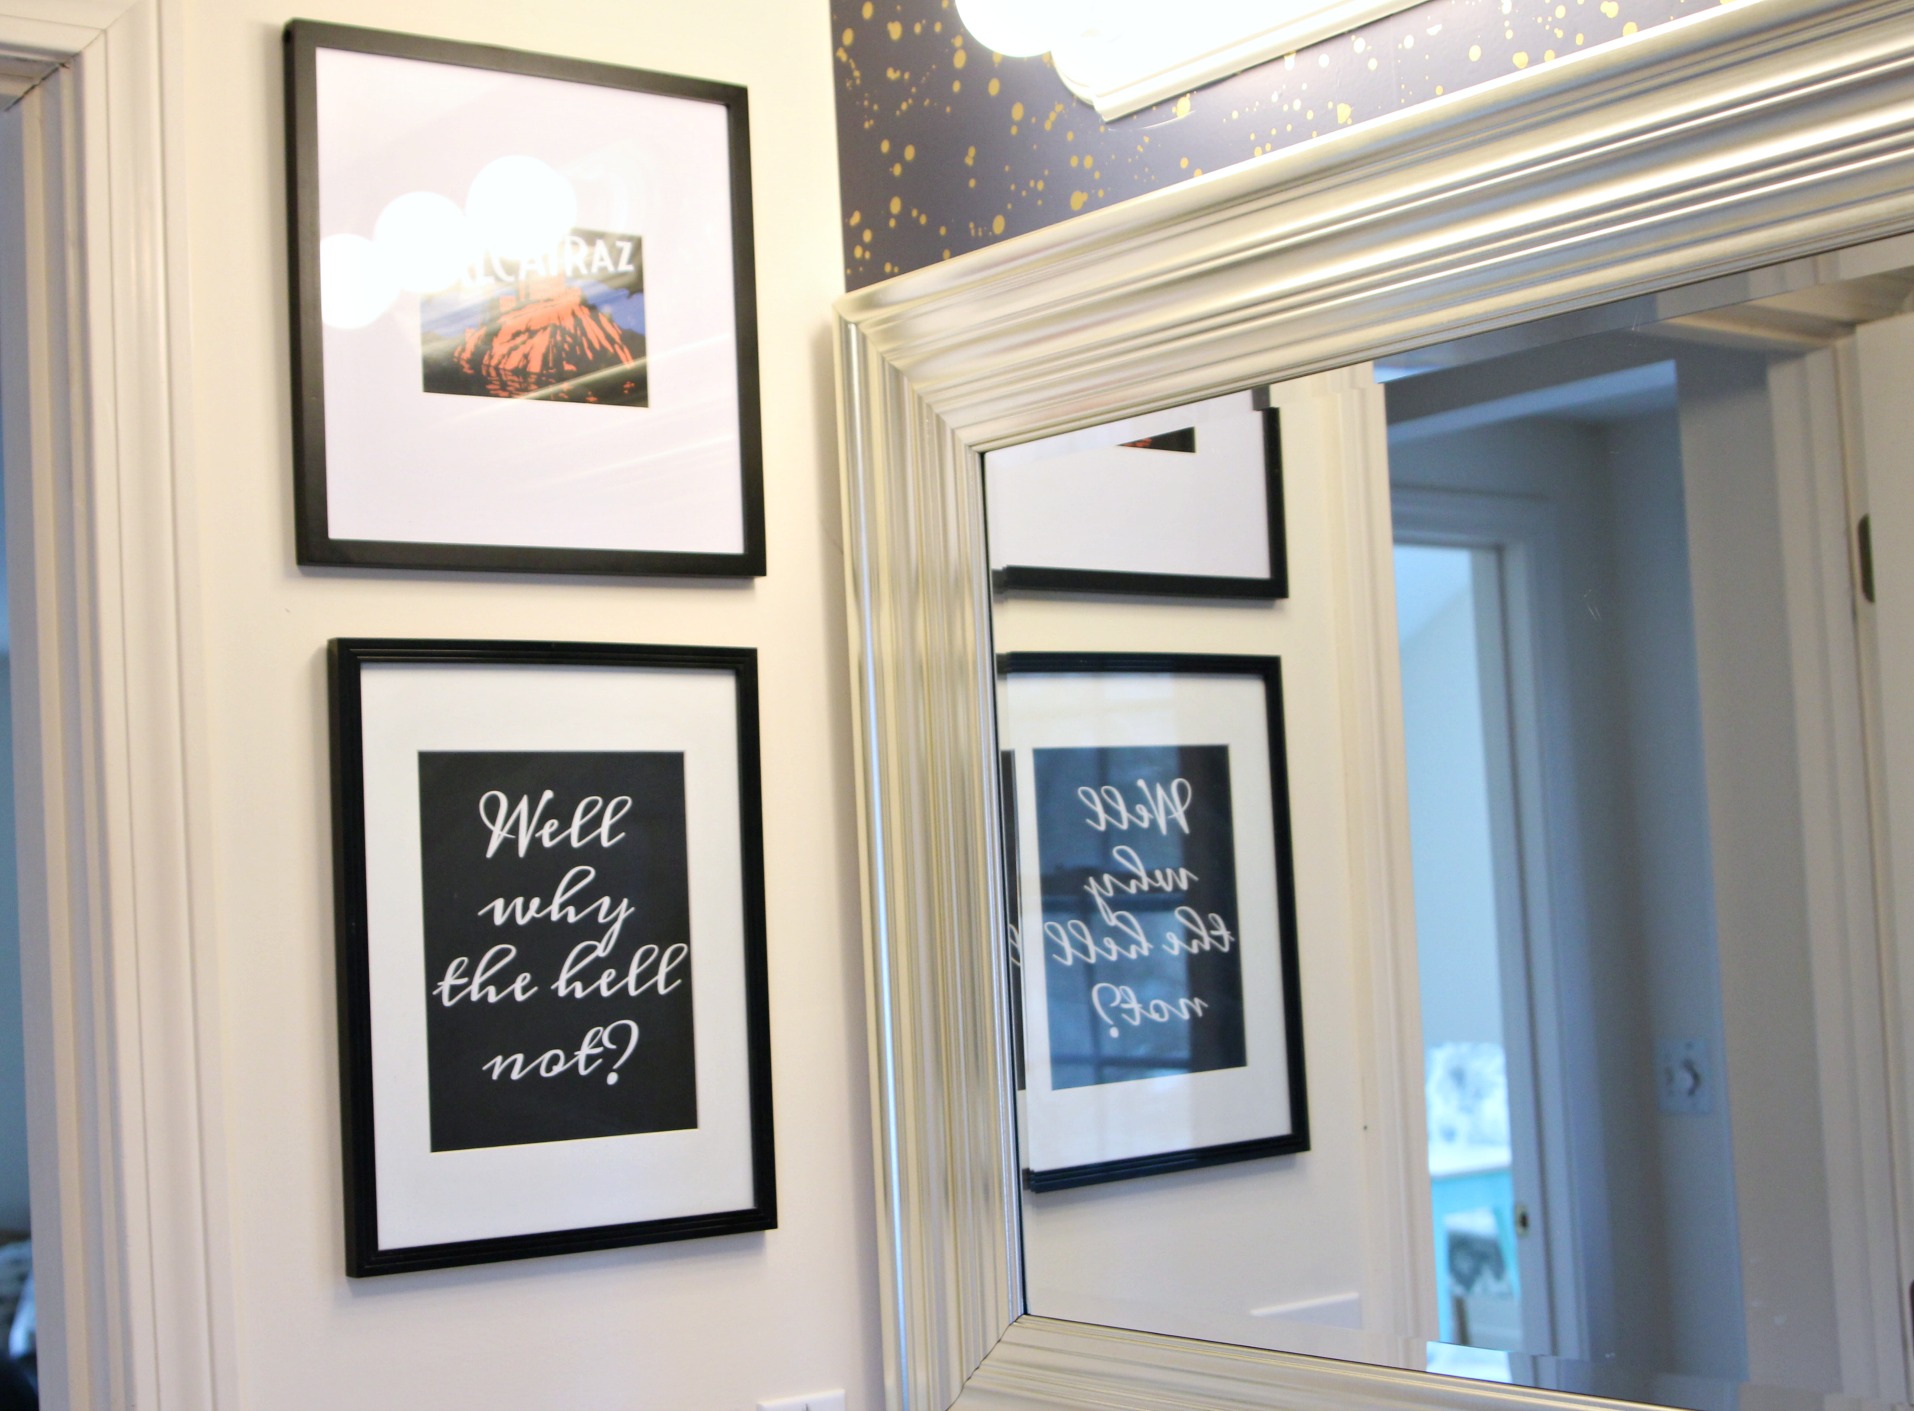
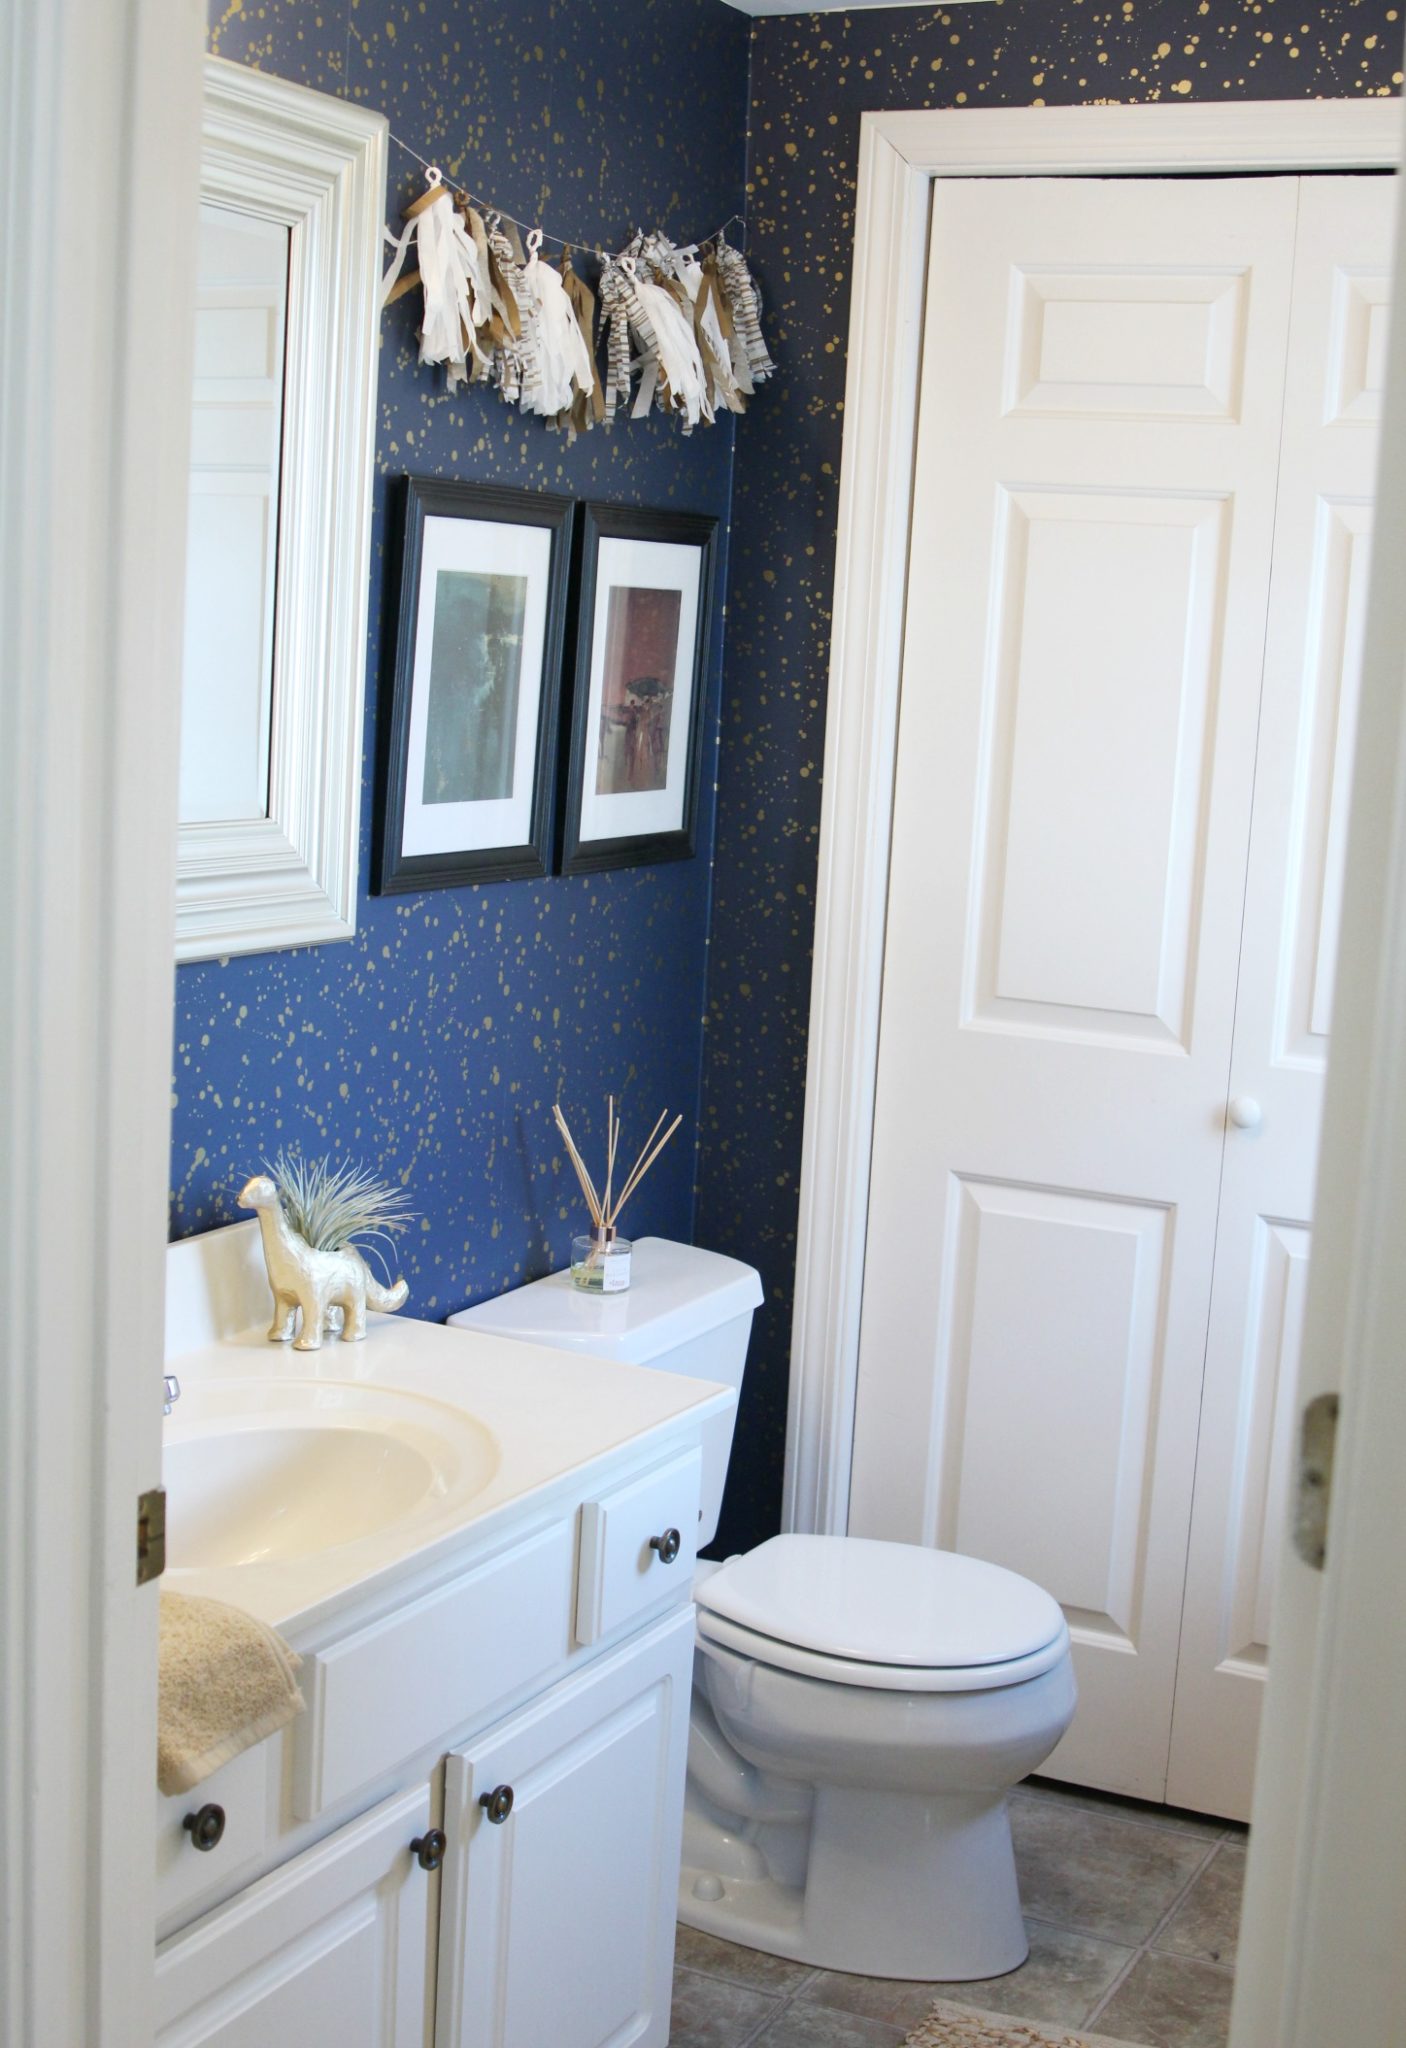
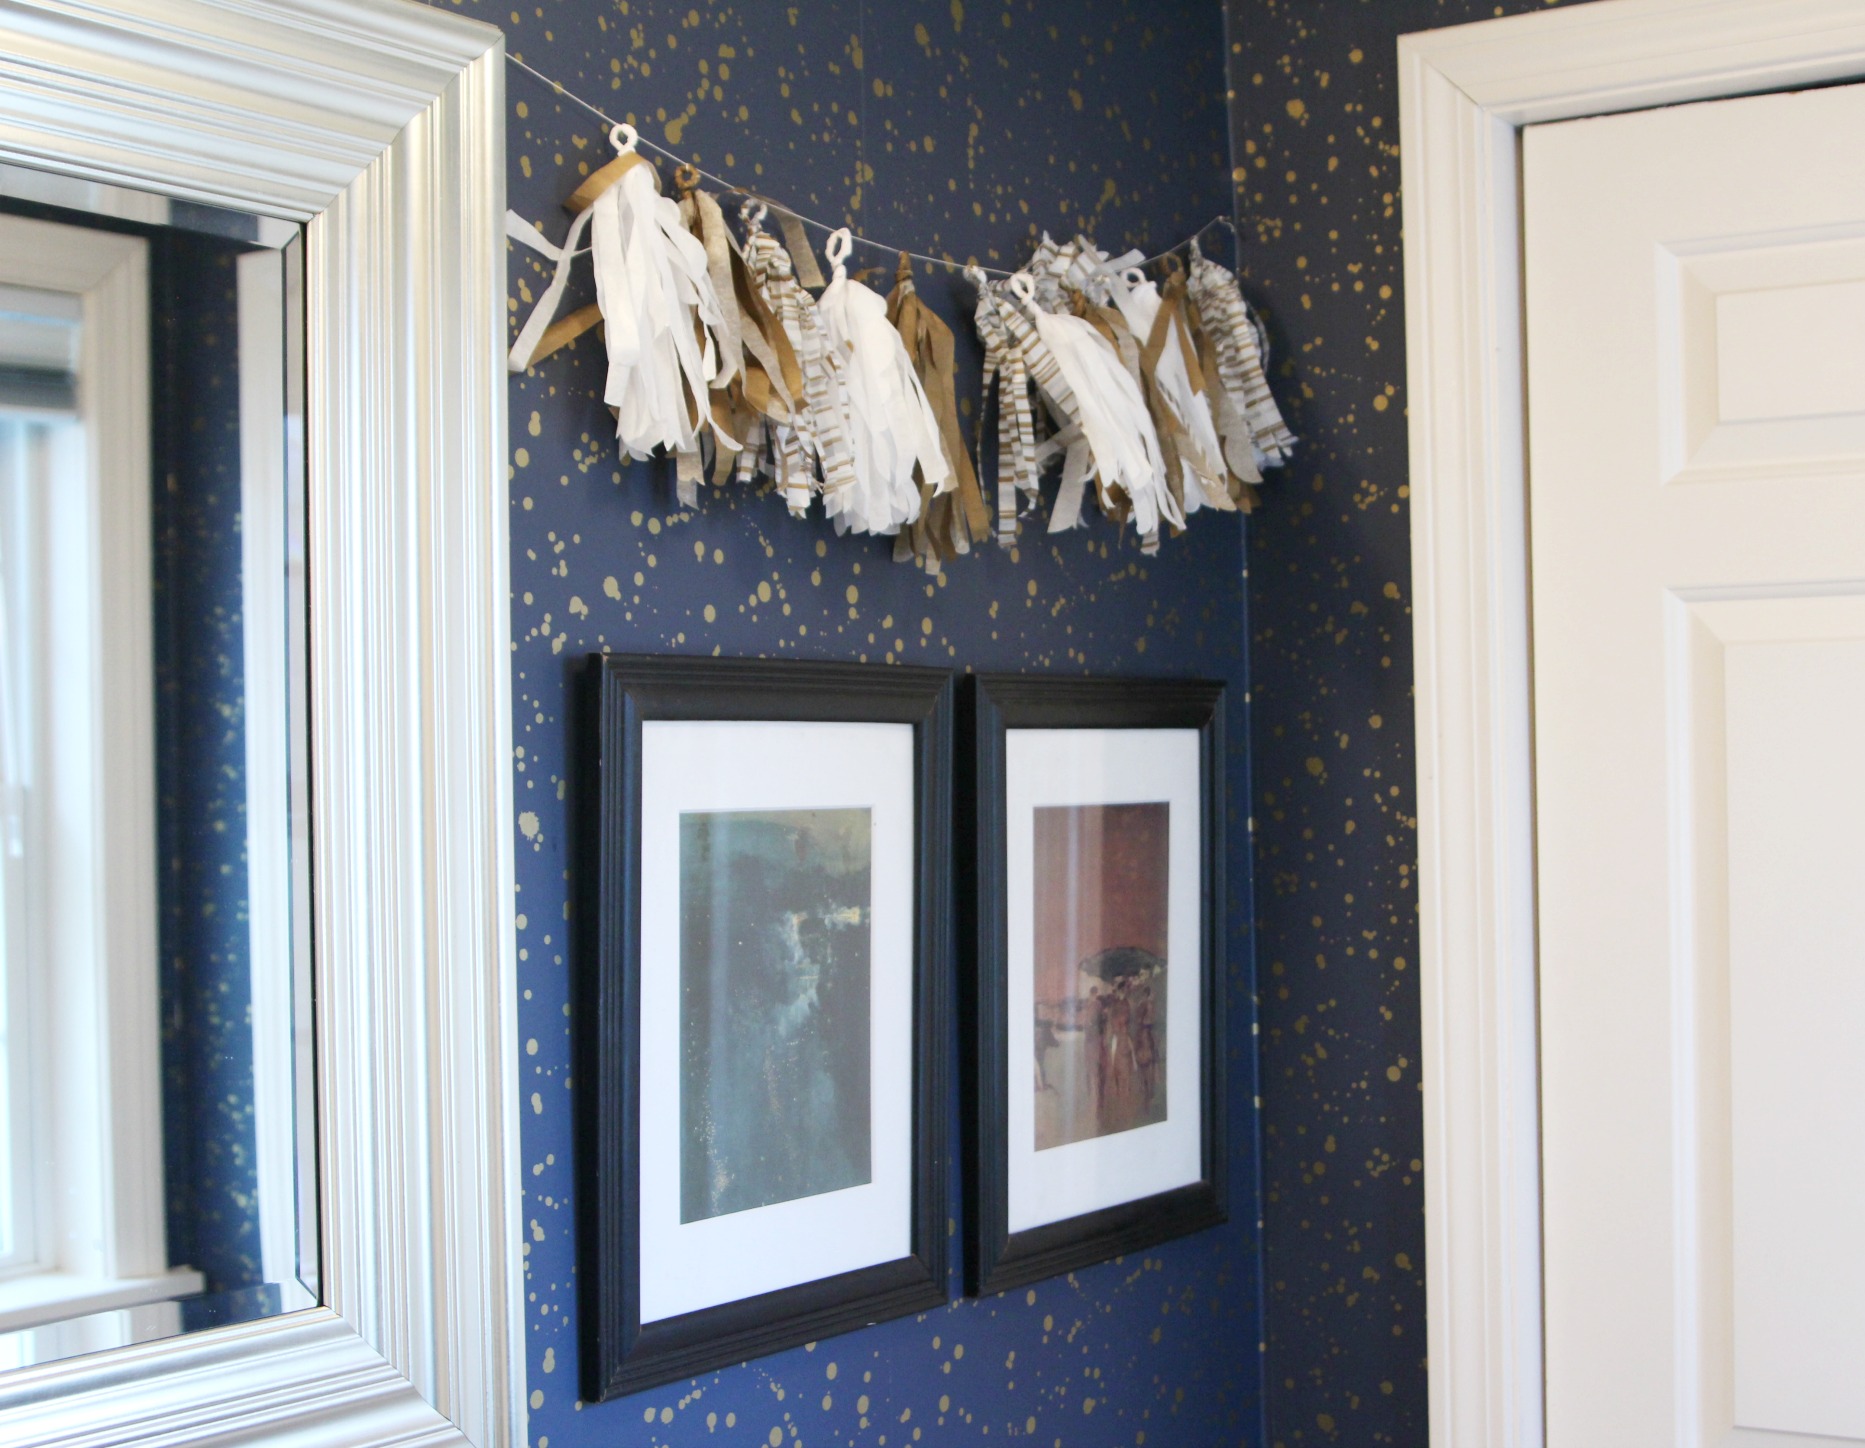
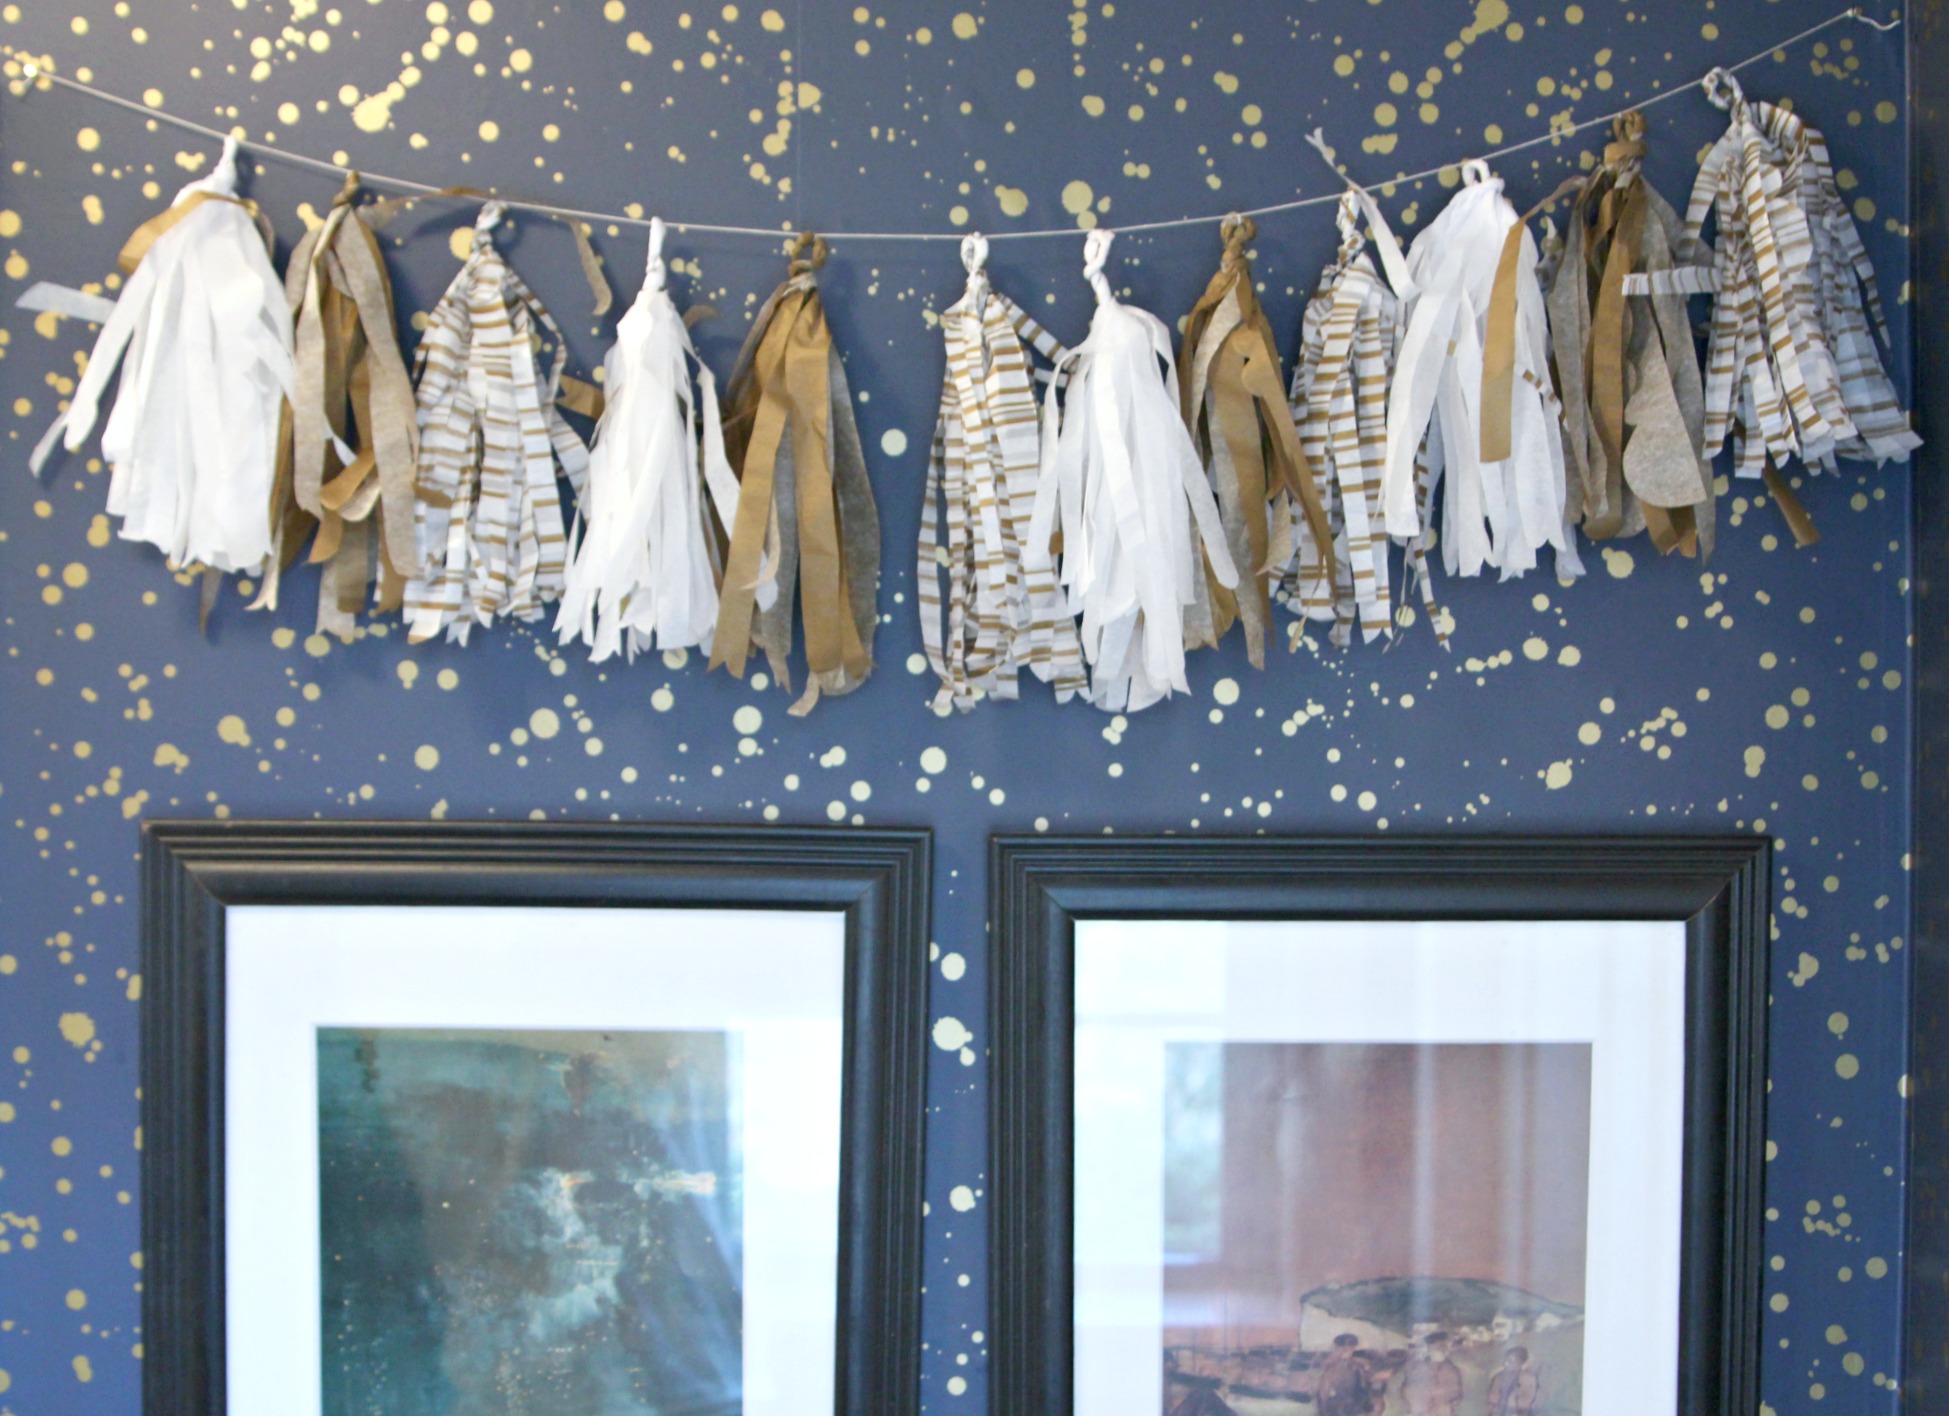
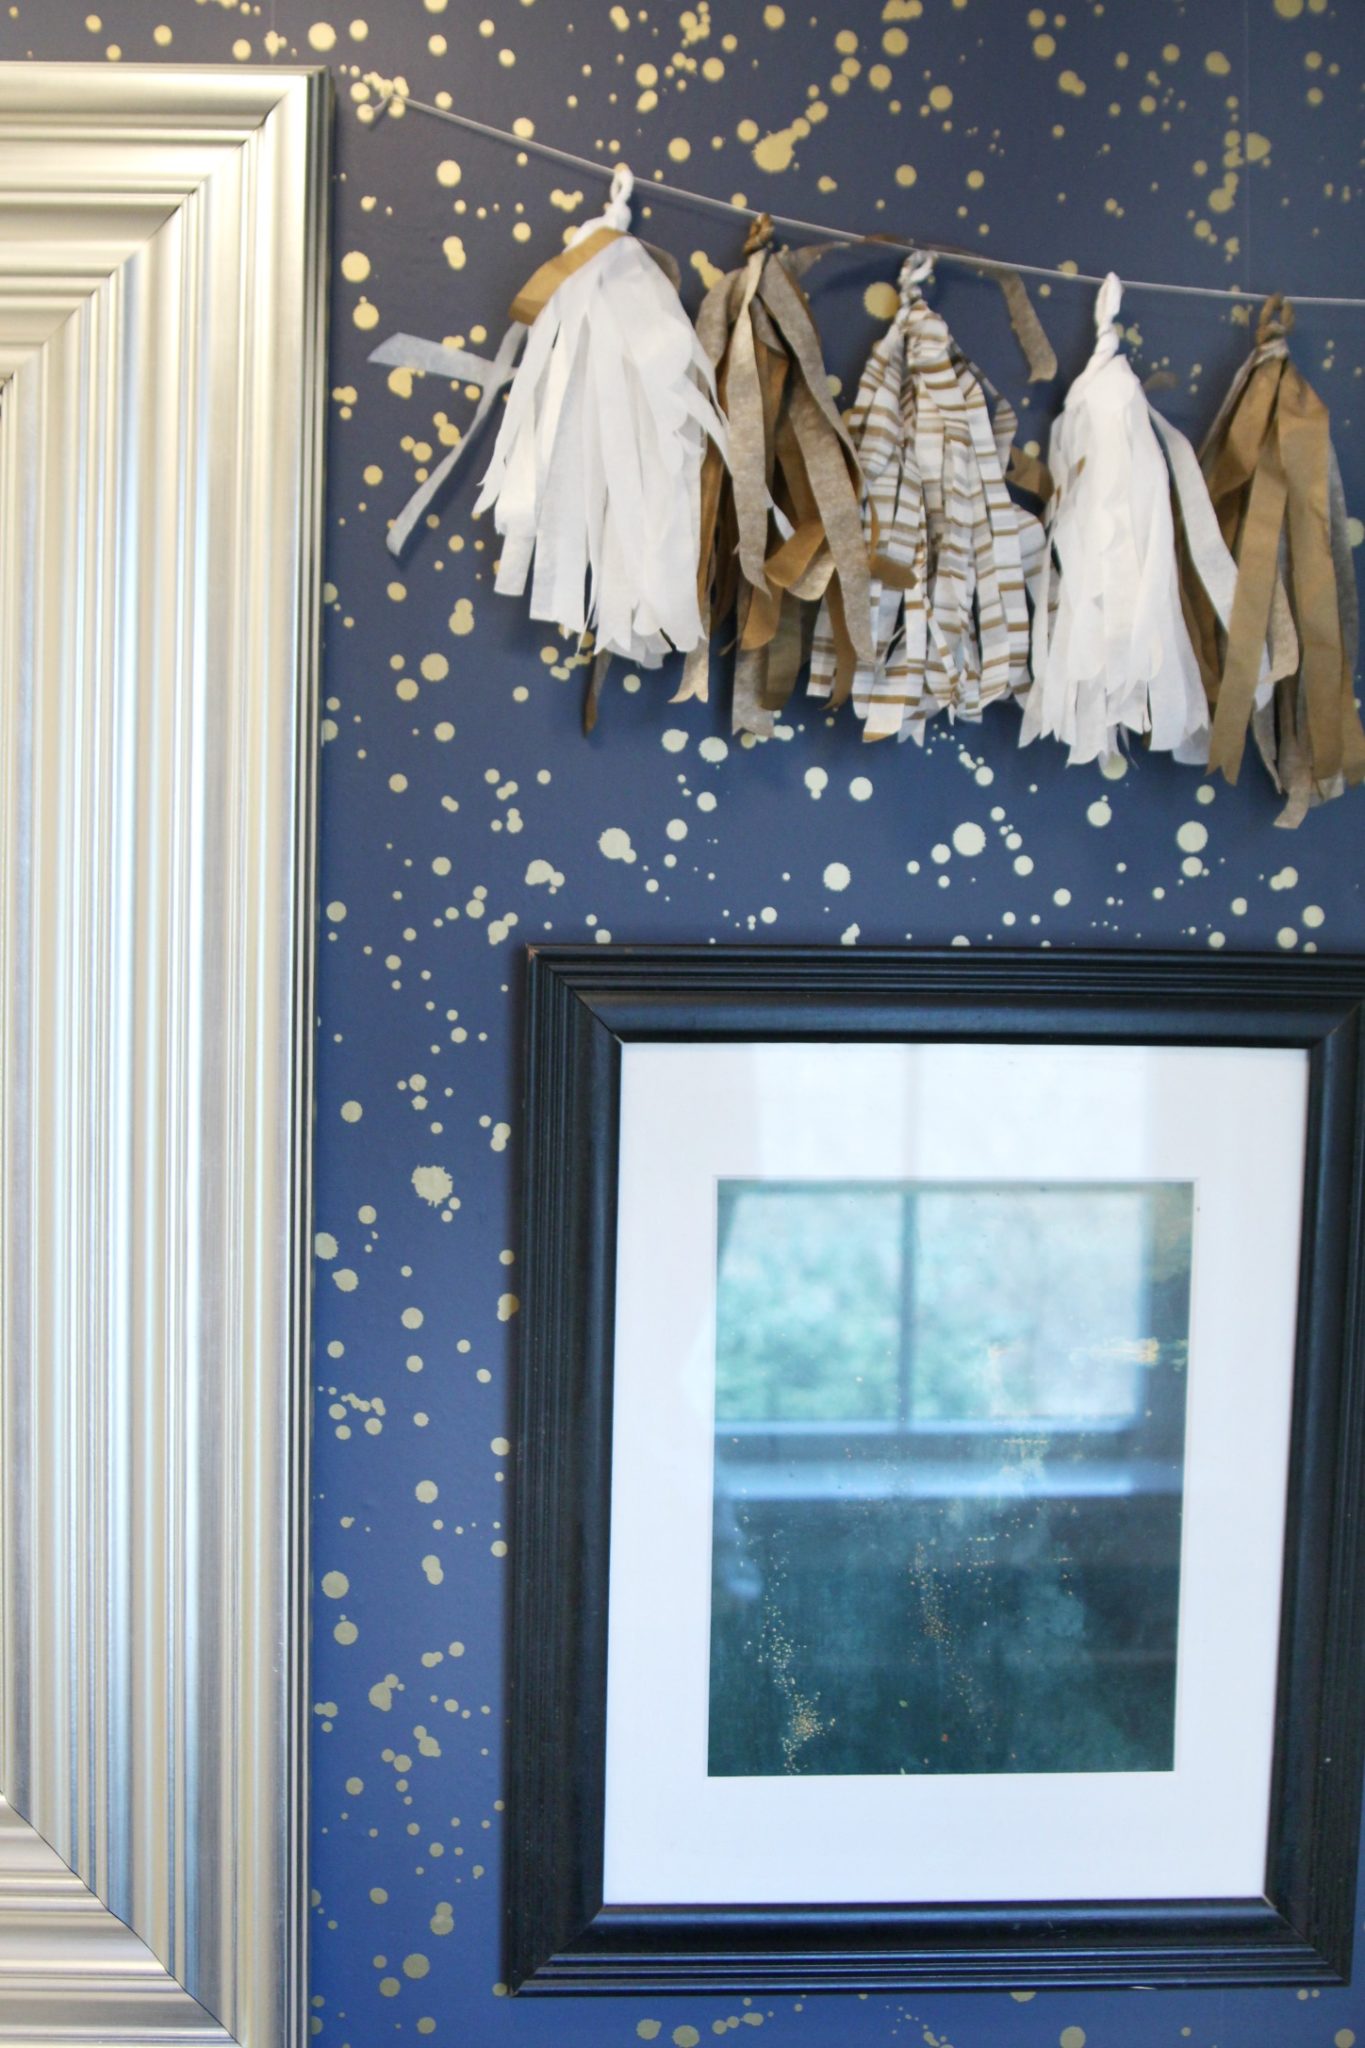
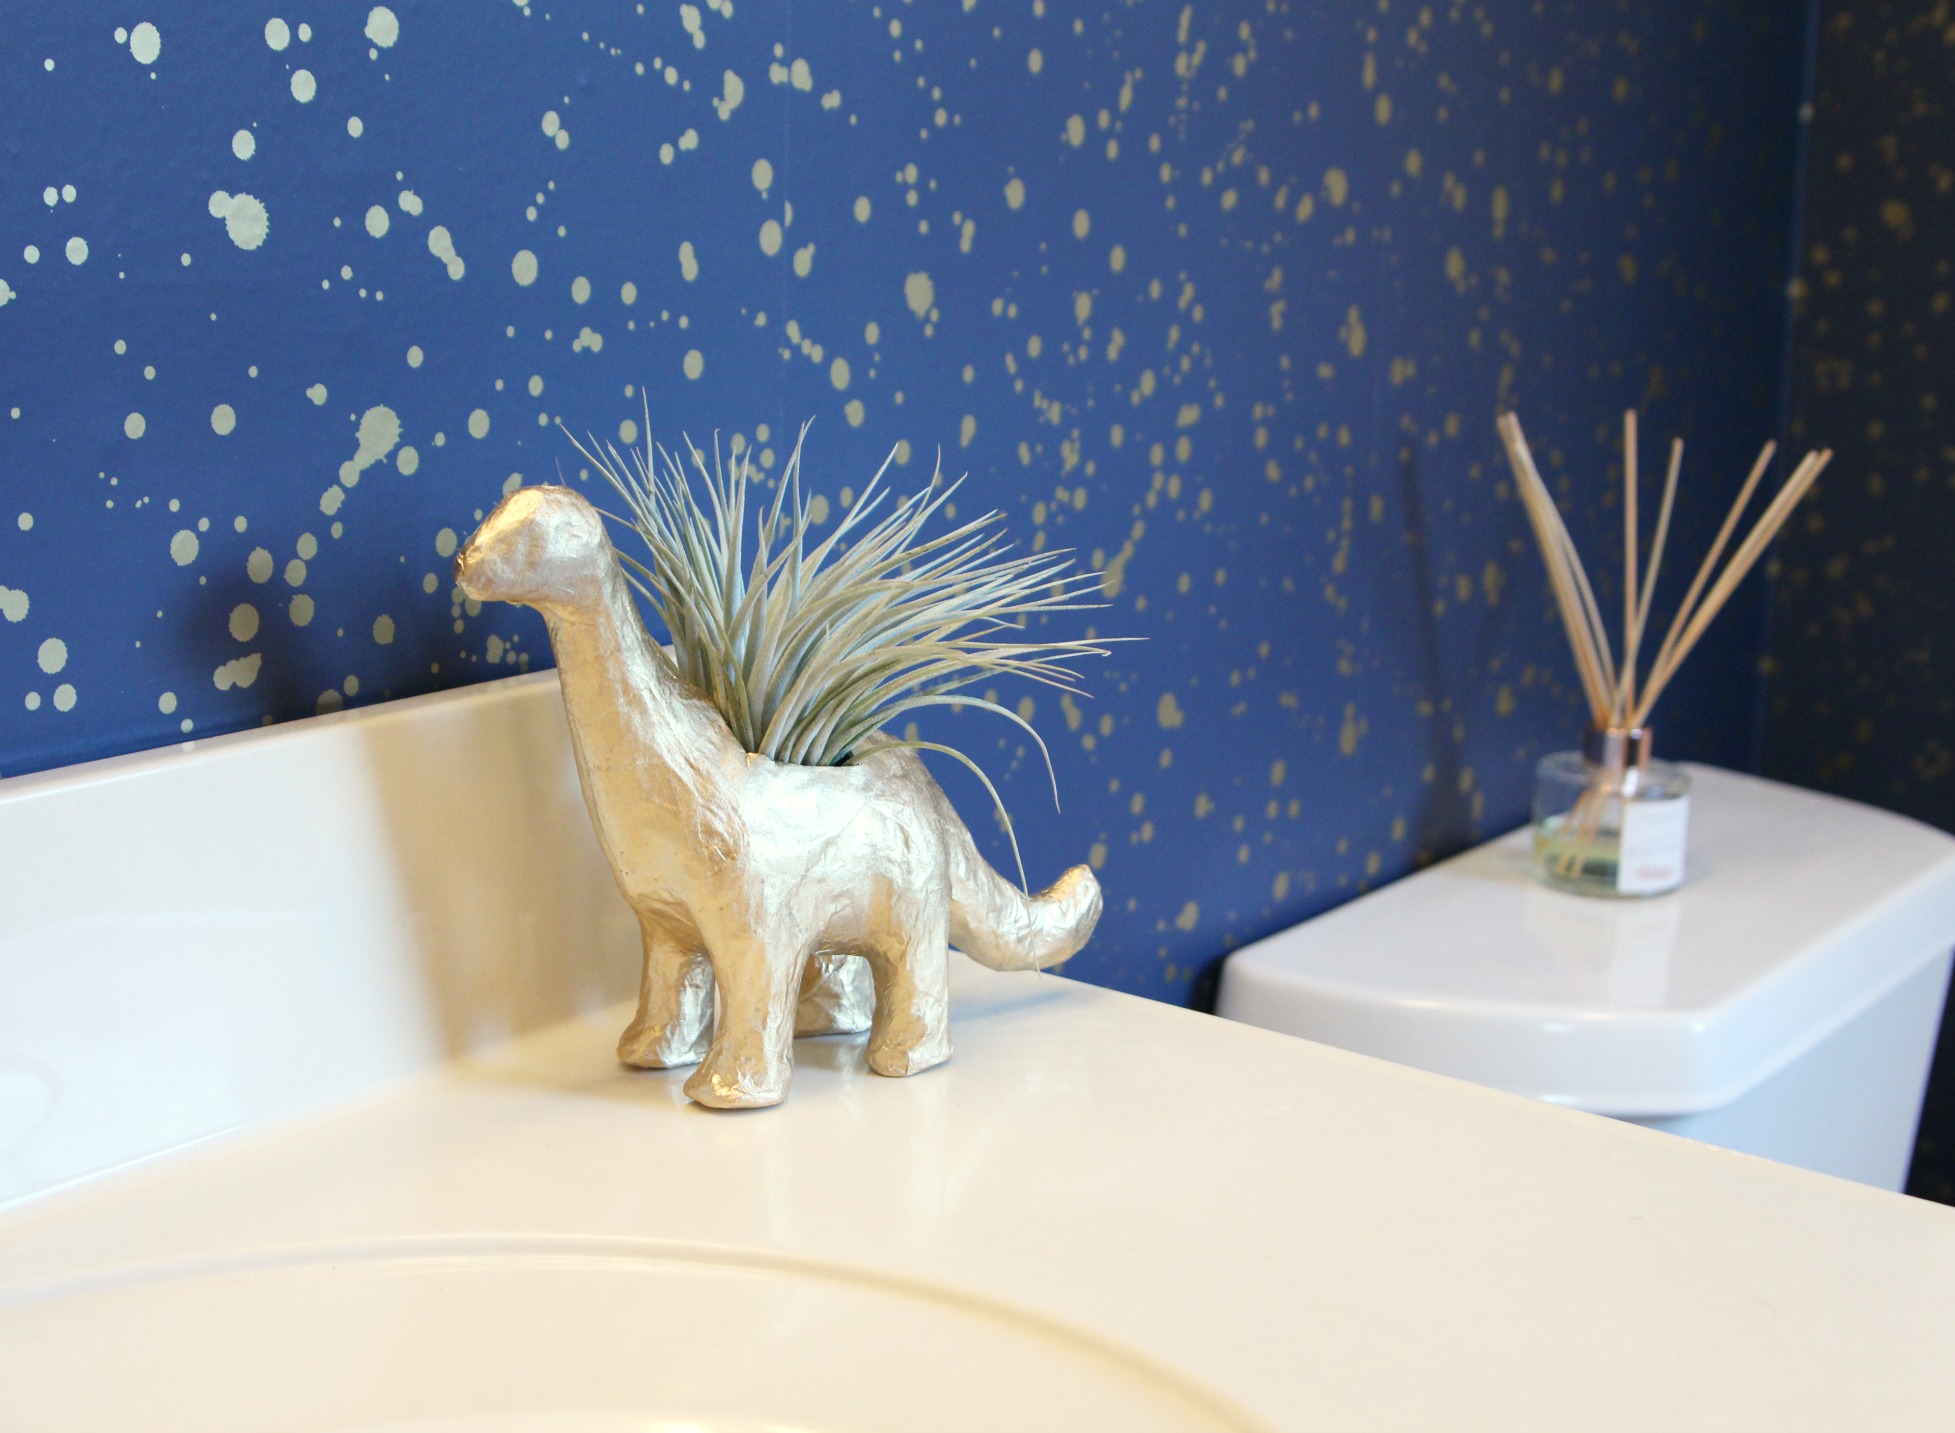
Overall, I’m quite pleased with how the space came out. And, the entire redo only cost me less than $100. While I still have to deal with outdated bathroom faucets and ugly light fixtures, by bringing in my own style and color, the space looks a lot better and a lot less like a rental property.
Rental Bathroom Makeover Breakdown
1. New Walls – Devine Color Wallpaper, “Celestial” for $29.99 a roll, I needed two. Total…$60
2. Updated Mirror. Total..$24
3. Artwork – All pieces I already owned. $0
4. DIY Tassles -I already had these but they cost less than $1-$2 to make. Learn how to make them here. Total…$2
5. Dinosaur Planter -Another very affordable Learn how to make it here Total…$10
Total makover….$96
