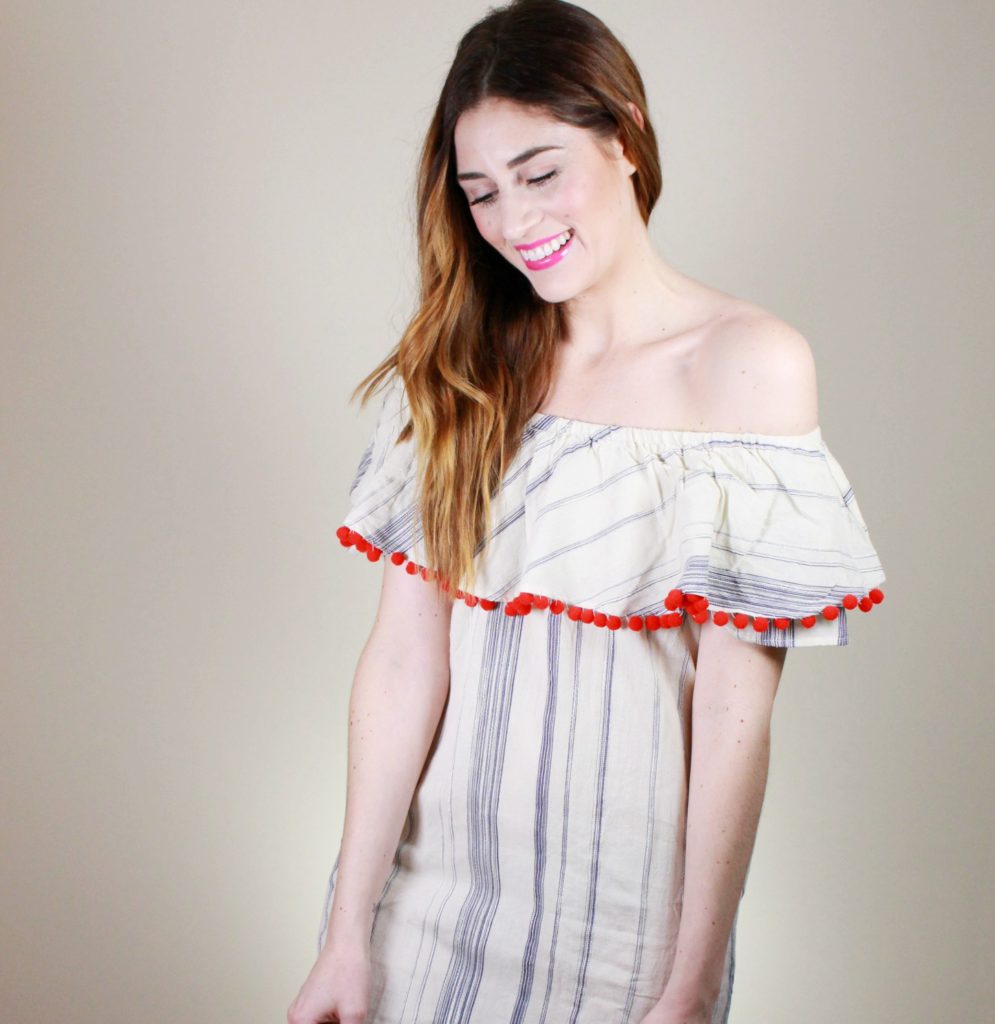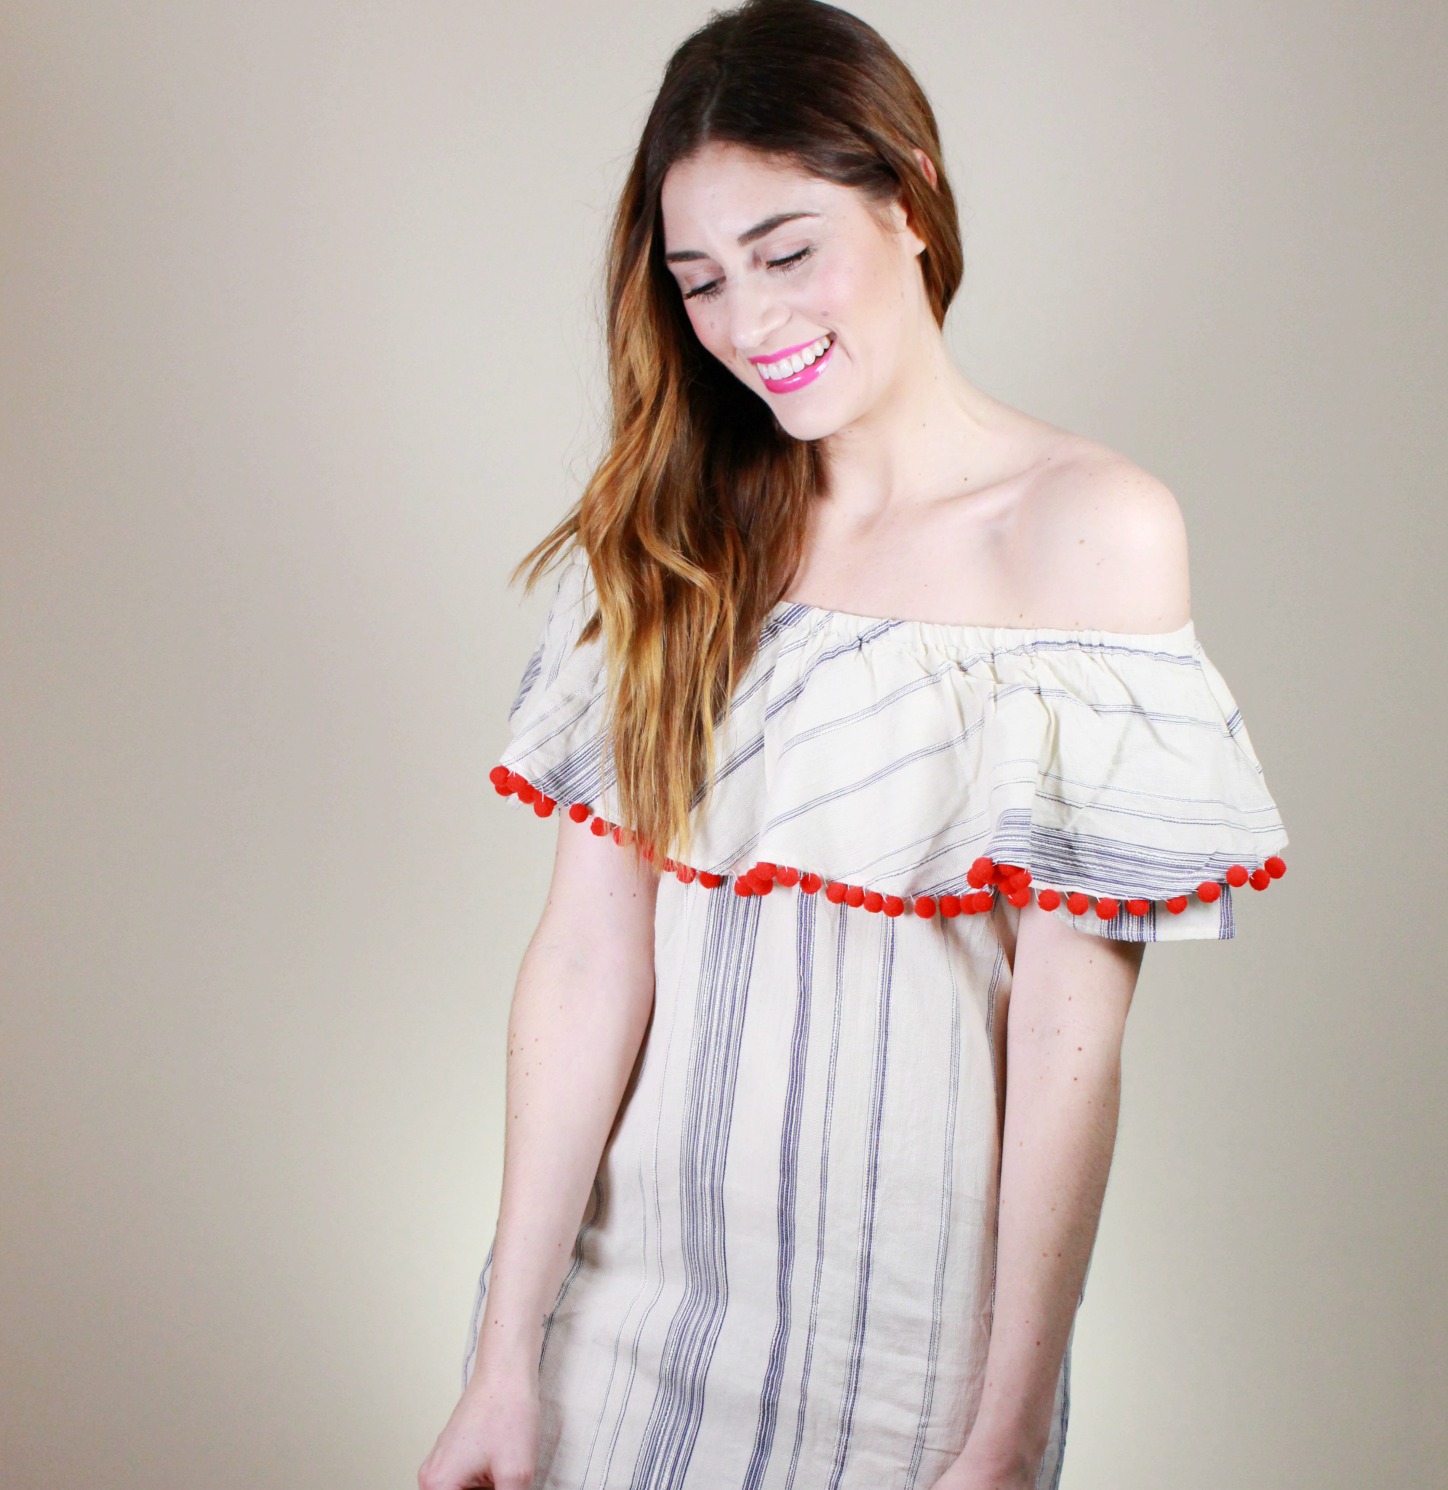
Pom pom trimmed pieces started showing up about a summer or two ago and stole everyone’s hearts with their playful accents. It’s a true fact that pom poms make everything better. I mean, they are just so darn cute! While I’m all on board with the pom pom trend sometimes I’d struggle to find the perfect pommed-piece. (Pommed is not a word…just go with it.)
I’d find a piece I loved but it didn’t have poms or I’d find a piece that had awesome poms but didn’t look good on me. What’s a girl to do?!
Well, I resorted to my answer for most things when I can’t find/afford what I want…I bet I can make that! . And so, that’s how I found myself surrounded in pom poms this last Saturday afternoon determining the best way to create a pom pom trim. Luckily for you, I figured it out and it was pretty darn easy. It requires no sewing machine (yay!) and no real sewing skills (yay!) This is like middle school Home Ec. skills here.
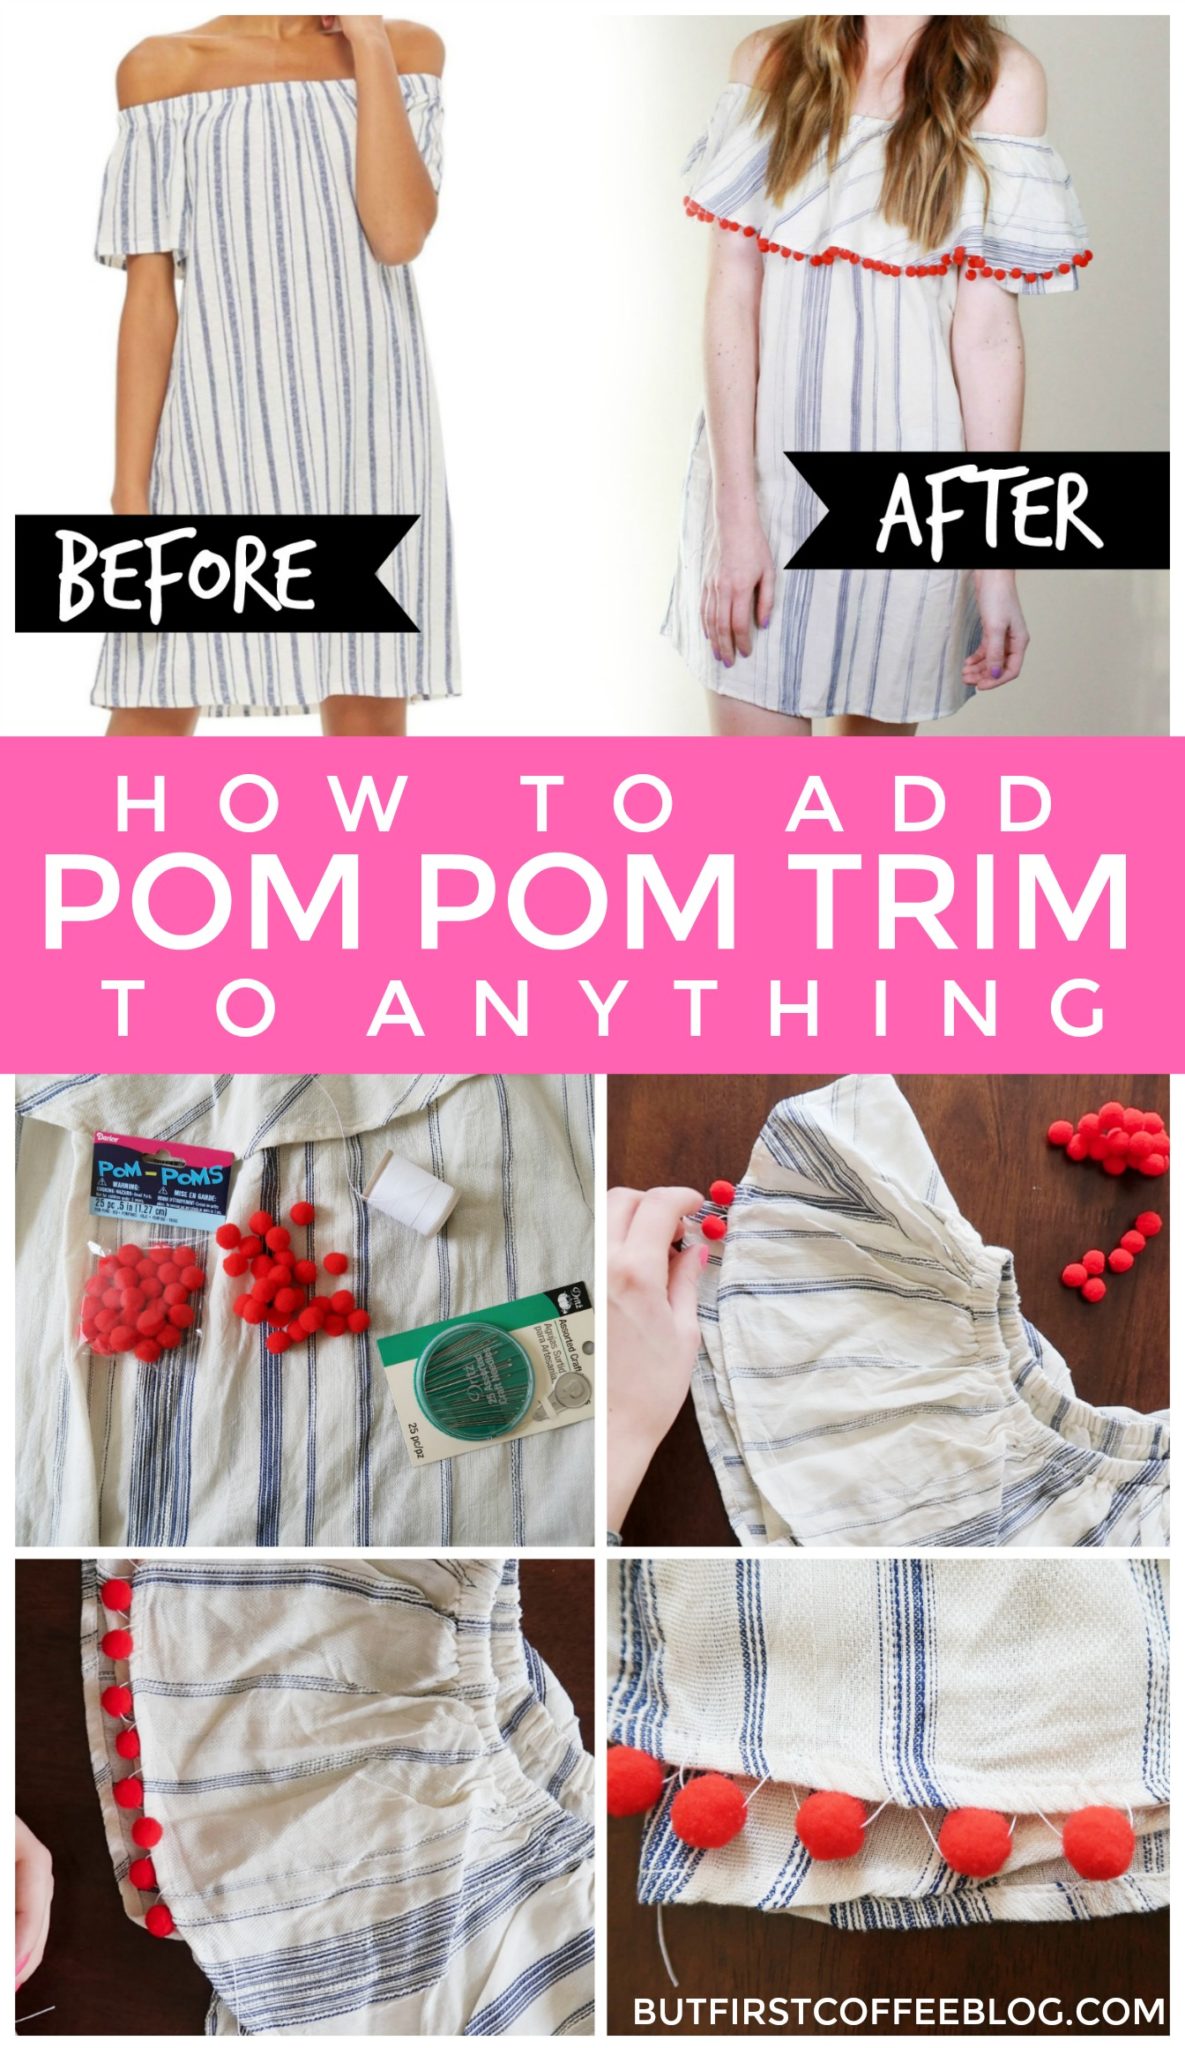
What You’ll Need:
Pom Poms in your desired color
Needle
Thread
How to Make DIY Pom Pom Trim
Using the needle and thread, attach the end of the thread to the dress (or whatever you’re adding this pom pom trim to) by creating two stitches and tying it off into a knot.
String the first pom pom onto the thread and pull it all the way down to the edge of the fabric. You want it to dangle just the tiniest bit- so I suggest leaving maybe 1/5th of an inch.
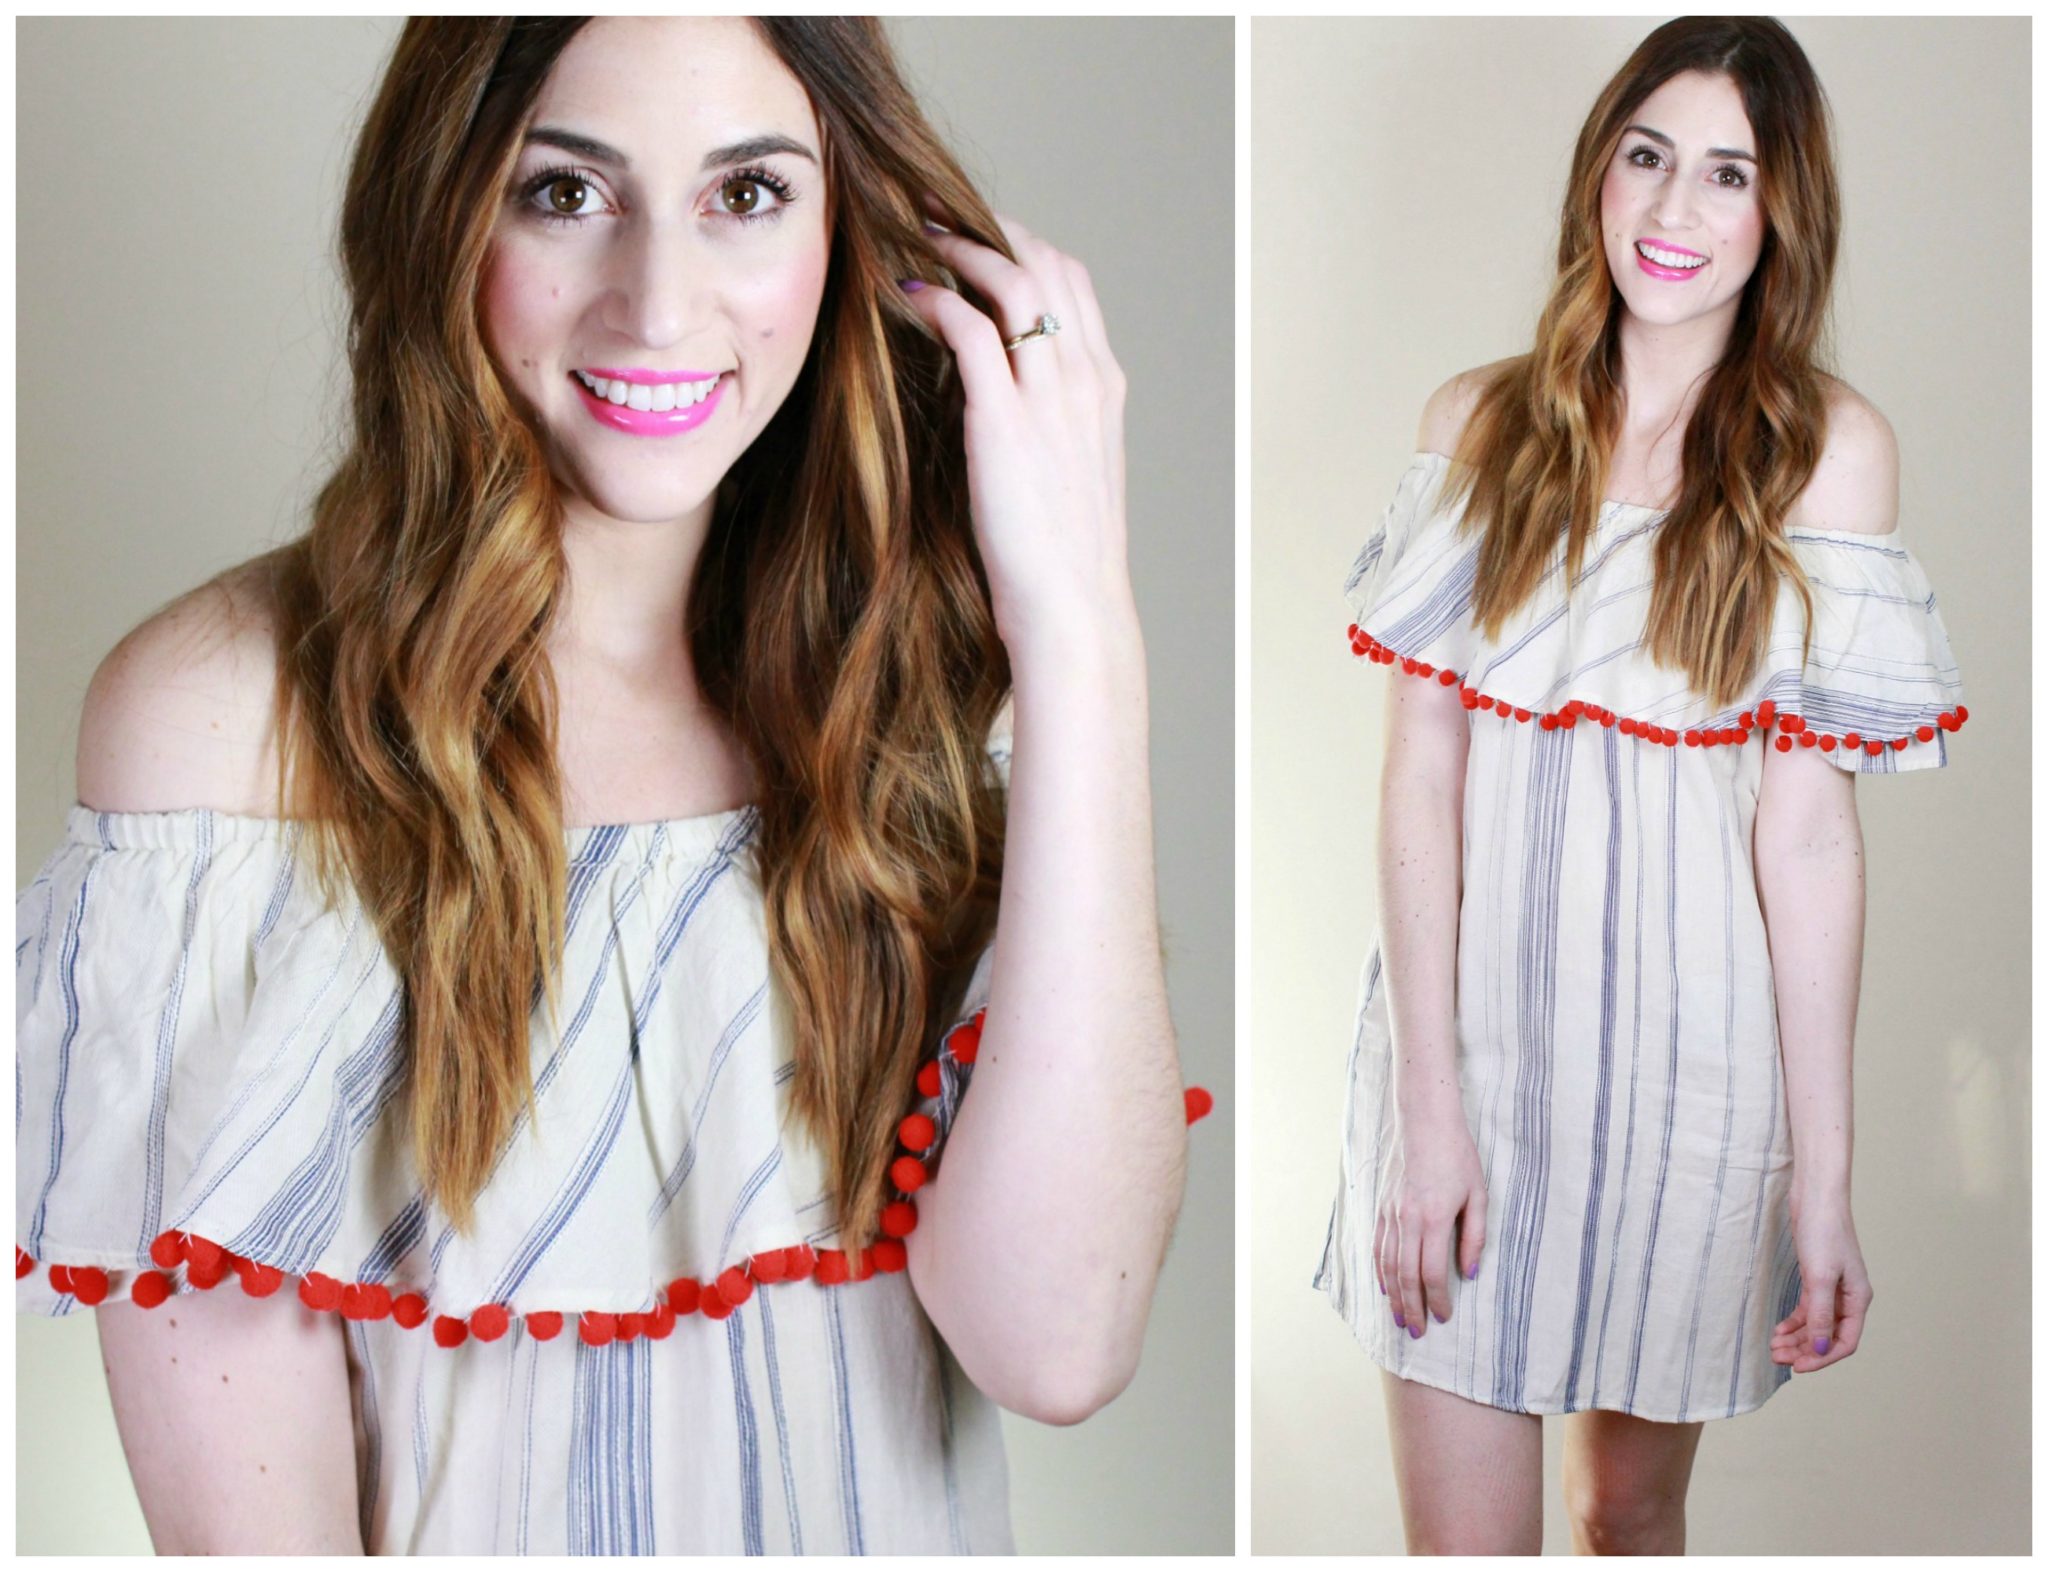
Thread the needle back up to the edge of the fabric, and repeat. Essentially you’re just doing the most basic stitch there is, (up and down, up and down), adding a pom pom along the way. Take a look at the close up of the pom pom below to gain a better idea of how the poms are strung along the thread.
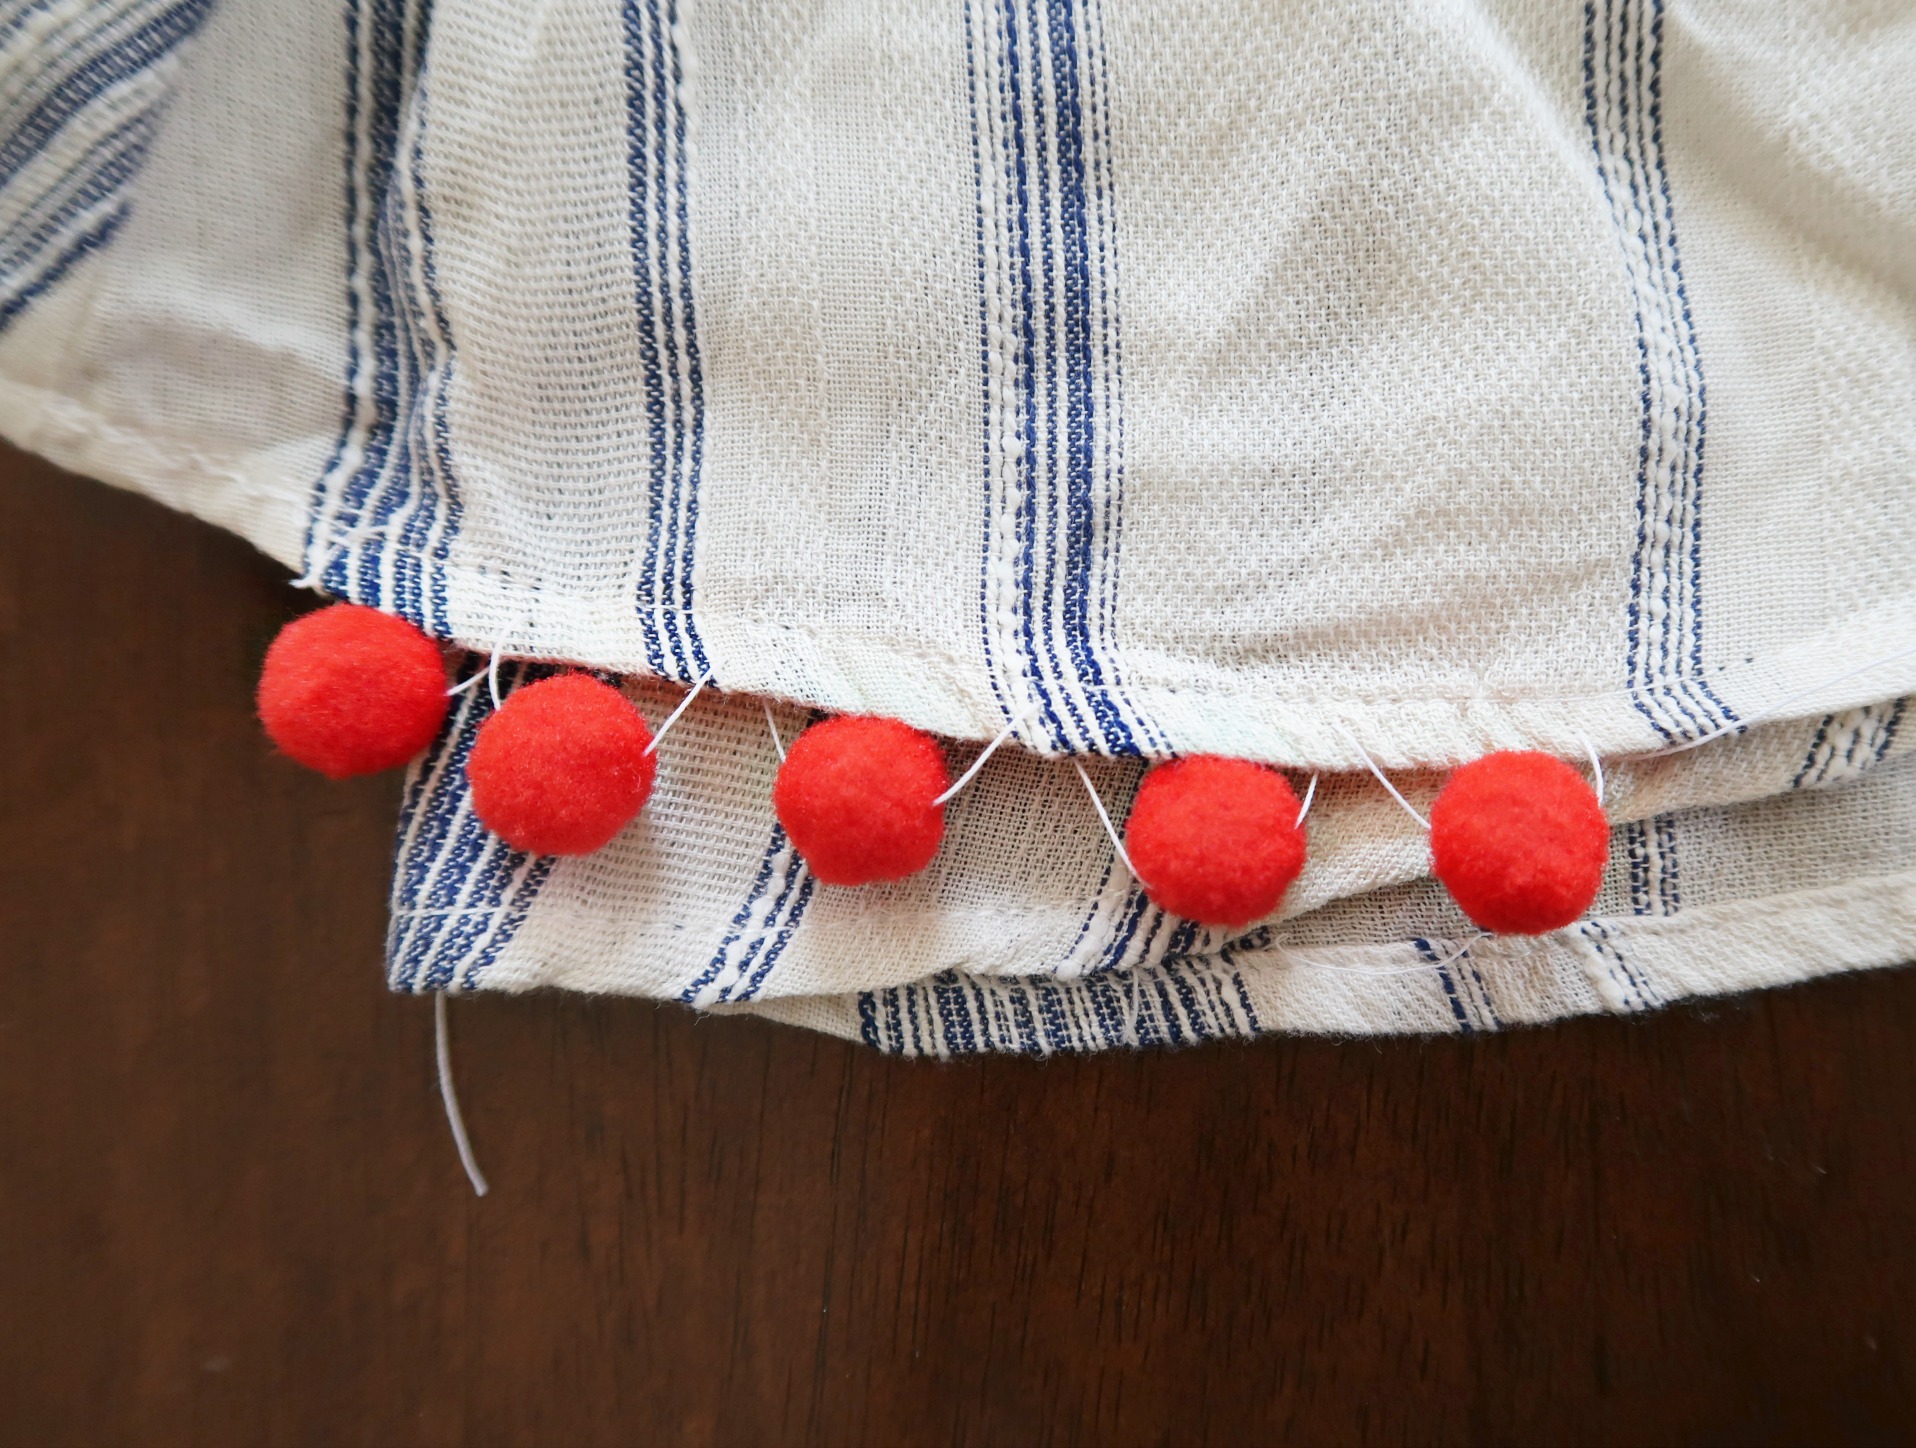
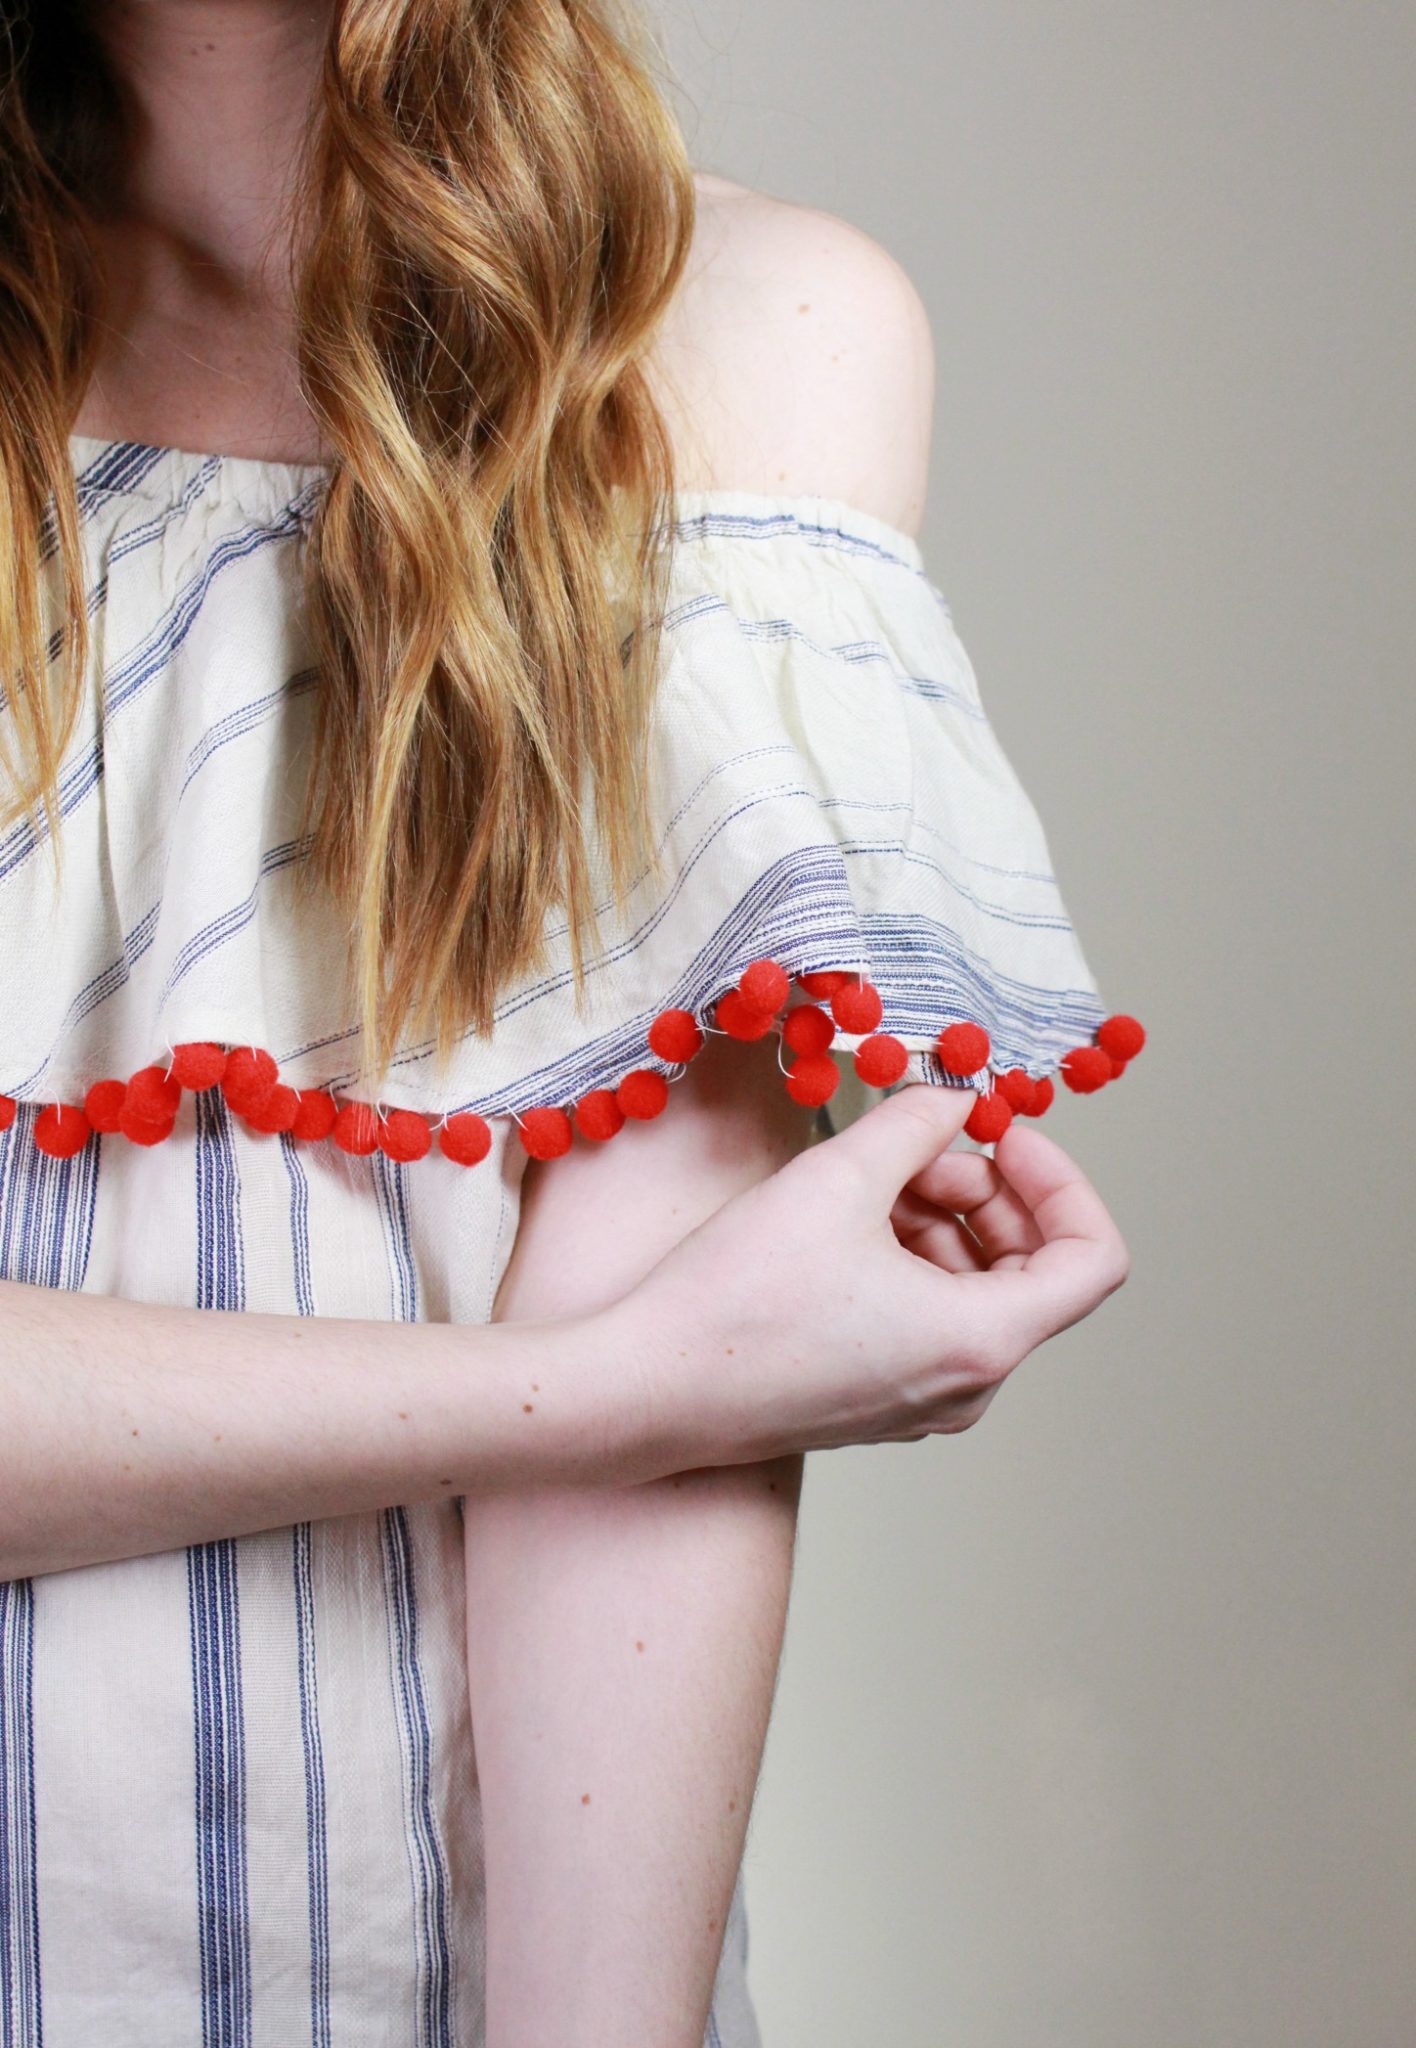
You can use this same method to add pom poms to pretty much anything! I love the way it came out on this dress, but just think of the possibilities! You could add them to the bottom of a shirt, jazz up a purse, string them onto a pillow…
Because I used a heavier weight thread, it’s also very sturdy. I’d still suggest washing this on “delicate” in the wash and letting it air dry, but you can be sure it’ll hold up quite well to many wears.

Love Pom Poms?! OMG, me too! Check out these other pom DIYs:
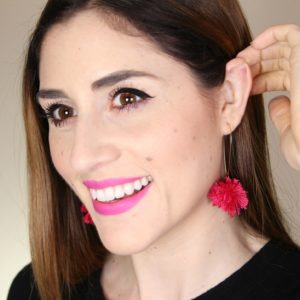 Learn how to make your own pom pom earrings.
READ MORE
 Pom pom trimmed throw pillows with text for your bedroom.
READ MORE
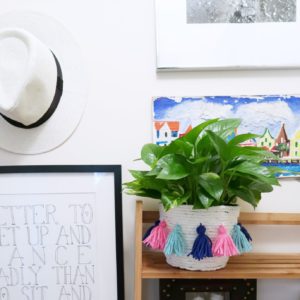 Pom pom tassle planter DIY.
READ MORE.


