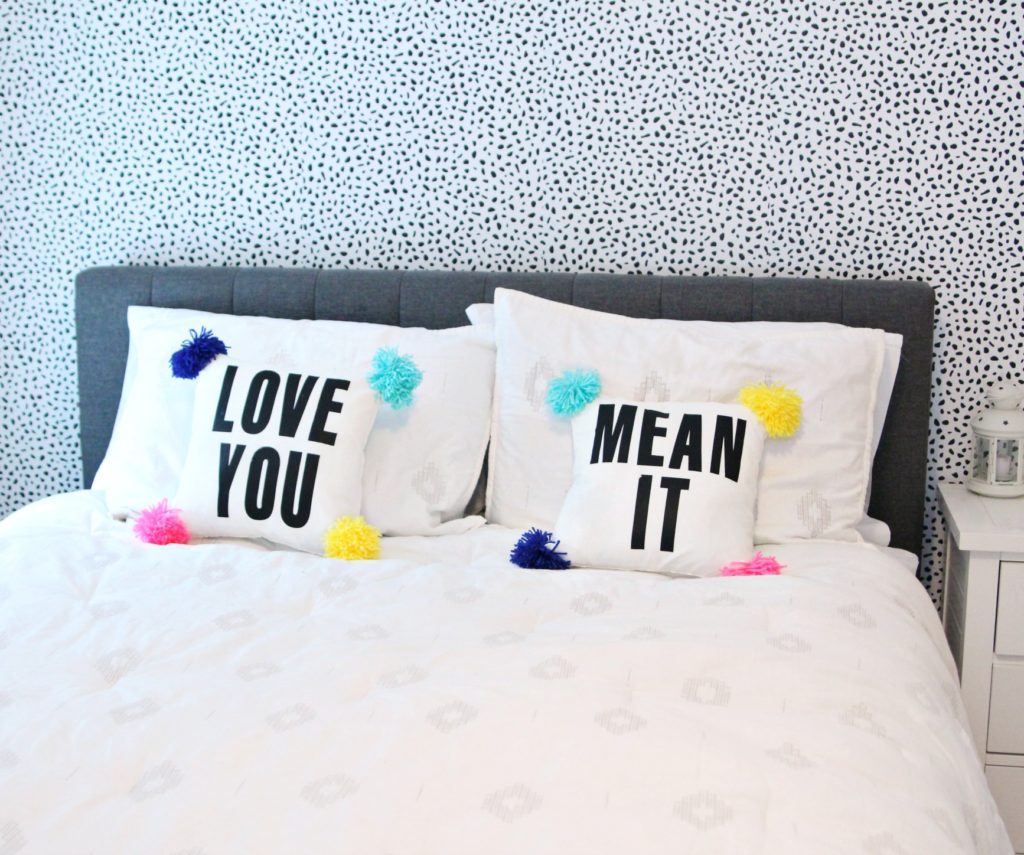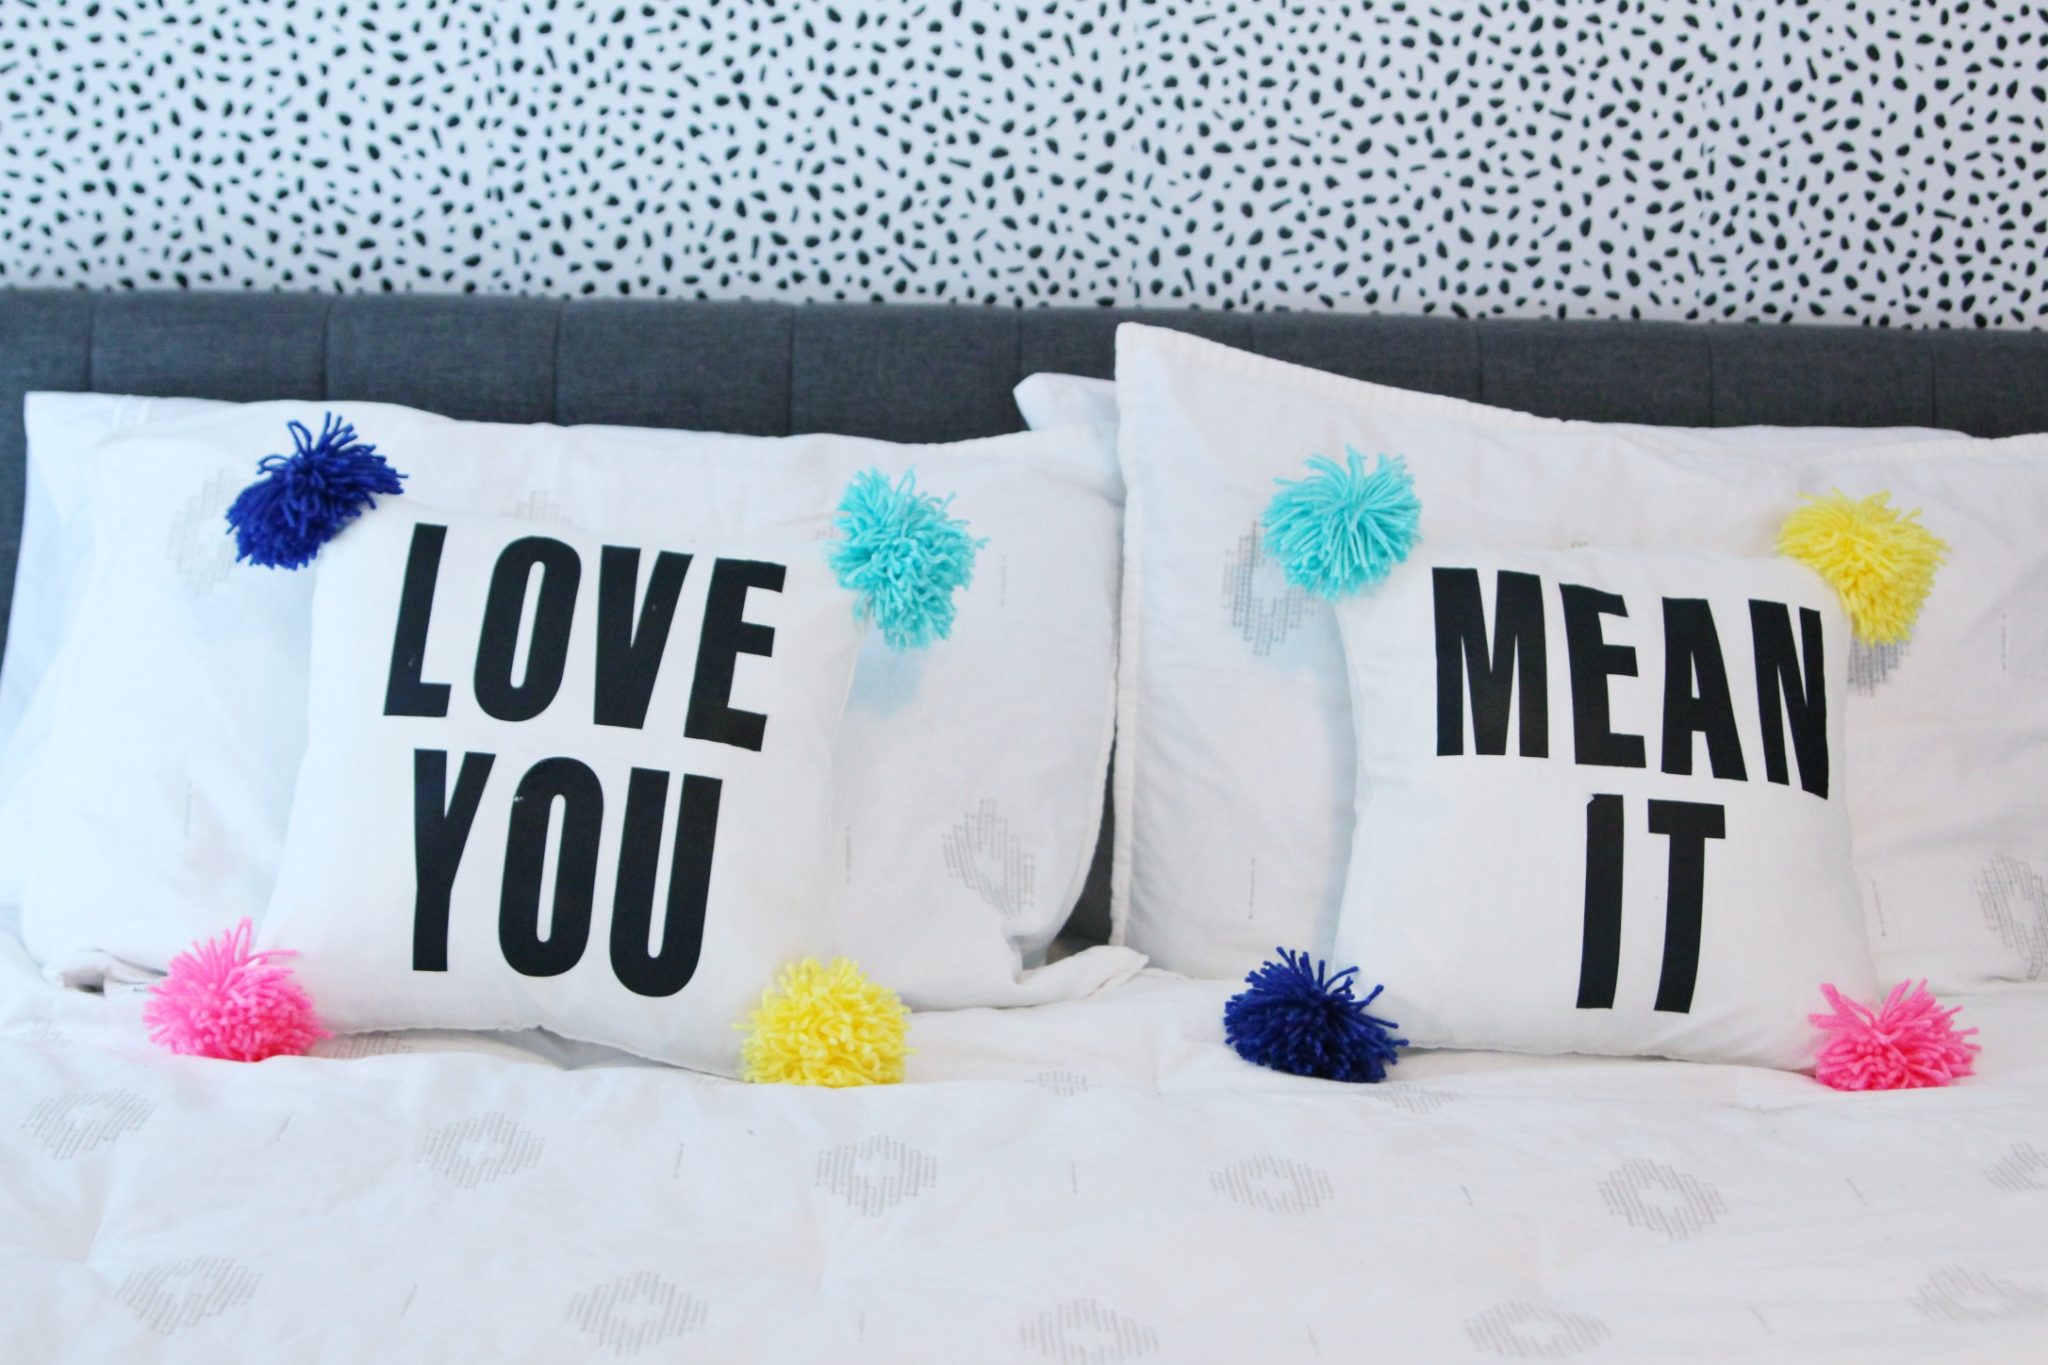
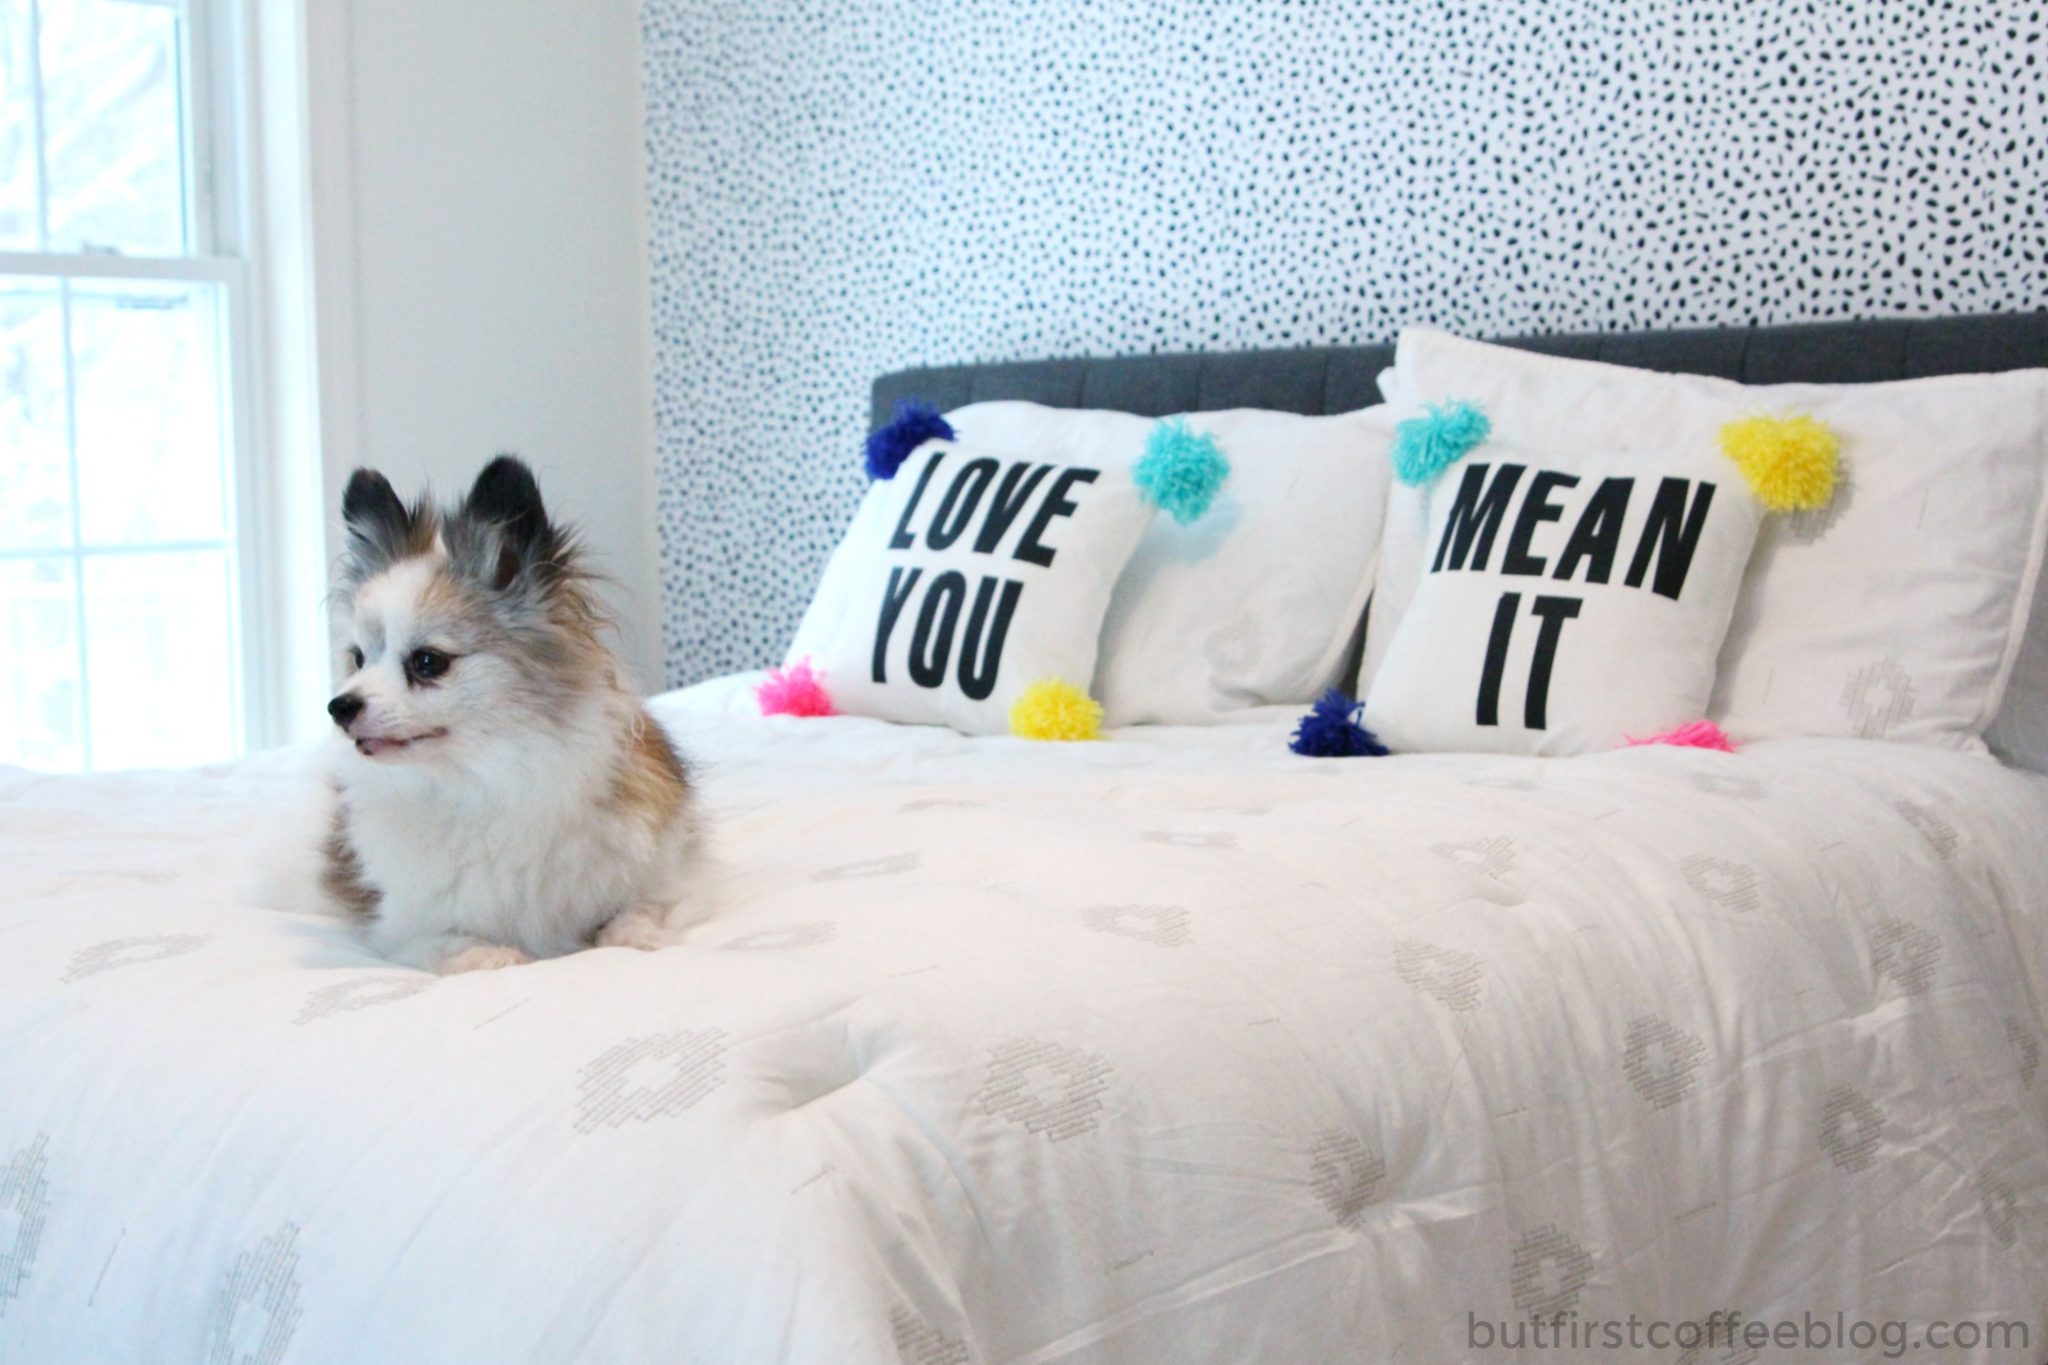
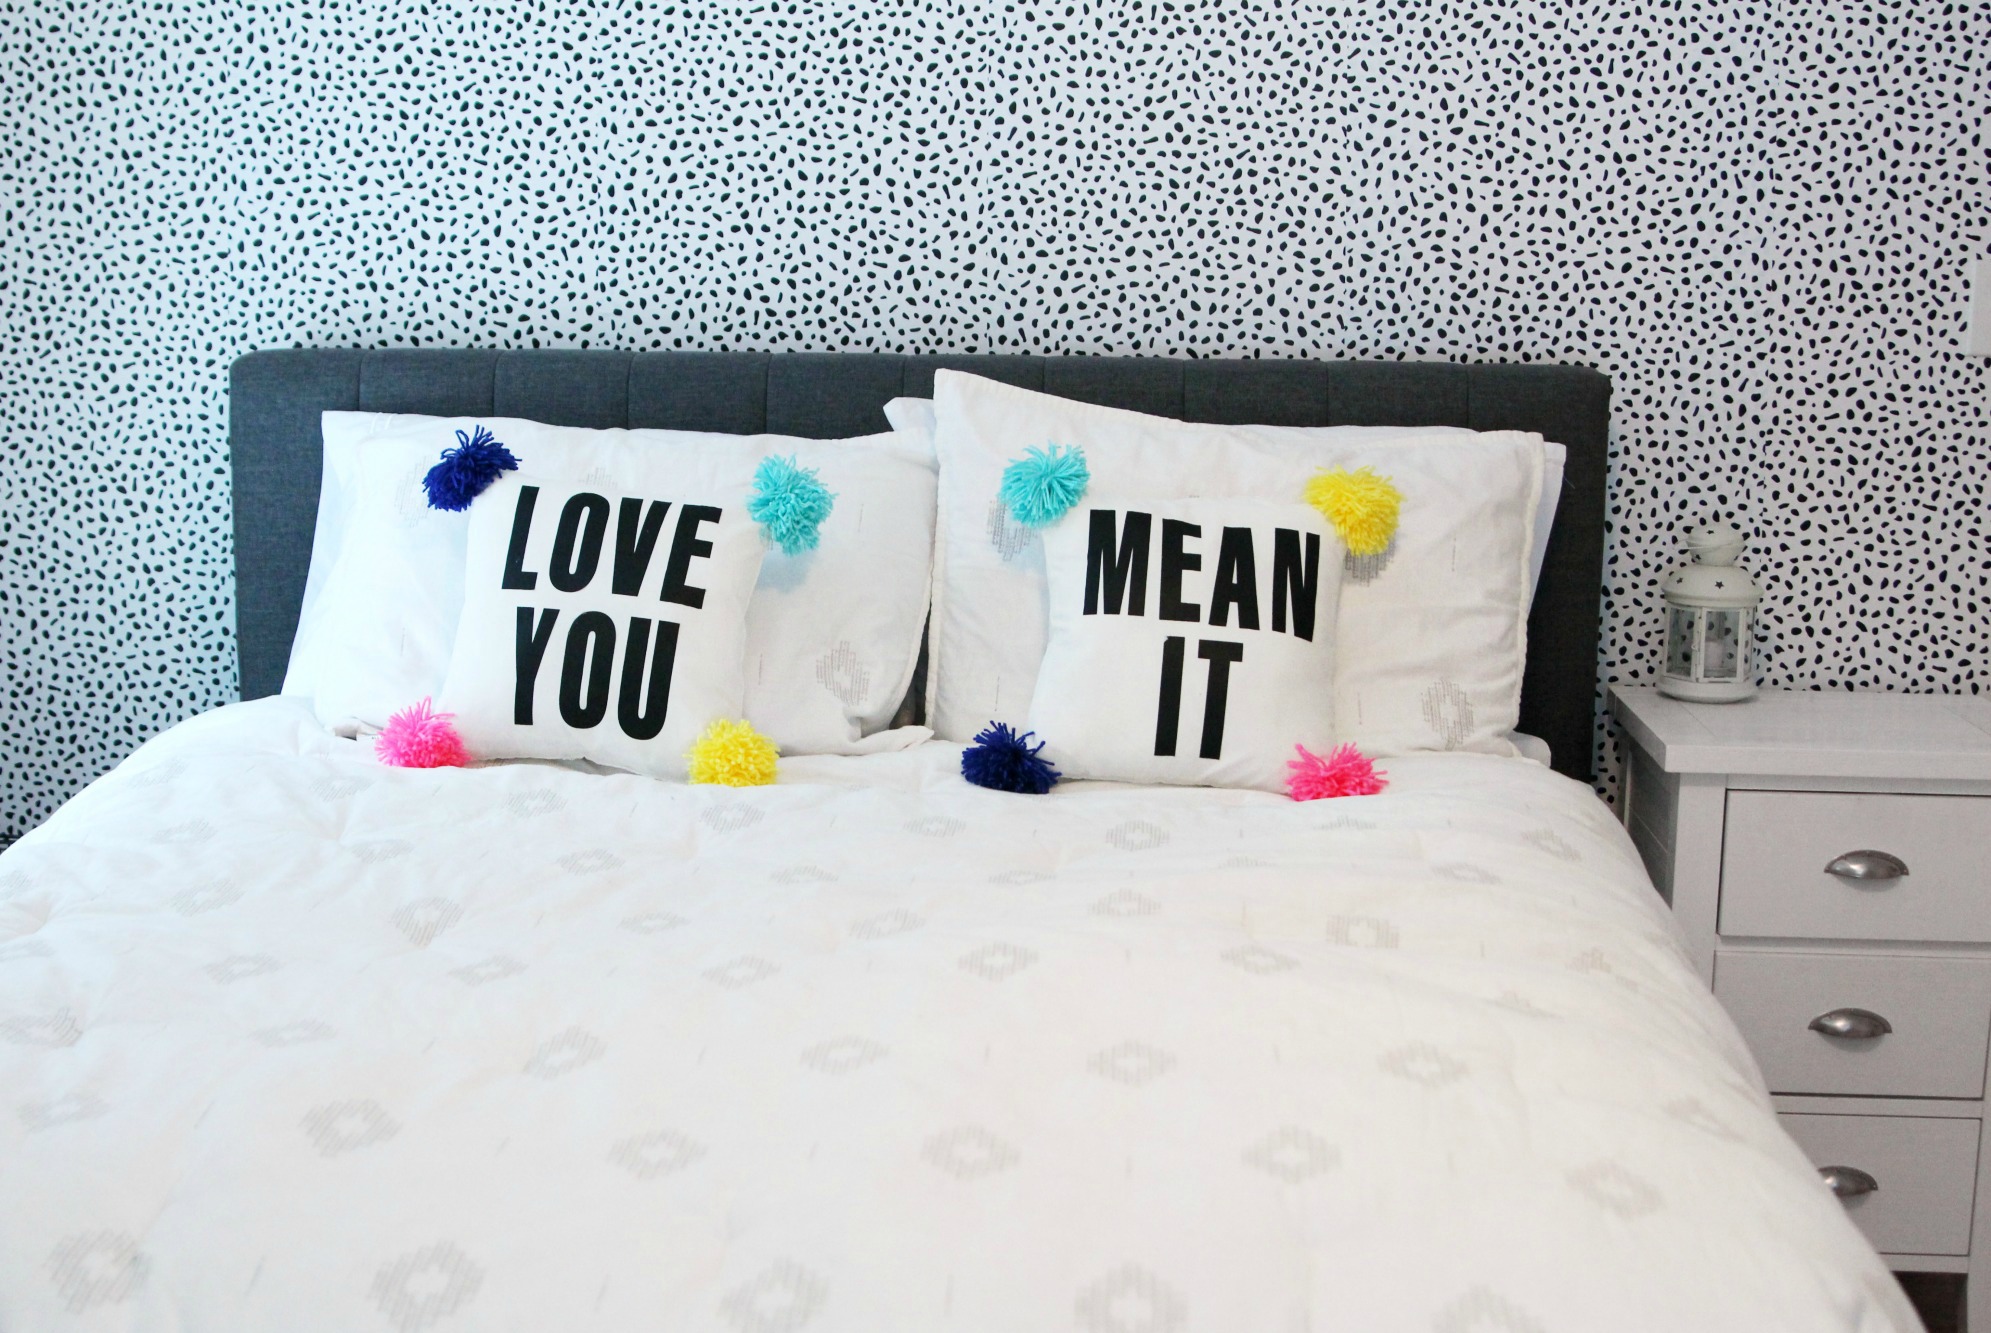
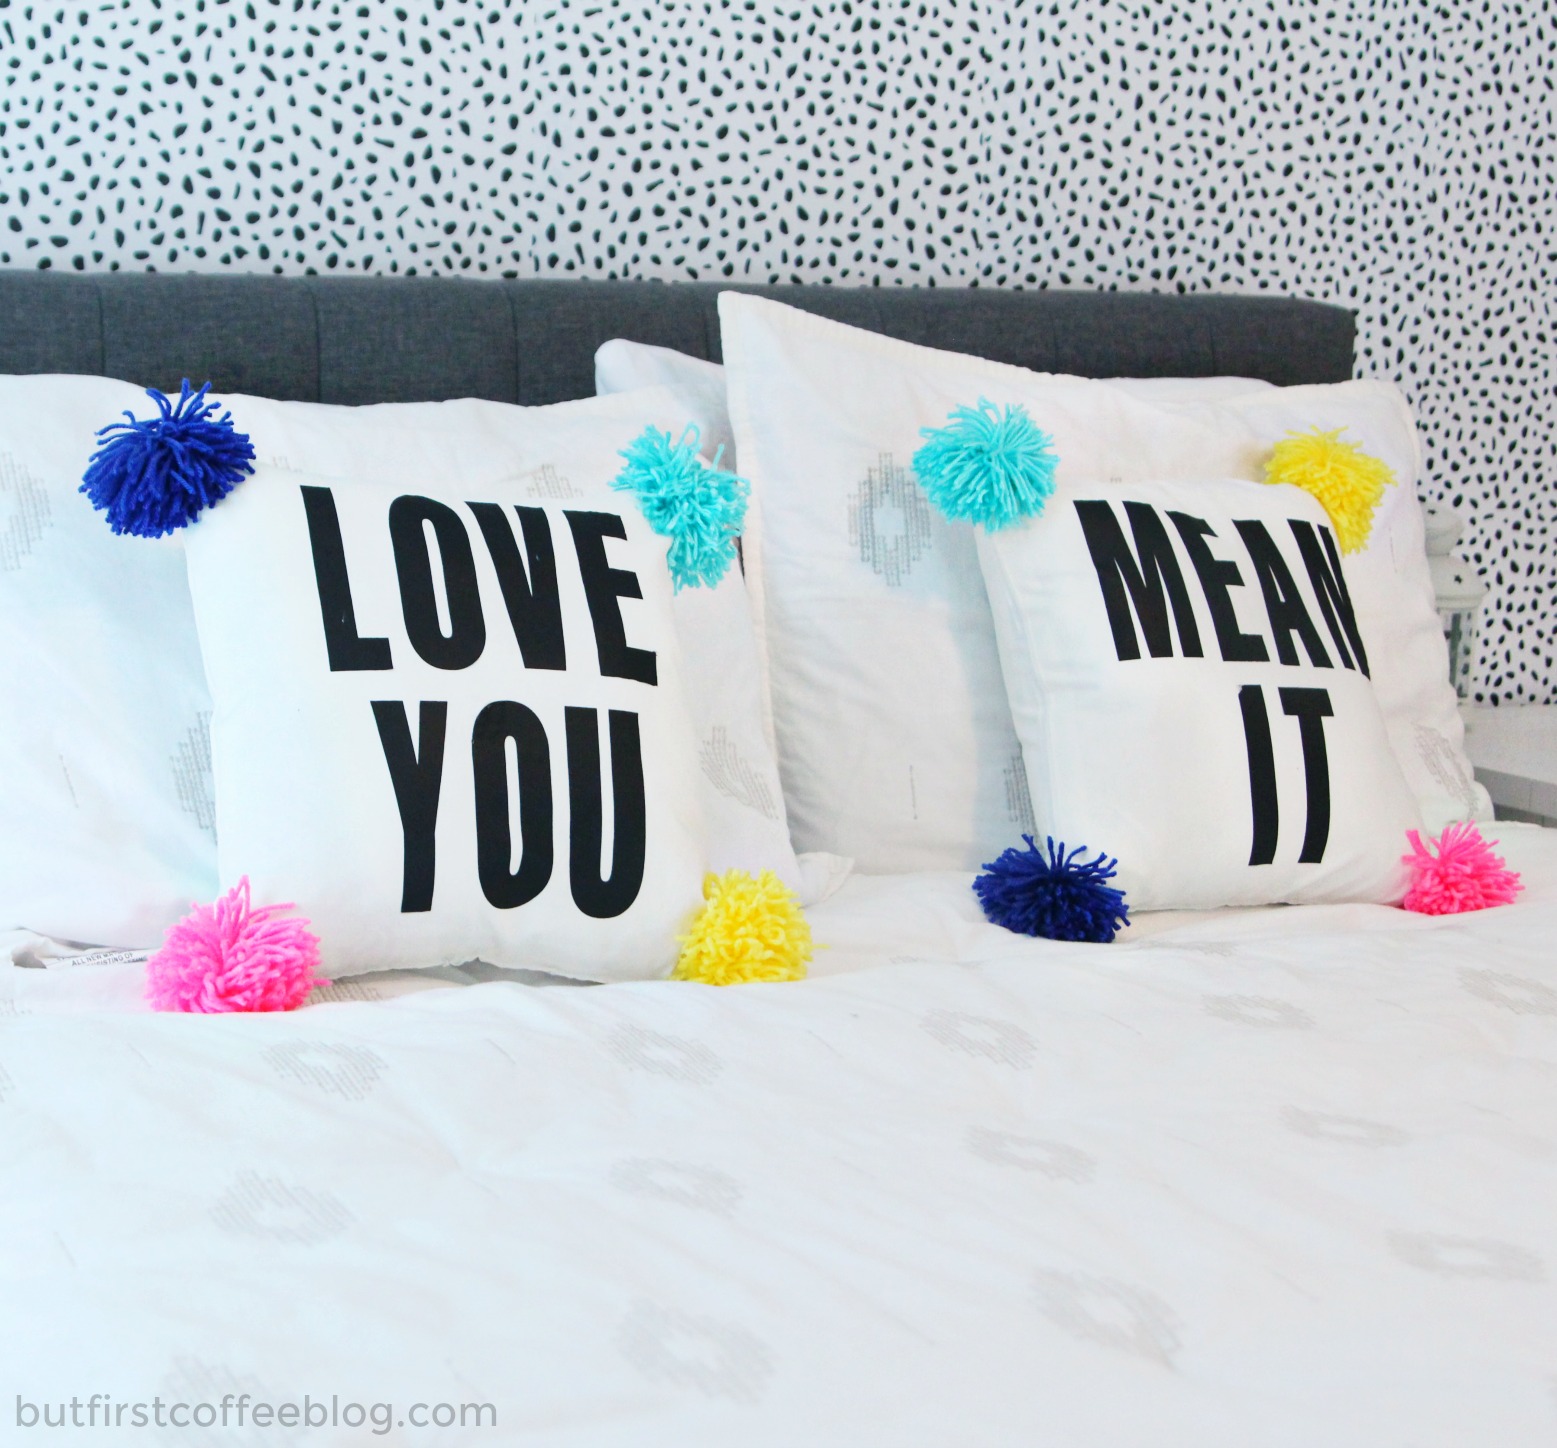
Colorful pom poms and tassels incorporated into throw pillows and blankets are too much fun. You can add a pom-pom to just about anything and it immediately makes the space feel happier. Plus, tassel and pom-pom fringed pillows are everywhere like this $60 pillow from Nordstroms of this $45 one from Pottery Barn. Our new bedroom is slowly coming along and we’re at the place now where we need to add the fun personal touches (and some nightstands…but who’s really keeping track?) I wanted to create my own pom-pom pillows without the big price tag.
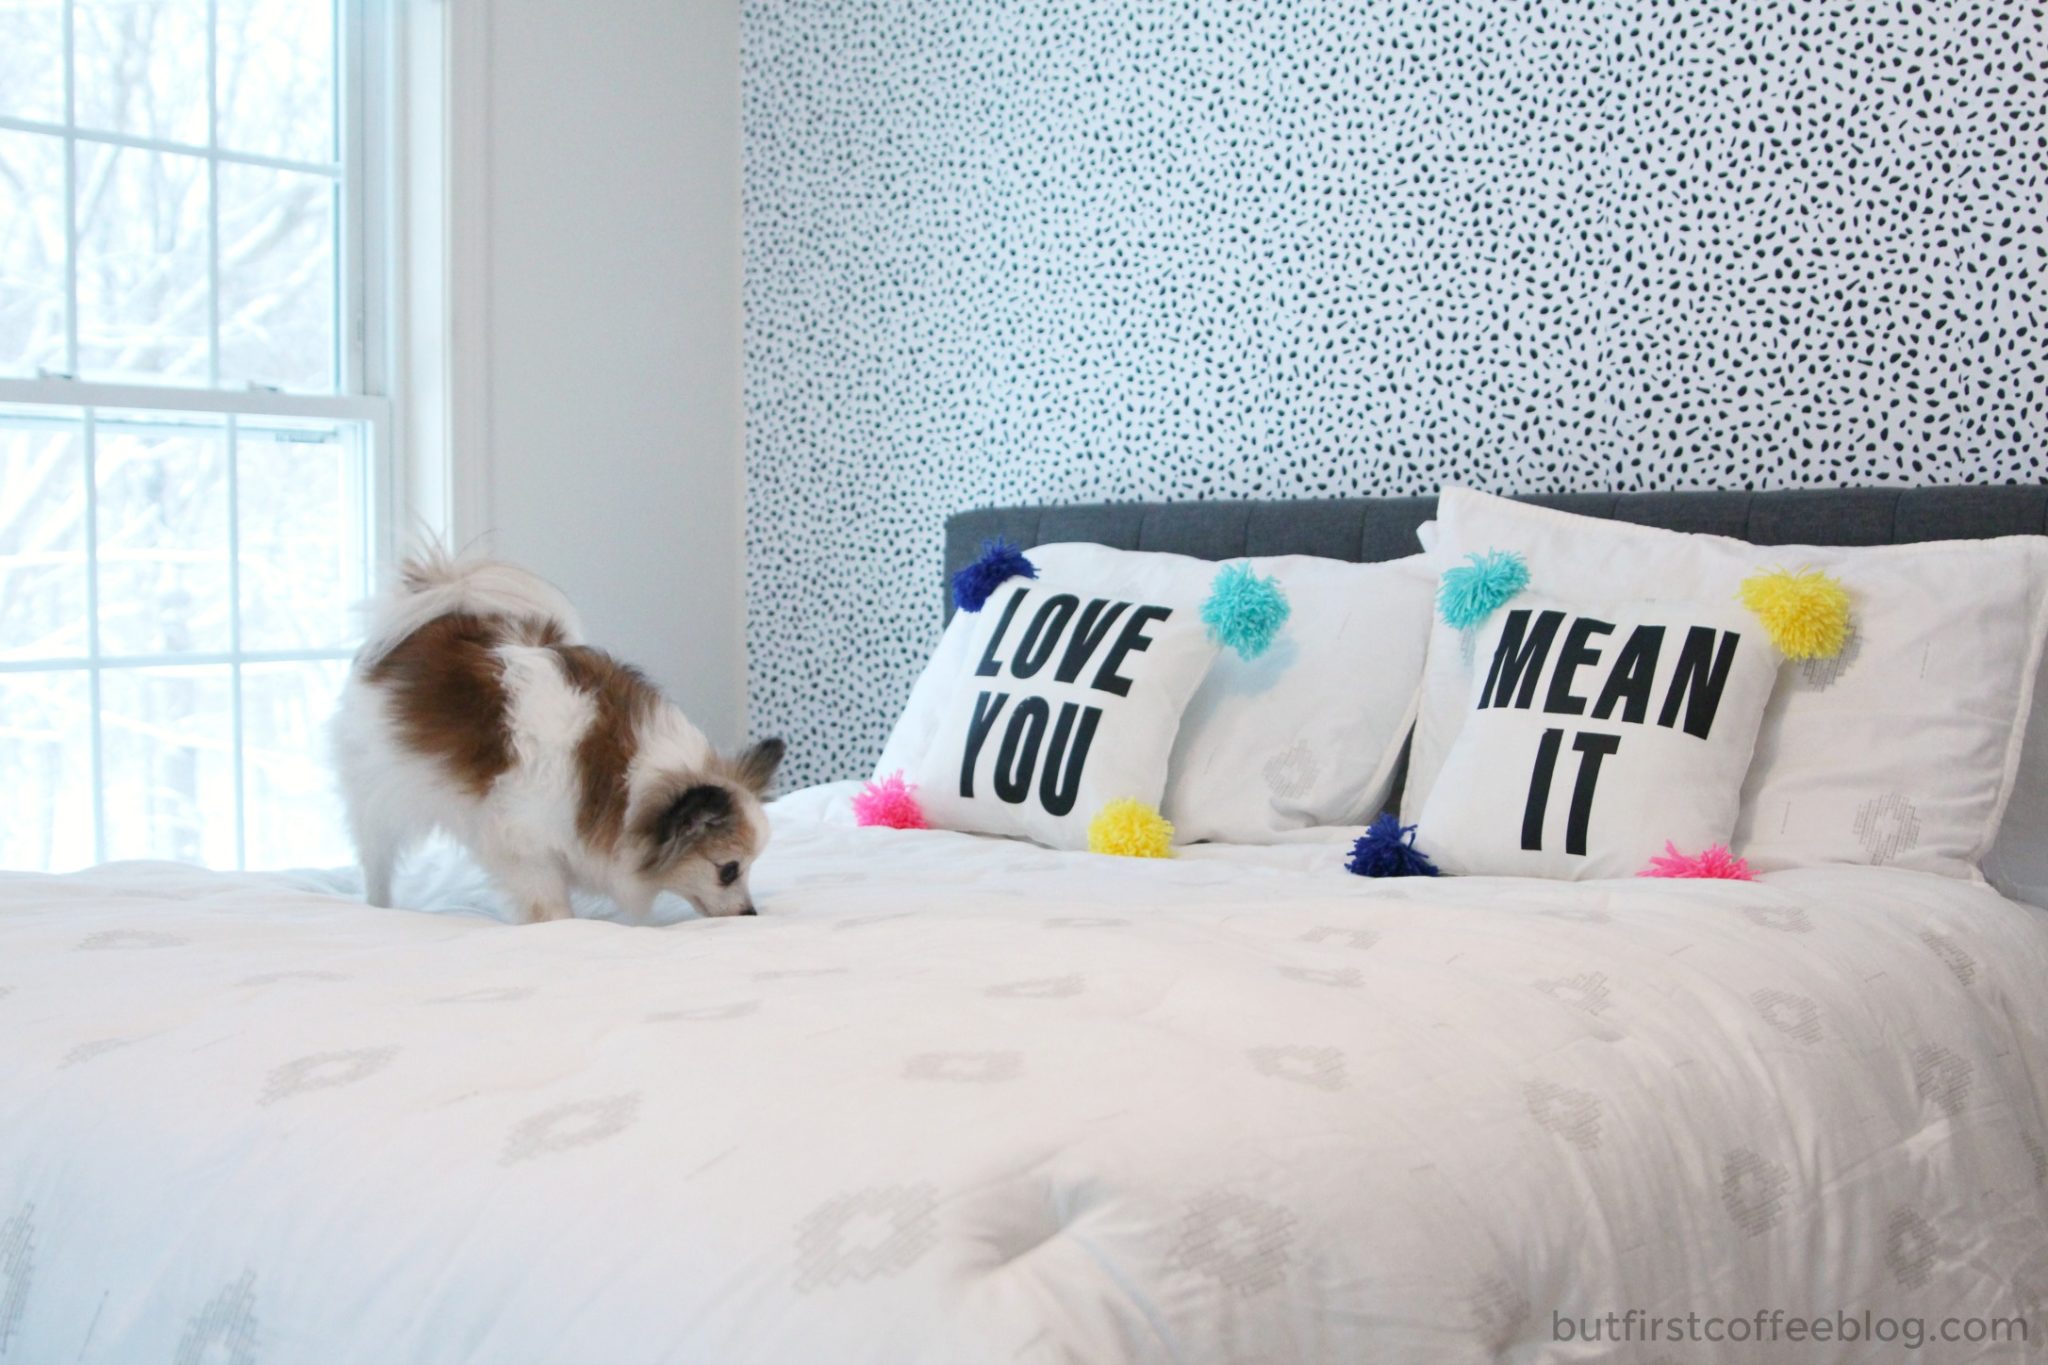
Before we moved in I added a really fun dotted wallpaper on one wall, but besides that most of the room is still pretty neutral. I went for all off-white bedding (because it’ll just match anything) and our new platform bed is a plain gray. This room needed some colors and fun. While the room is still far from complete I thought I fun DIY project could help to finish sprucing up the bed textiles. I DIYed these entire pillows including no-sew pillowcase covers, making the poms, and ironing on the letters. Today, I’ll walk you how I did it.
The first thing you need to do is make the pom poms. I went for mega, over-sized ones, so really they are like a pom-pom/tassel hybrid. If you wanted them to be more pom-pom, you’d just use more yarn to make it more full. Any yarn will work, but a standard thickness is easiest. Anything too thin or too thick would likely make the process more difficult.
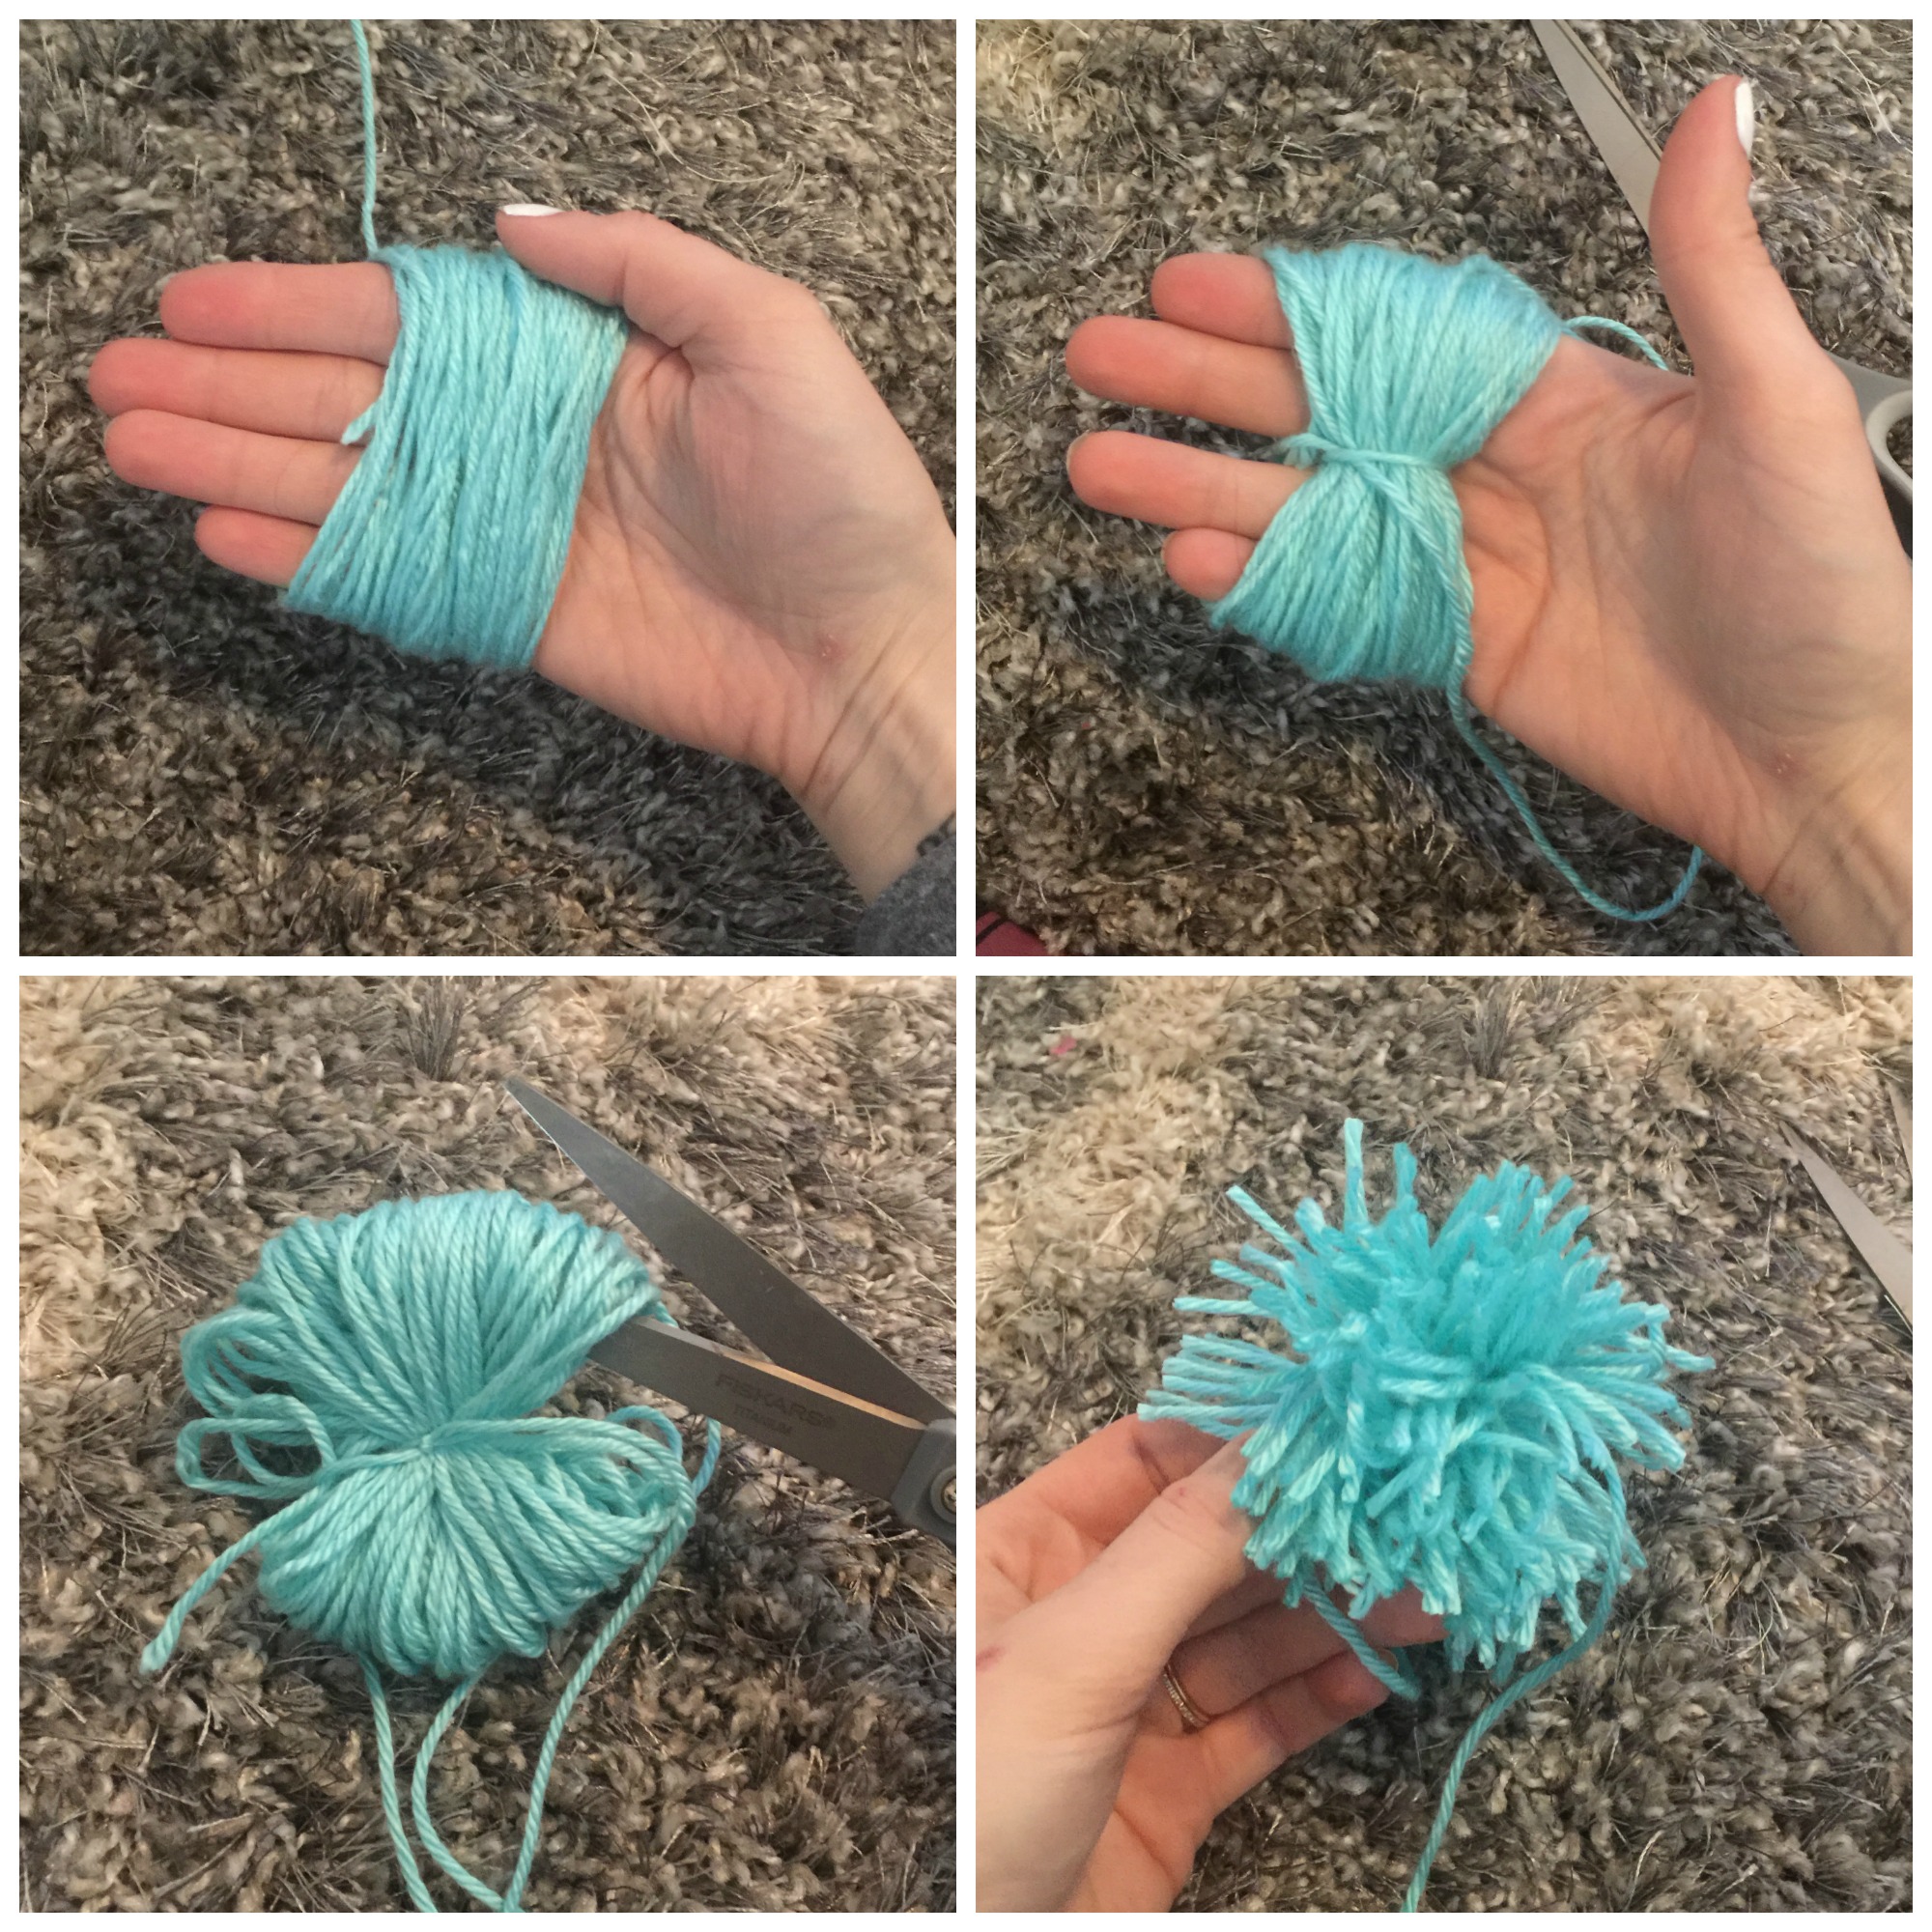
How to Make a Pom Pom Tassel
1. Start by wrapping yarn around the width of your hand. The more yarn, the thicker the pom-pom.
2. Using a piece of yarn, tie this gathered yarn around the center.
3. Tie the yarn as tight as possible. This will keep all the pieces in place.
4. Using a pair of scissors cut the loops at the fold.
Once you have your pom poms ready, it’s time to make the pillows. I searched around for some plain white pillows but couldn’t find anything. So, I decided to just whip up my own white pillowcases for pillow forms I got at the craft store.
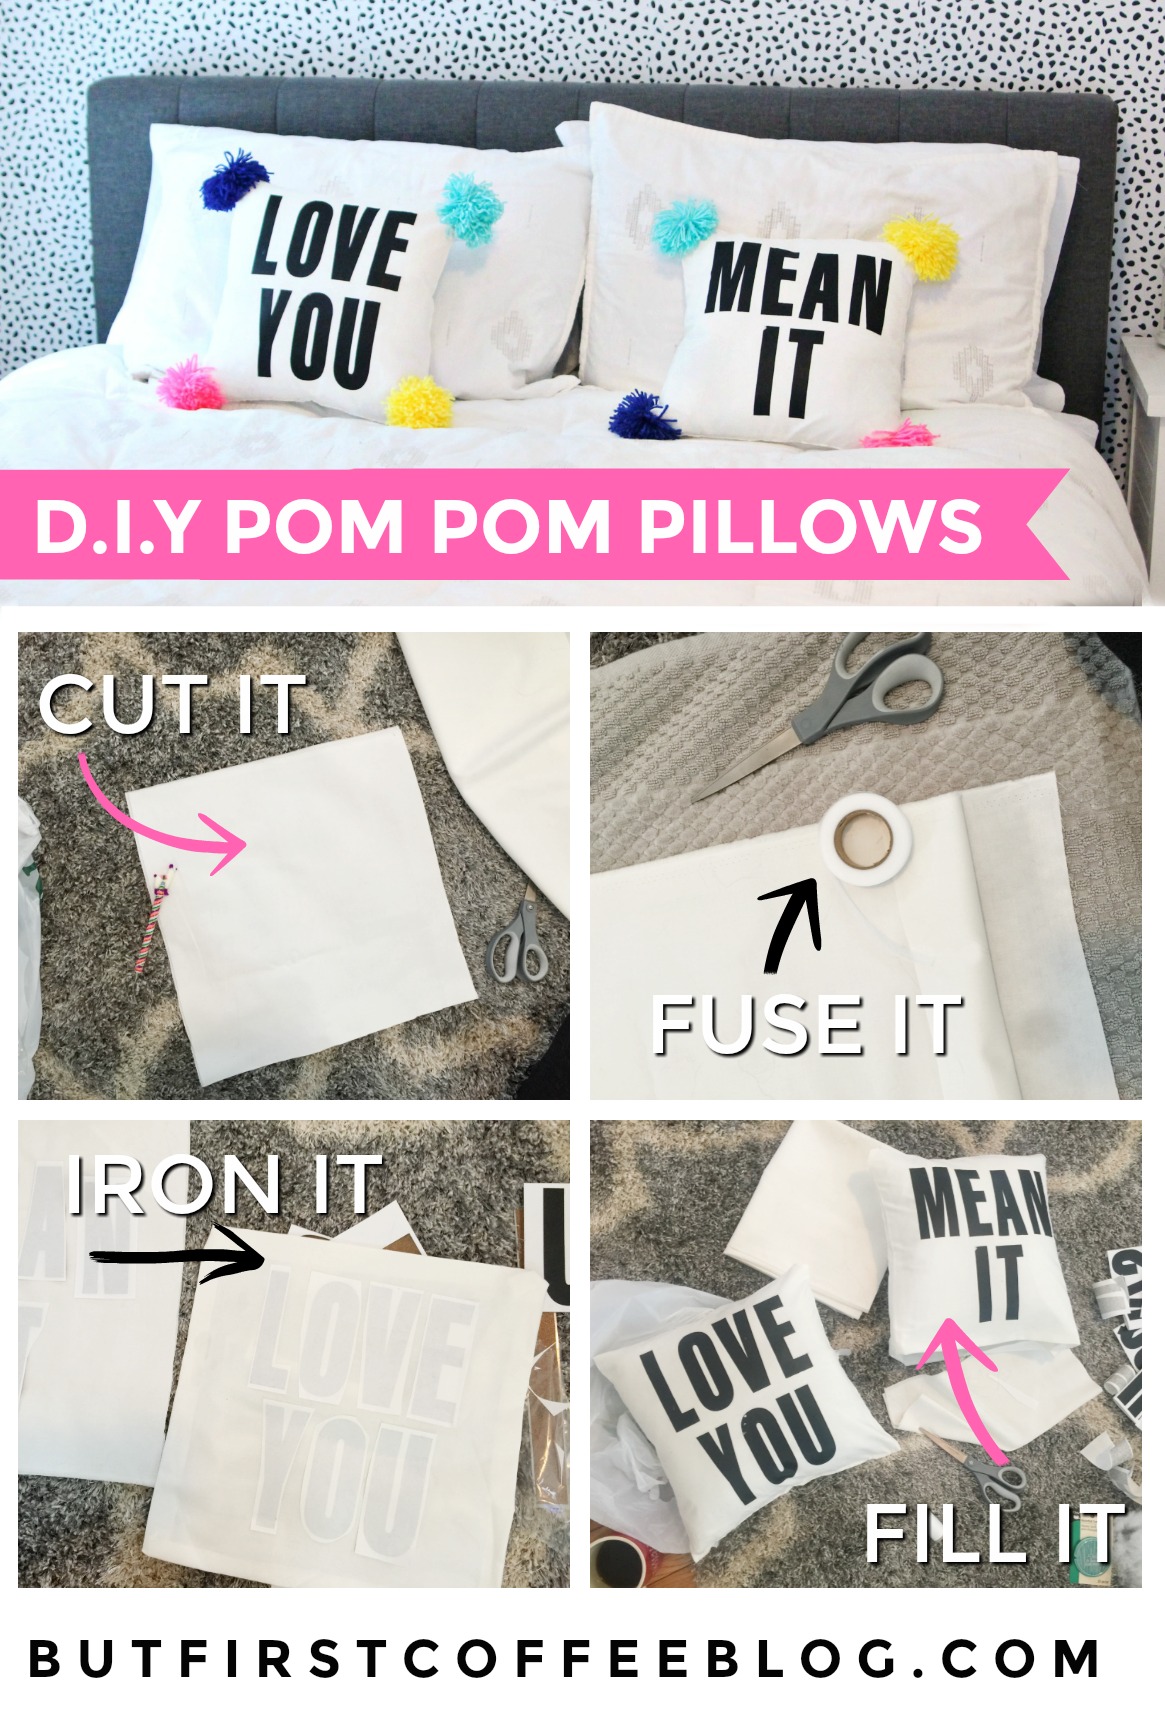
How to Make a Pillow Case without a Sewing Machine
What you need:
Pillow Forms
Fabric of choice (amount depends on size of your pillow form)
Fusible Bonding Web/Stitch Witchery [ what I used here ]
Iron
Pom poms (explained above)
Iron on letters [ what I used here ]
Needle & Thread

1. Measure your pillow form. Using your fabric of choice, cut two equal sized pillow cases adding 1-1/2 inches. For example, my pillow was 14″ so I cut two 15-1/2″ fabric pieces.
2. Place the right sides (side with the pattern) of fabric together so that the unfinished sides are facing outward.
3. With Fusible Bonding Web, secure three of the four edges together. Fusible Bonding Web looks like tape but is a web-like consistency. When you iron it, it becomes hot and turns into an adhesive. It works great for a pillowcase like this since these pillows won’t get a lot of wear and tear. However, if you’re making a pillowcase for somewhere like a living room you might want to consider using a sewing machine or looking into stronger options like fabric bond adhesive.
4. Turn the pillowcase inside out so that the right sides are now facing outward.
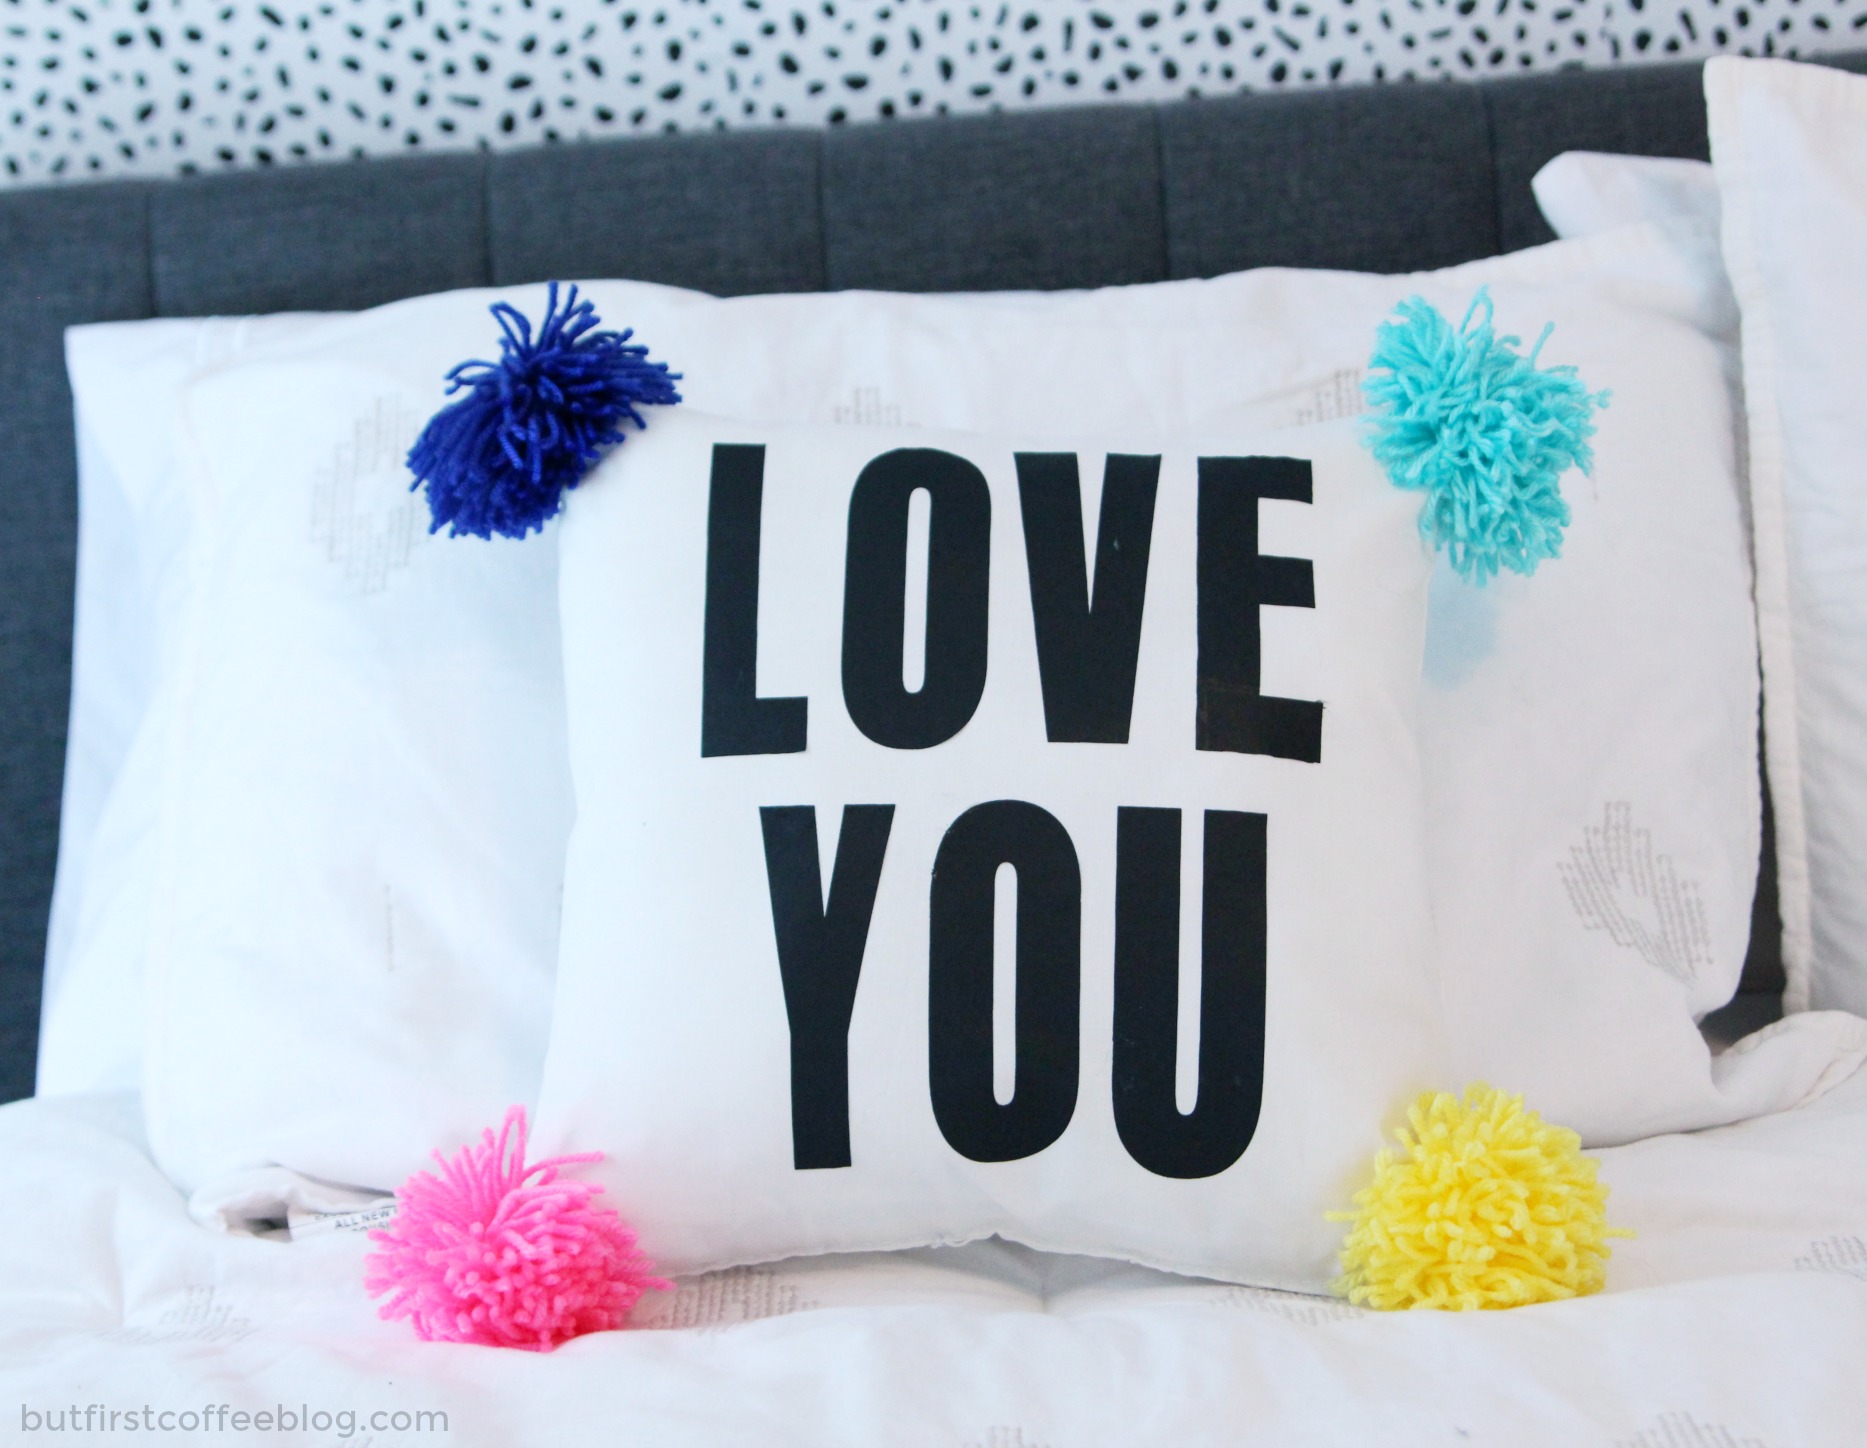
5. Using iron on letters, arrange the letters how you desire and iron into place. Follow the directions on the iron on letters closely as they all vary depending on the brand.
6. Using the one open end, insert the pillow form into the pillowcase.
7. Fold the raw ends of the fabric inward, and hand sew the fourth edge closed.
8. Again, using the needle and thread, place a pom pom on each corner and sew into place using 4-5 secure stitches.
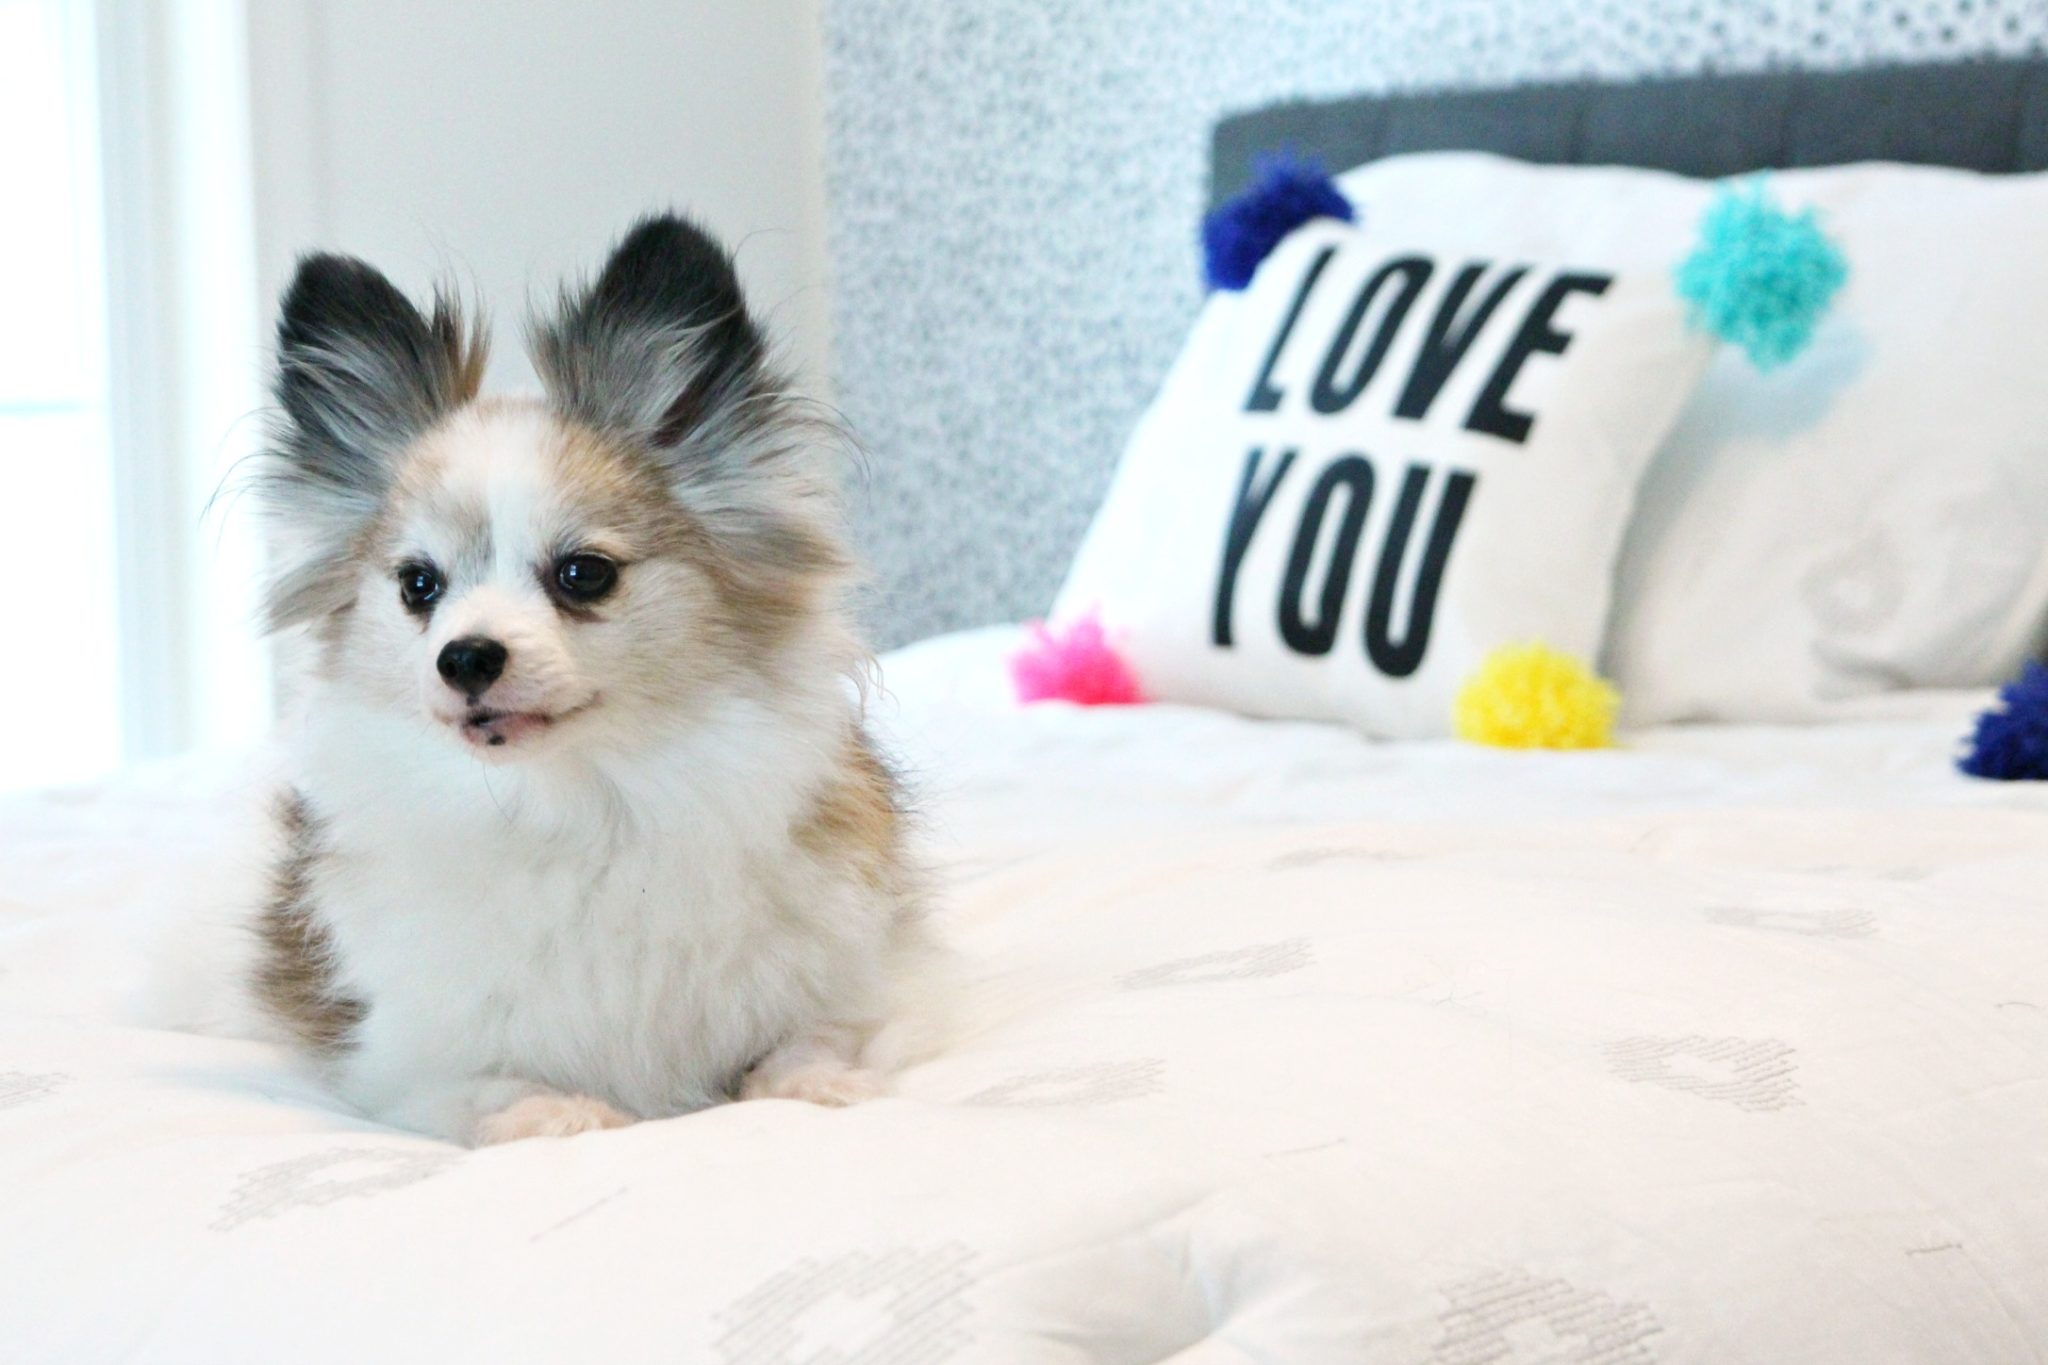
If you re-create this, don’t forget to share with me using #butfirstcoffeeDIY
Shop my bedroom


