Michael and I have done our fair share of moving: 7 houses in 12 years to be exact. Hopefully, the next one will be a long term move as we’re in the process of trying to save up to buy #adulting.
Anyway, one problem I’ve always struggled with, no matter which of the seven houses, has been bedside lighting. I think the biggest challenge is the lack of space. In order for us both to have a light on our side, we each need a bedside table with a table big enough for a light.
On top of that, as we’re still renters so adding lighting into the wall like a sconce just isn’t an option. In our current house, I really wanted to be able to bring in some proper bedside lighting FOR ONCE, but still struggled with the “how do I fit it all” issue. That’s when I started to noticed hanging lights next to beds. They were simple wall plug lights that were simply hung next to the bed. No need to hide wires or take up nightstand space, the whole point of them was to look slightly undone. I was hooked. That’s MY kinda home improvement – easy peasy.
Well, then I started looking online to find some and was a little put-off. $100 for one single rope light? $200! This seemed outrageous. I figured I could DIY the same look at a fraction of the cost and so that’s just what I did.
What You’ll Need

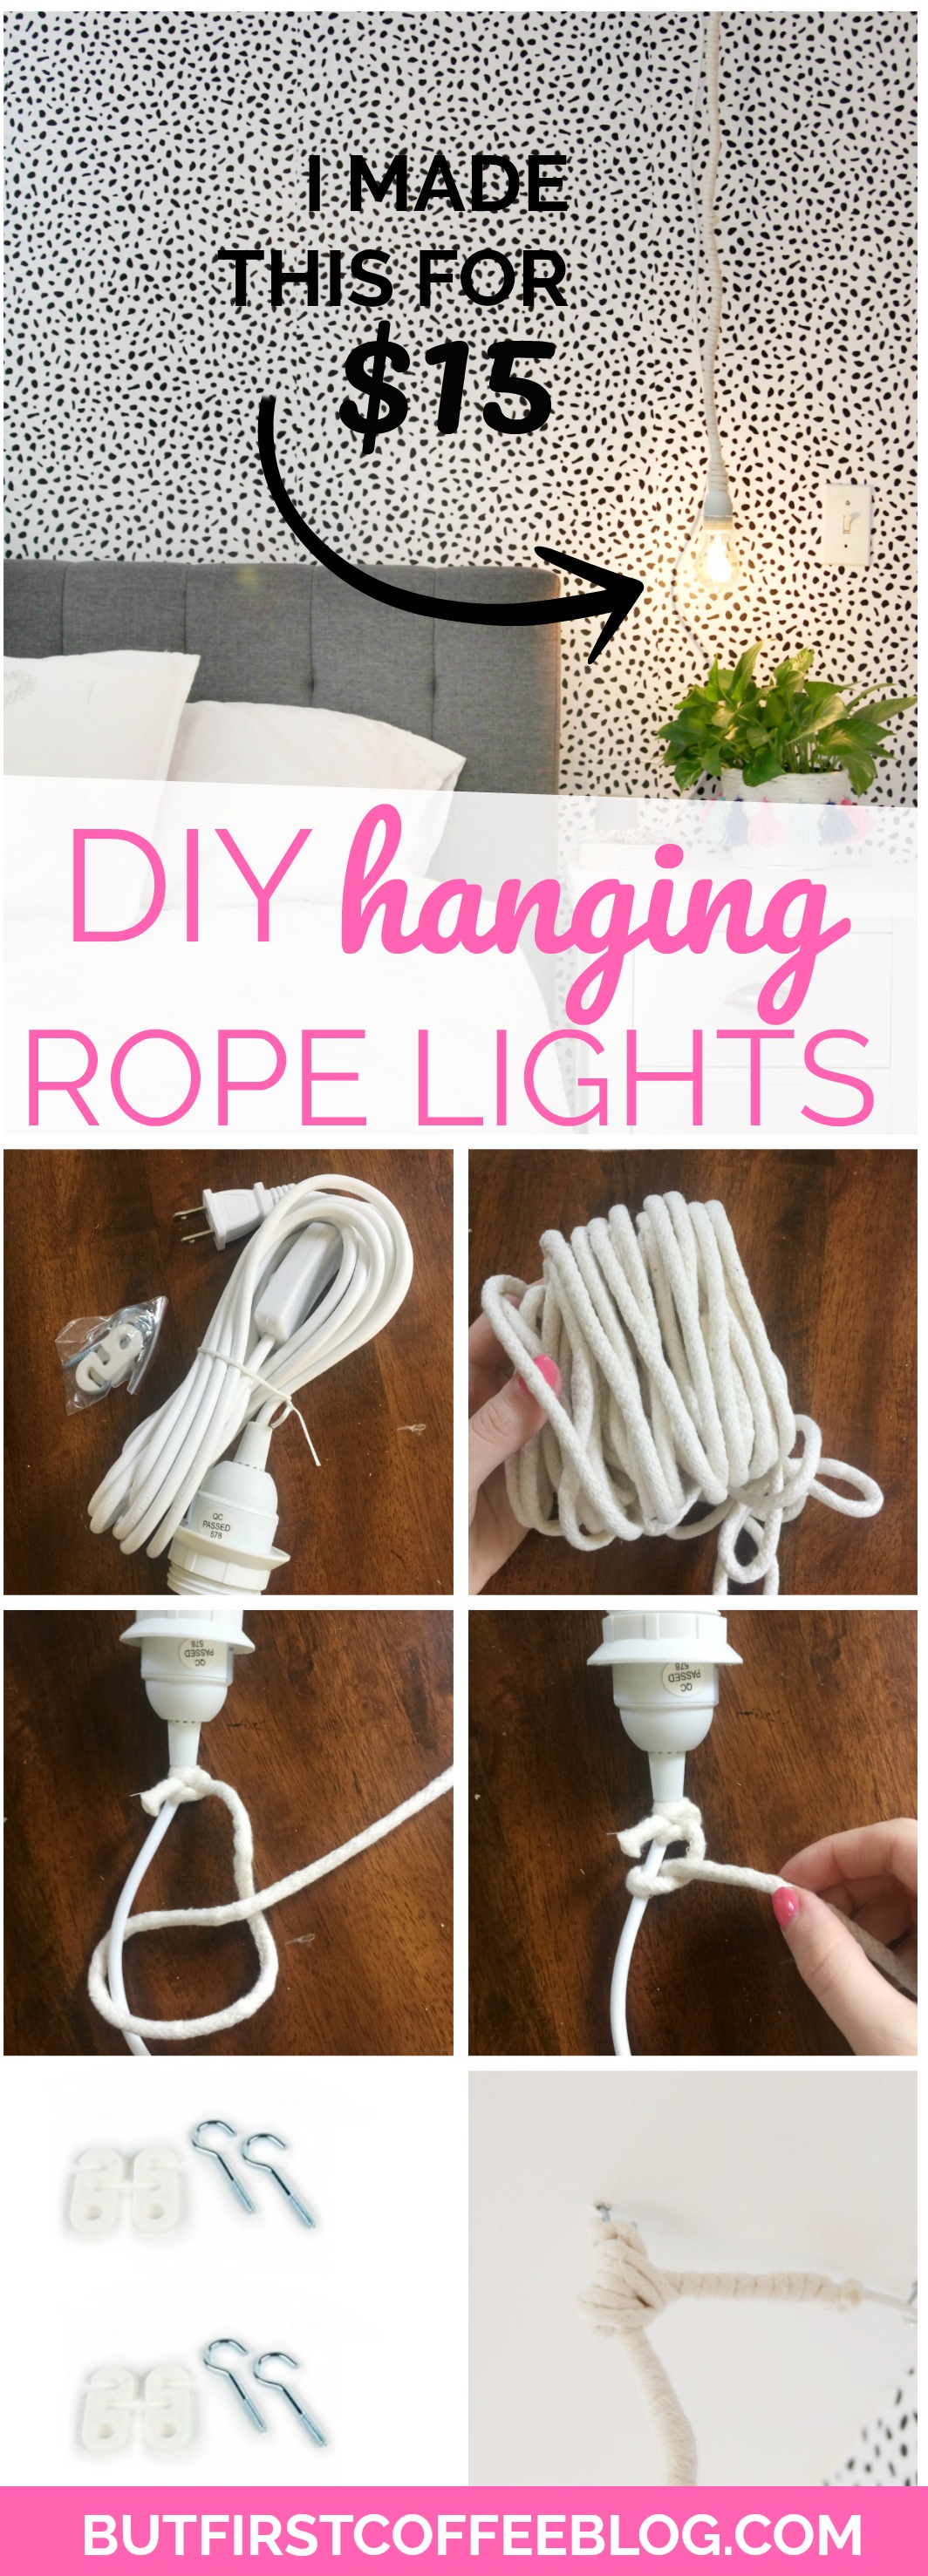
This DIY project is easy peasy. First, you need is cord set for a Pendant lamp, preferably one that comes with an on/off switch unless you’re plugging it into an outlet that’s hooked up to a switch. I was able to get a set of 2 for $15 that came with the hanging eye hooks. If yours doesn’t come with a hanging set, you’ll need to buy that separately. Then, you’ll also need some cotton rope. You can really use any rope if you want to use more hemp style rope for a “farmhouse” look or blue rope for a “nautical” look. Totally up to you!
How to Make the DIY Hanging Rope Lights/ Loop Line Lamps
Step One: Start by securing your rope to the base of your cord with 2 knots.
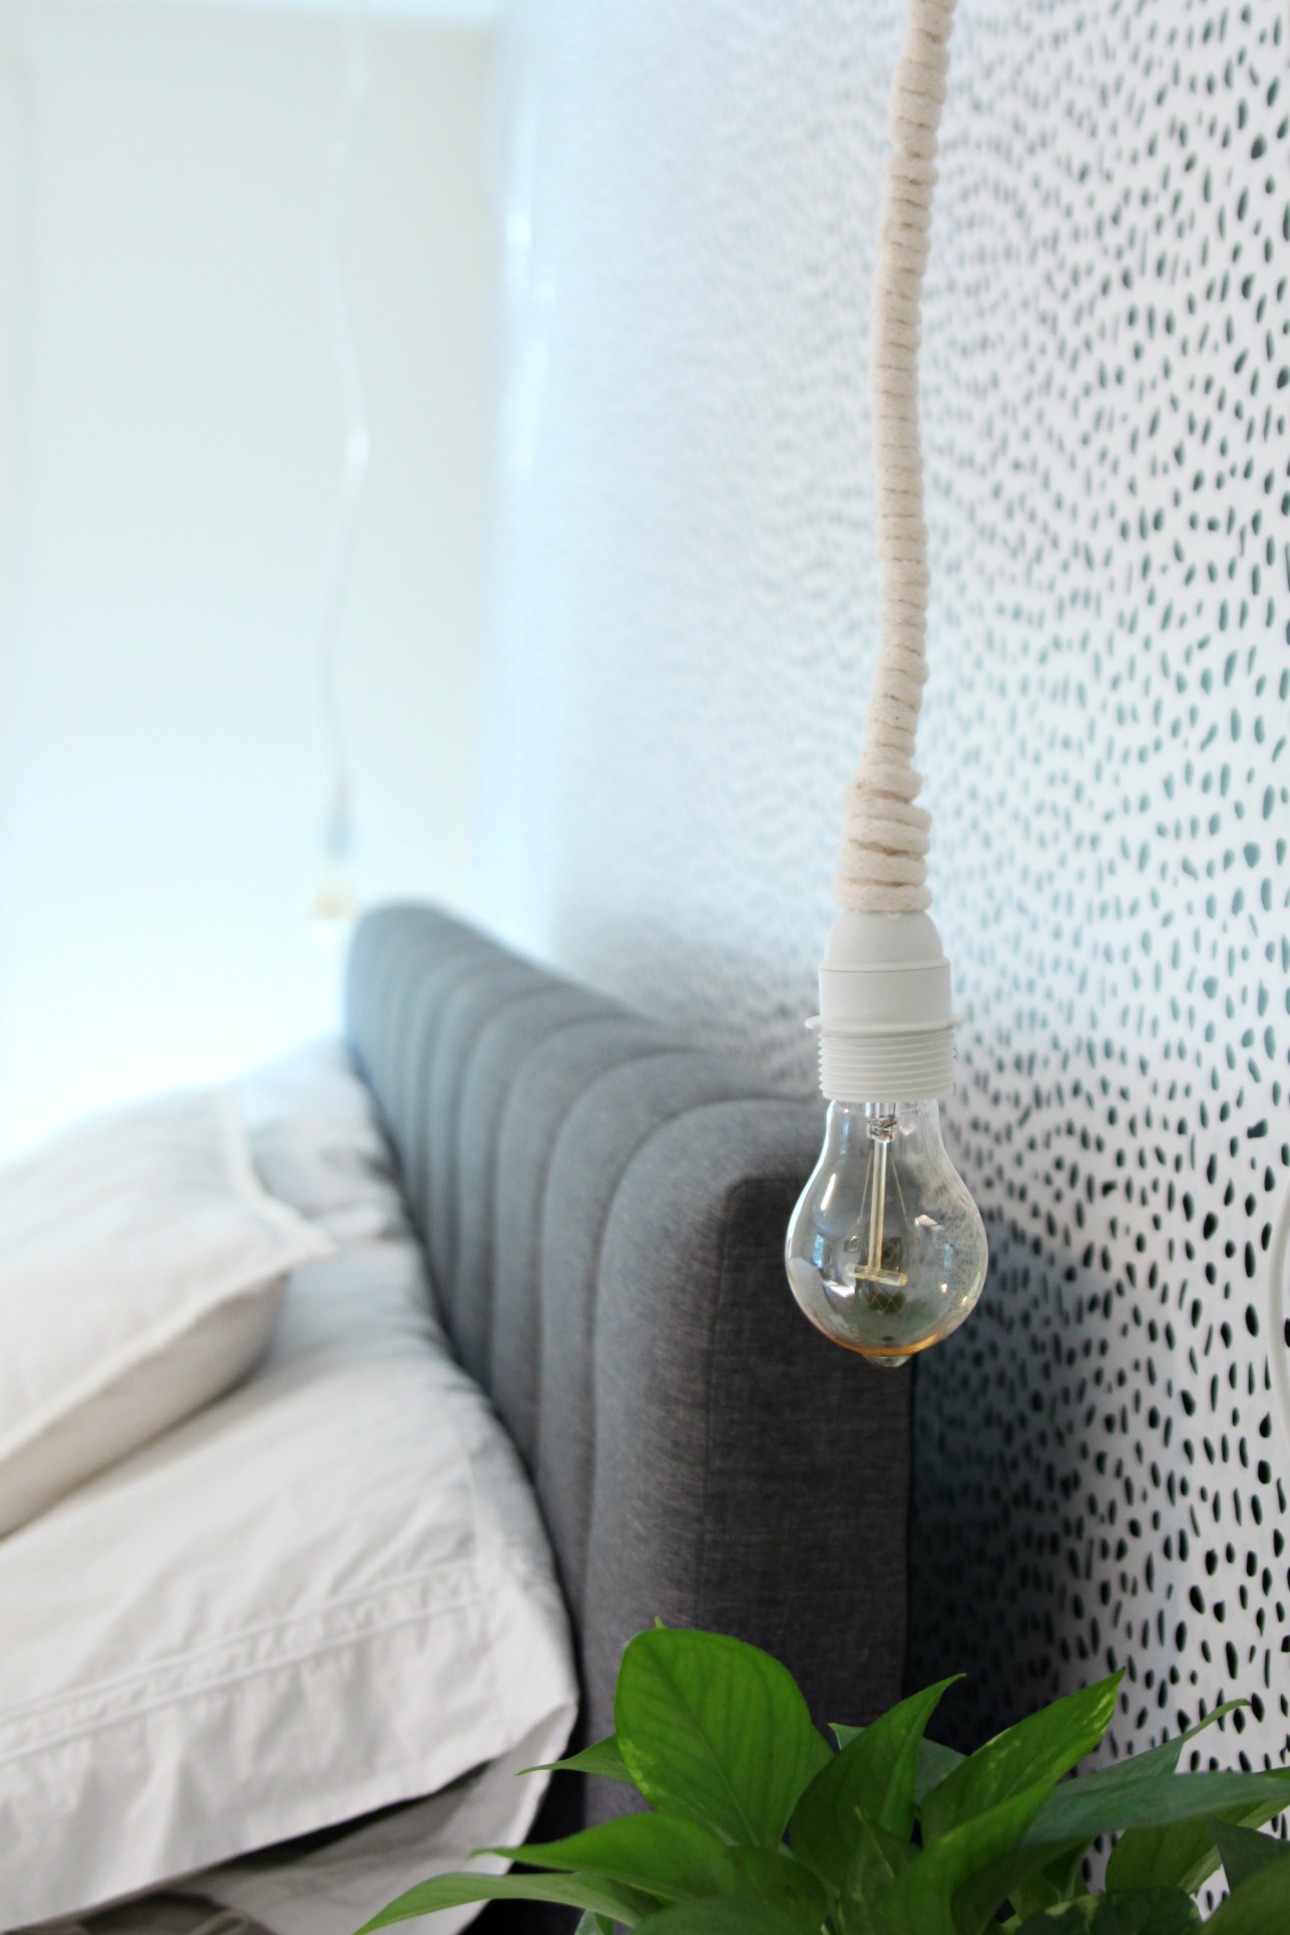
Step Two: Wrap! Just wrap away, wrapping the length of the rope around the cord. You can measure about how much of the cord you need to be covered in rope by measuring from the ceiling down to where you want the pendant light to hang.
Step Three: Secure the end with a knot.
TIP: If the end of your rope looks like it’s going to fray, a little dot of clear nail polish will hold the end together and prevent fraying.
Step Four: Screw in the hangers. Like I mentioned most ceiling light cords will come with a hanging set, usually two eye hooks and two cord holders. Screw one into the ceiling as close to the wall as you can. Screw the other directly above where you want the light to be hanging. I took mine out about 6-8 inches.
Step Five: Hang!
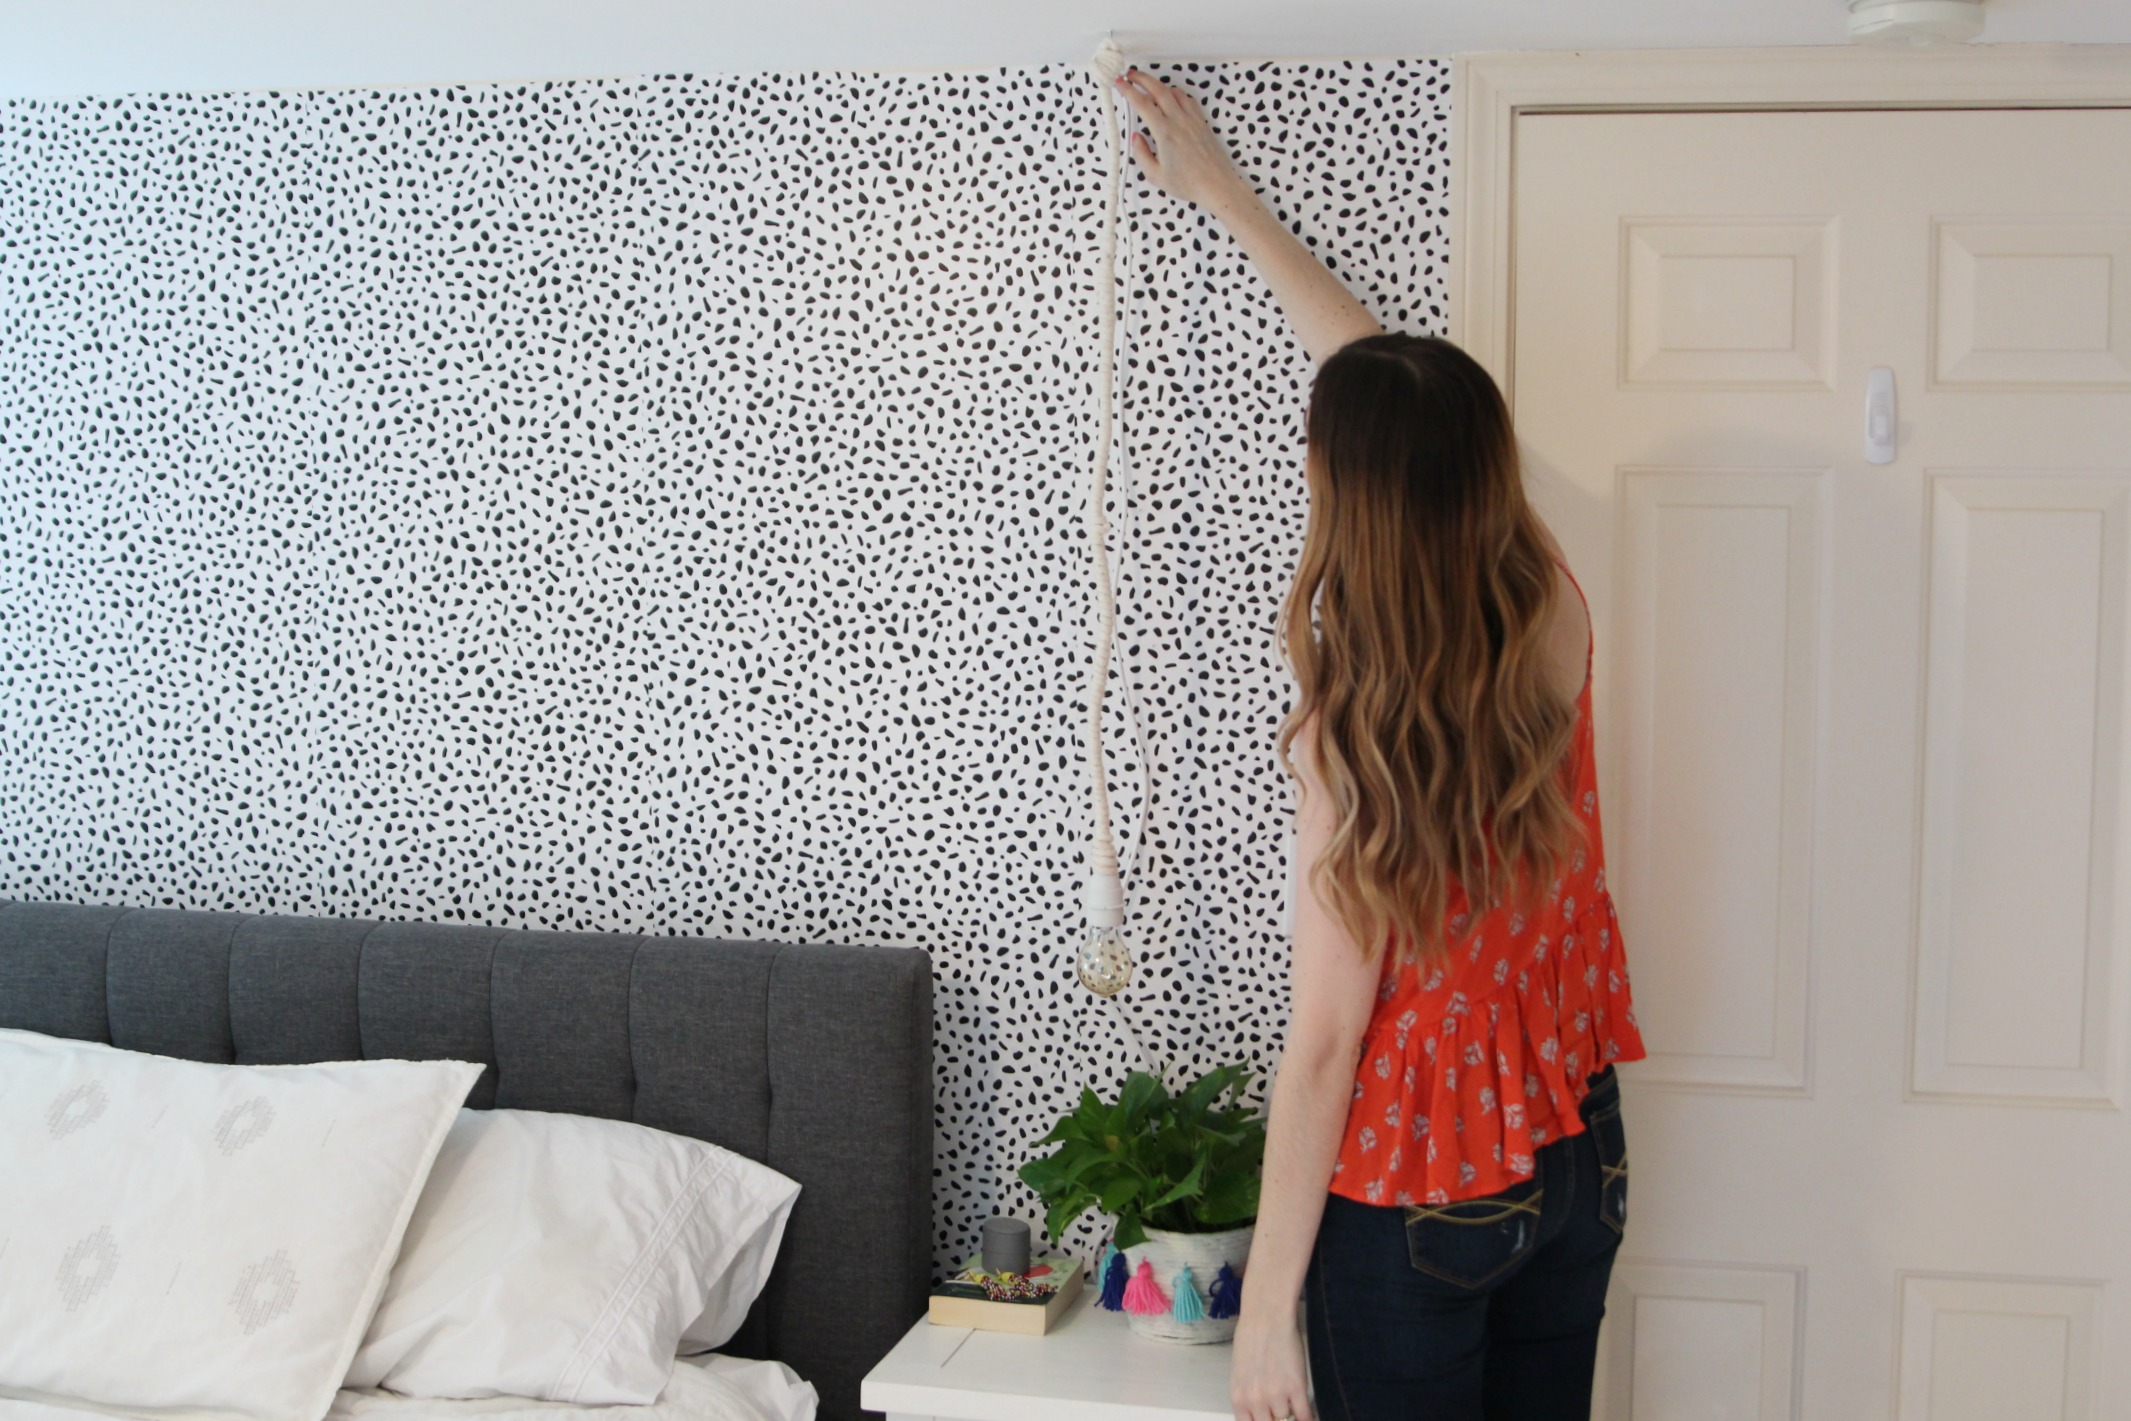
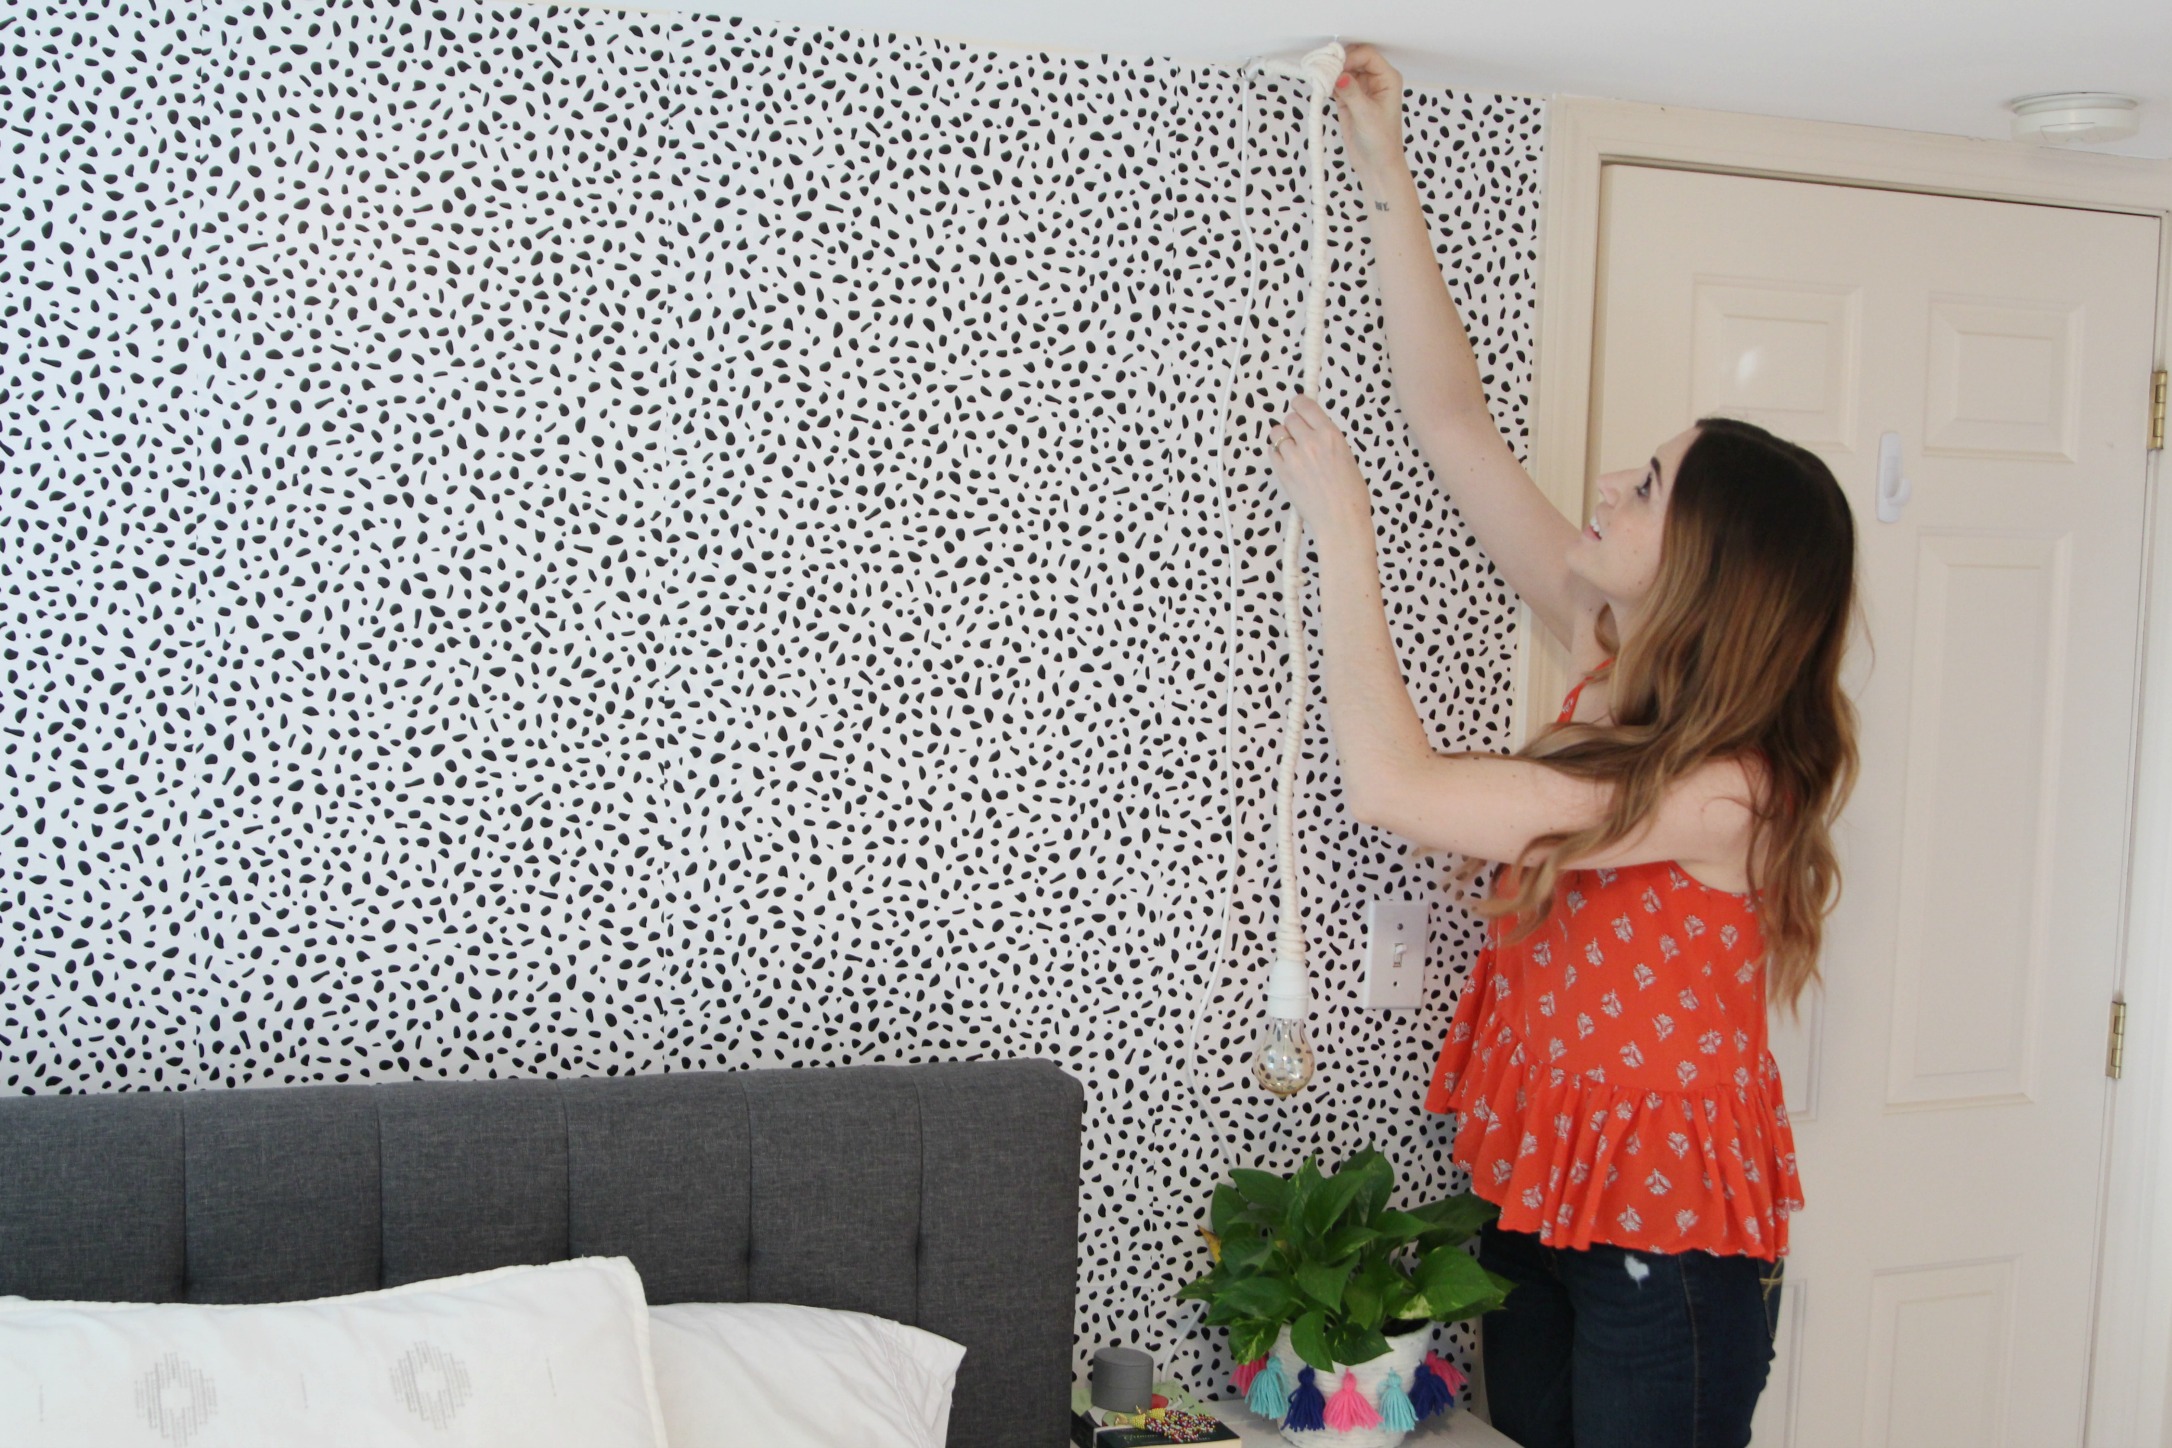
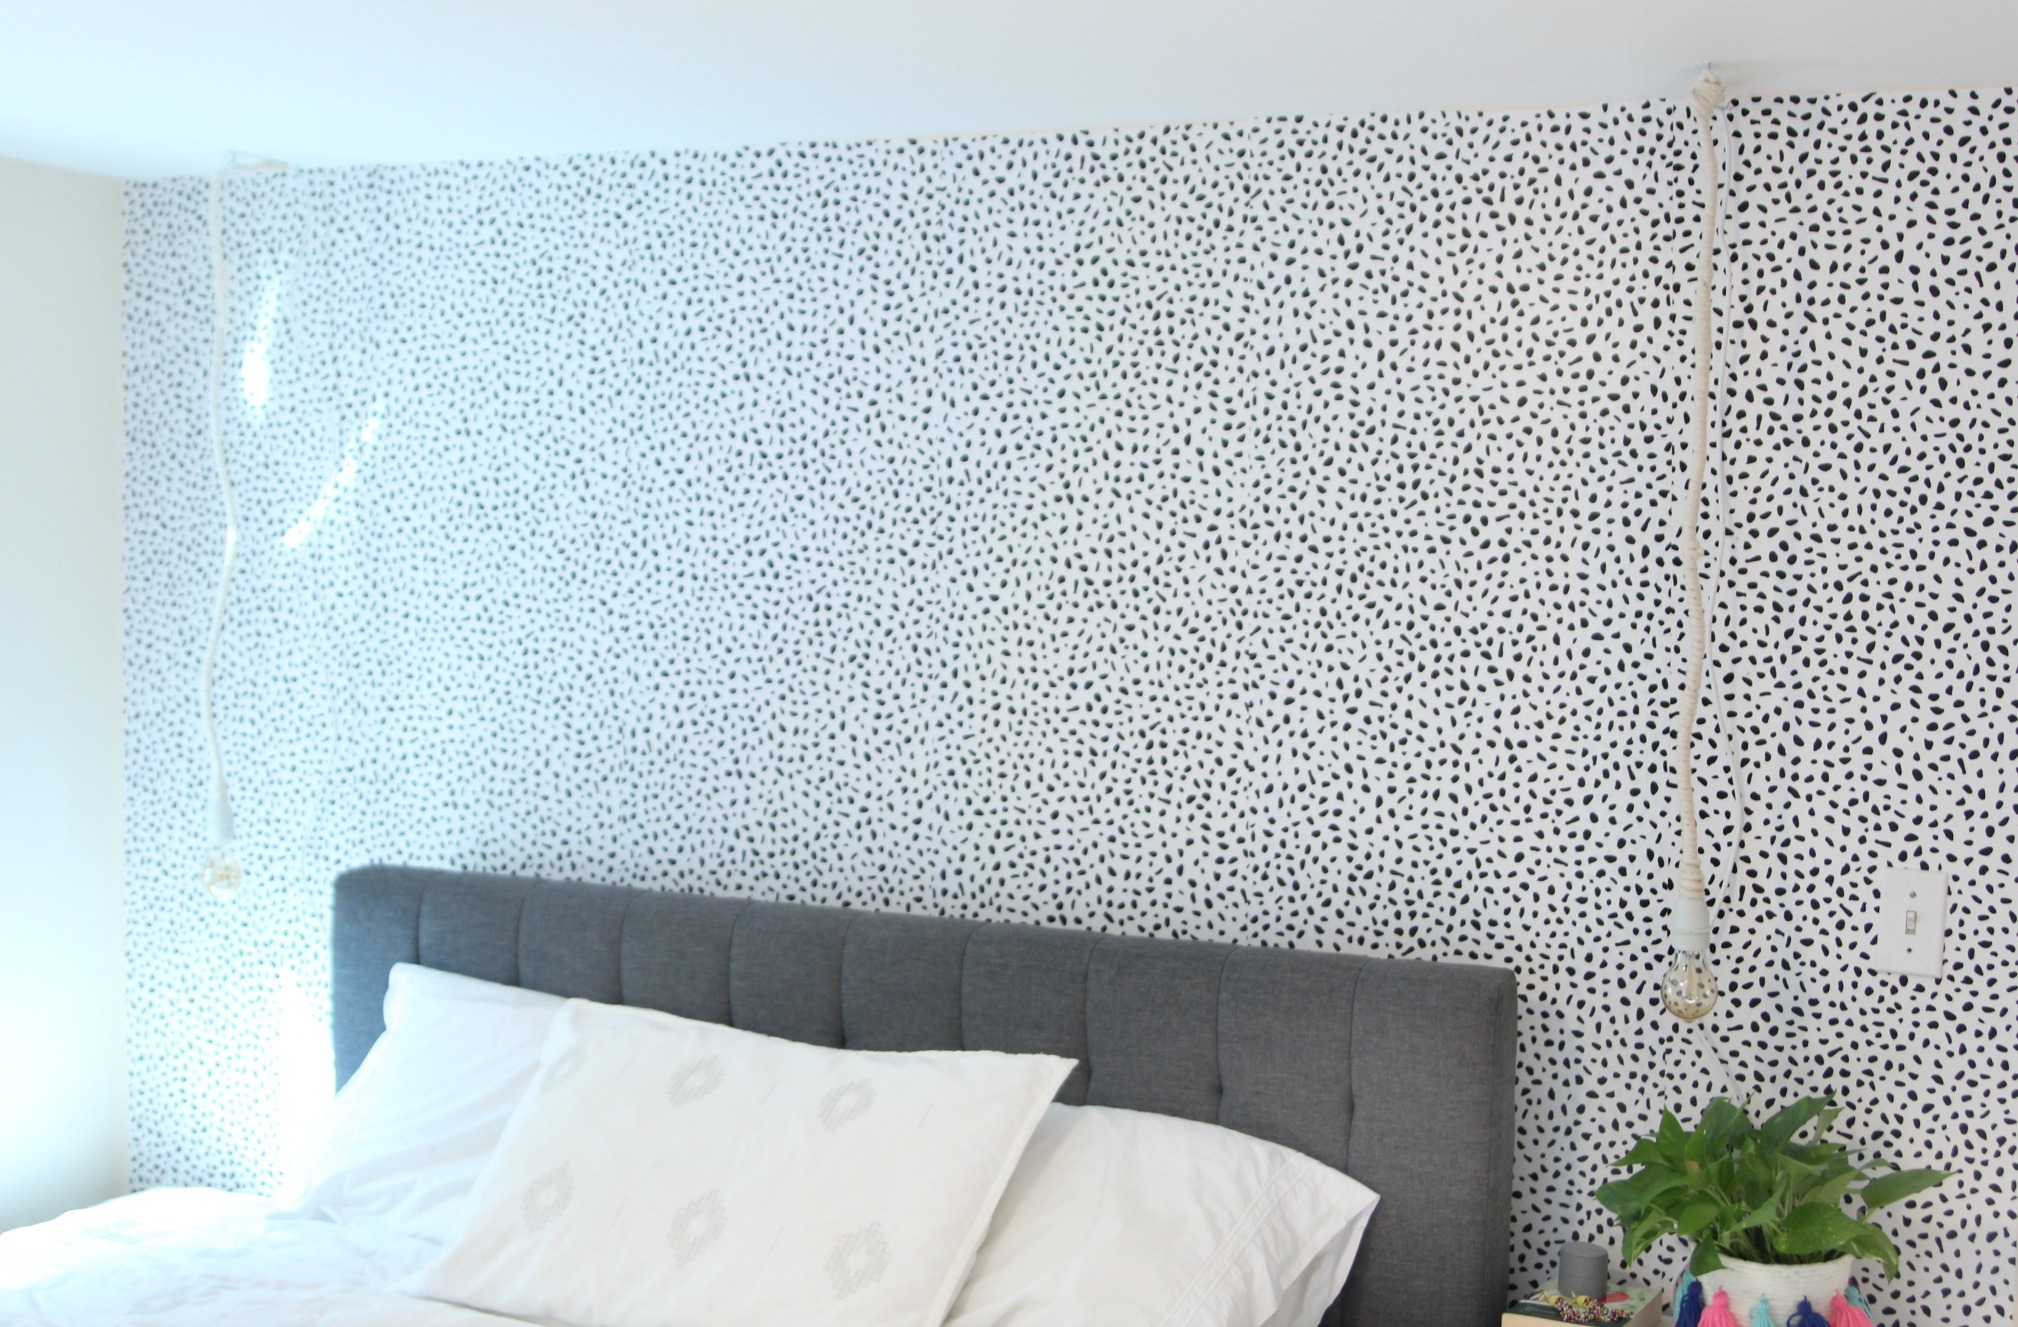
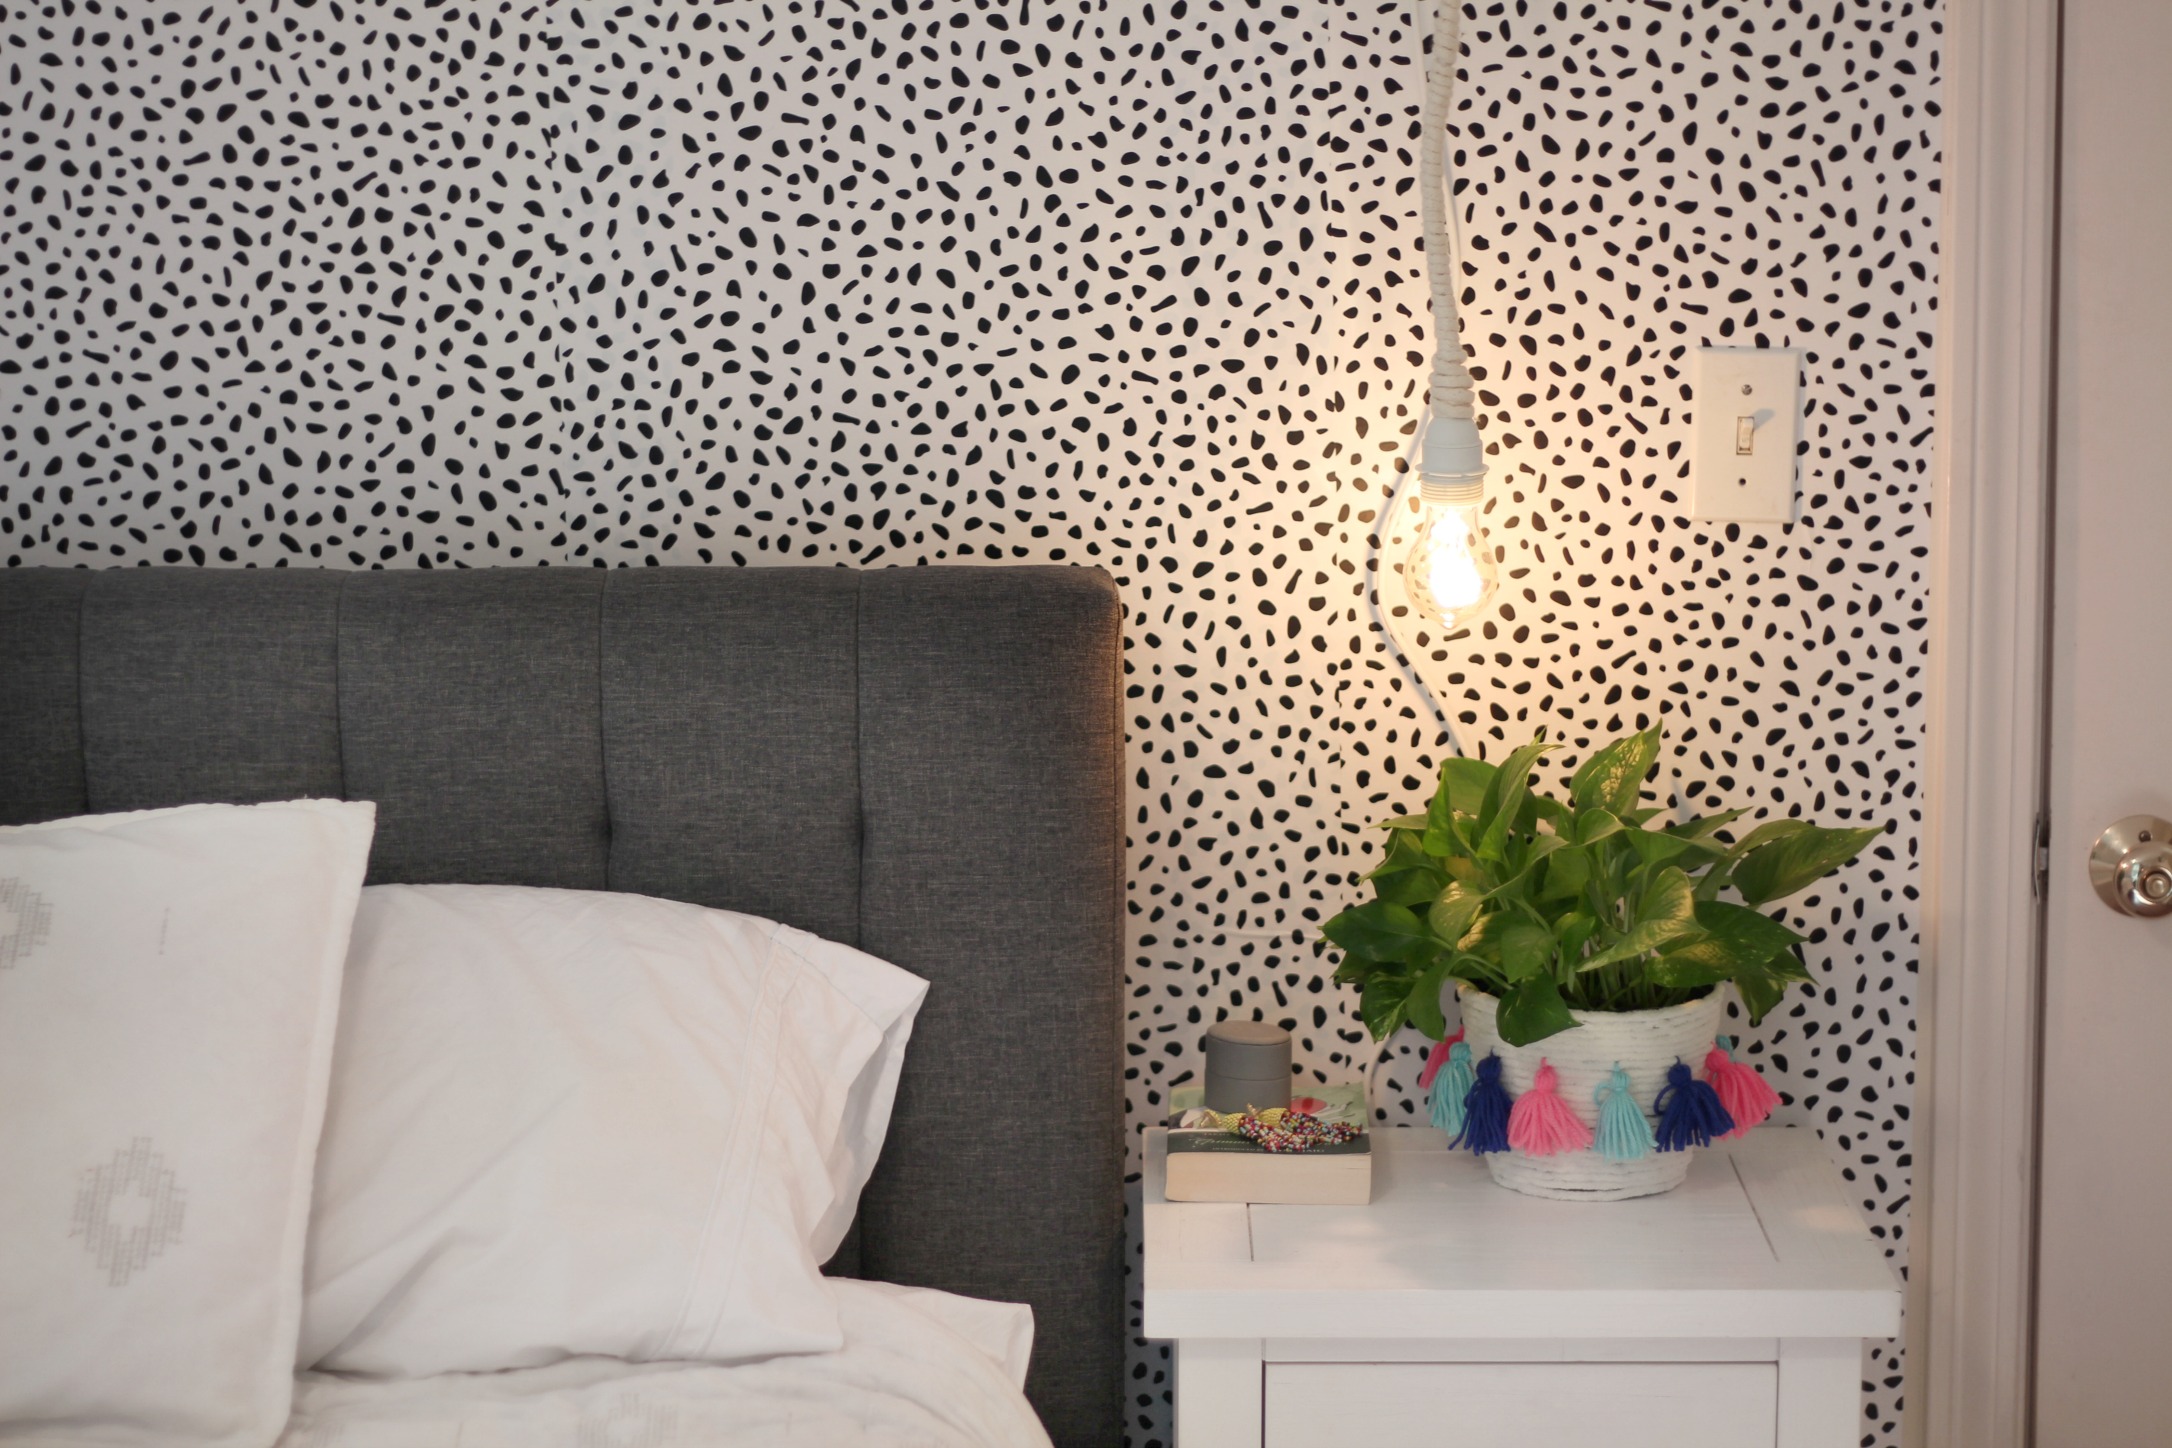
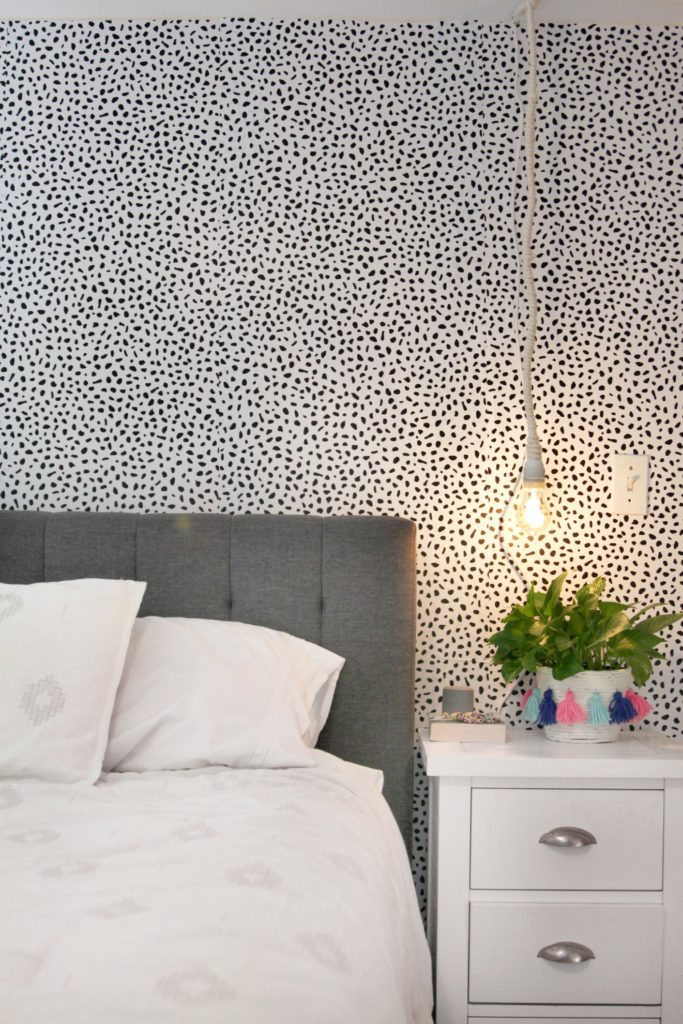
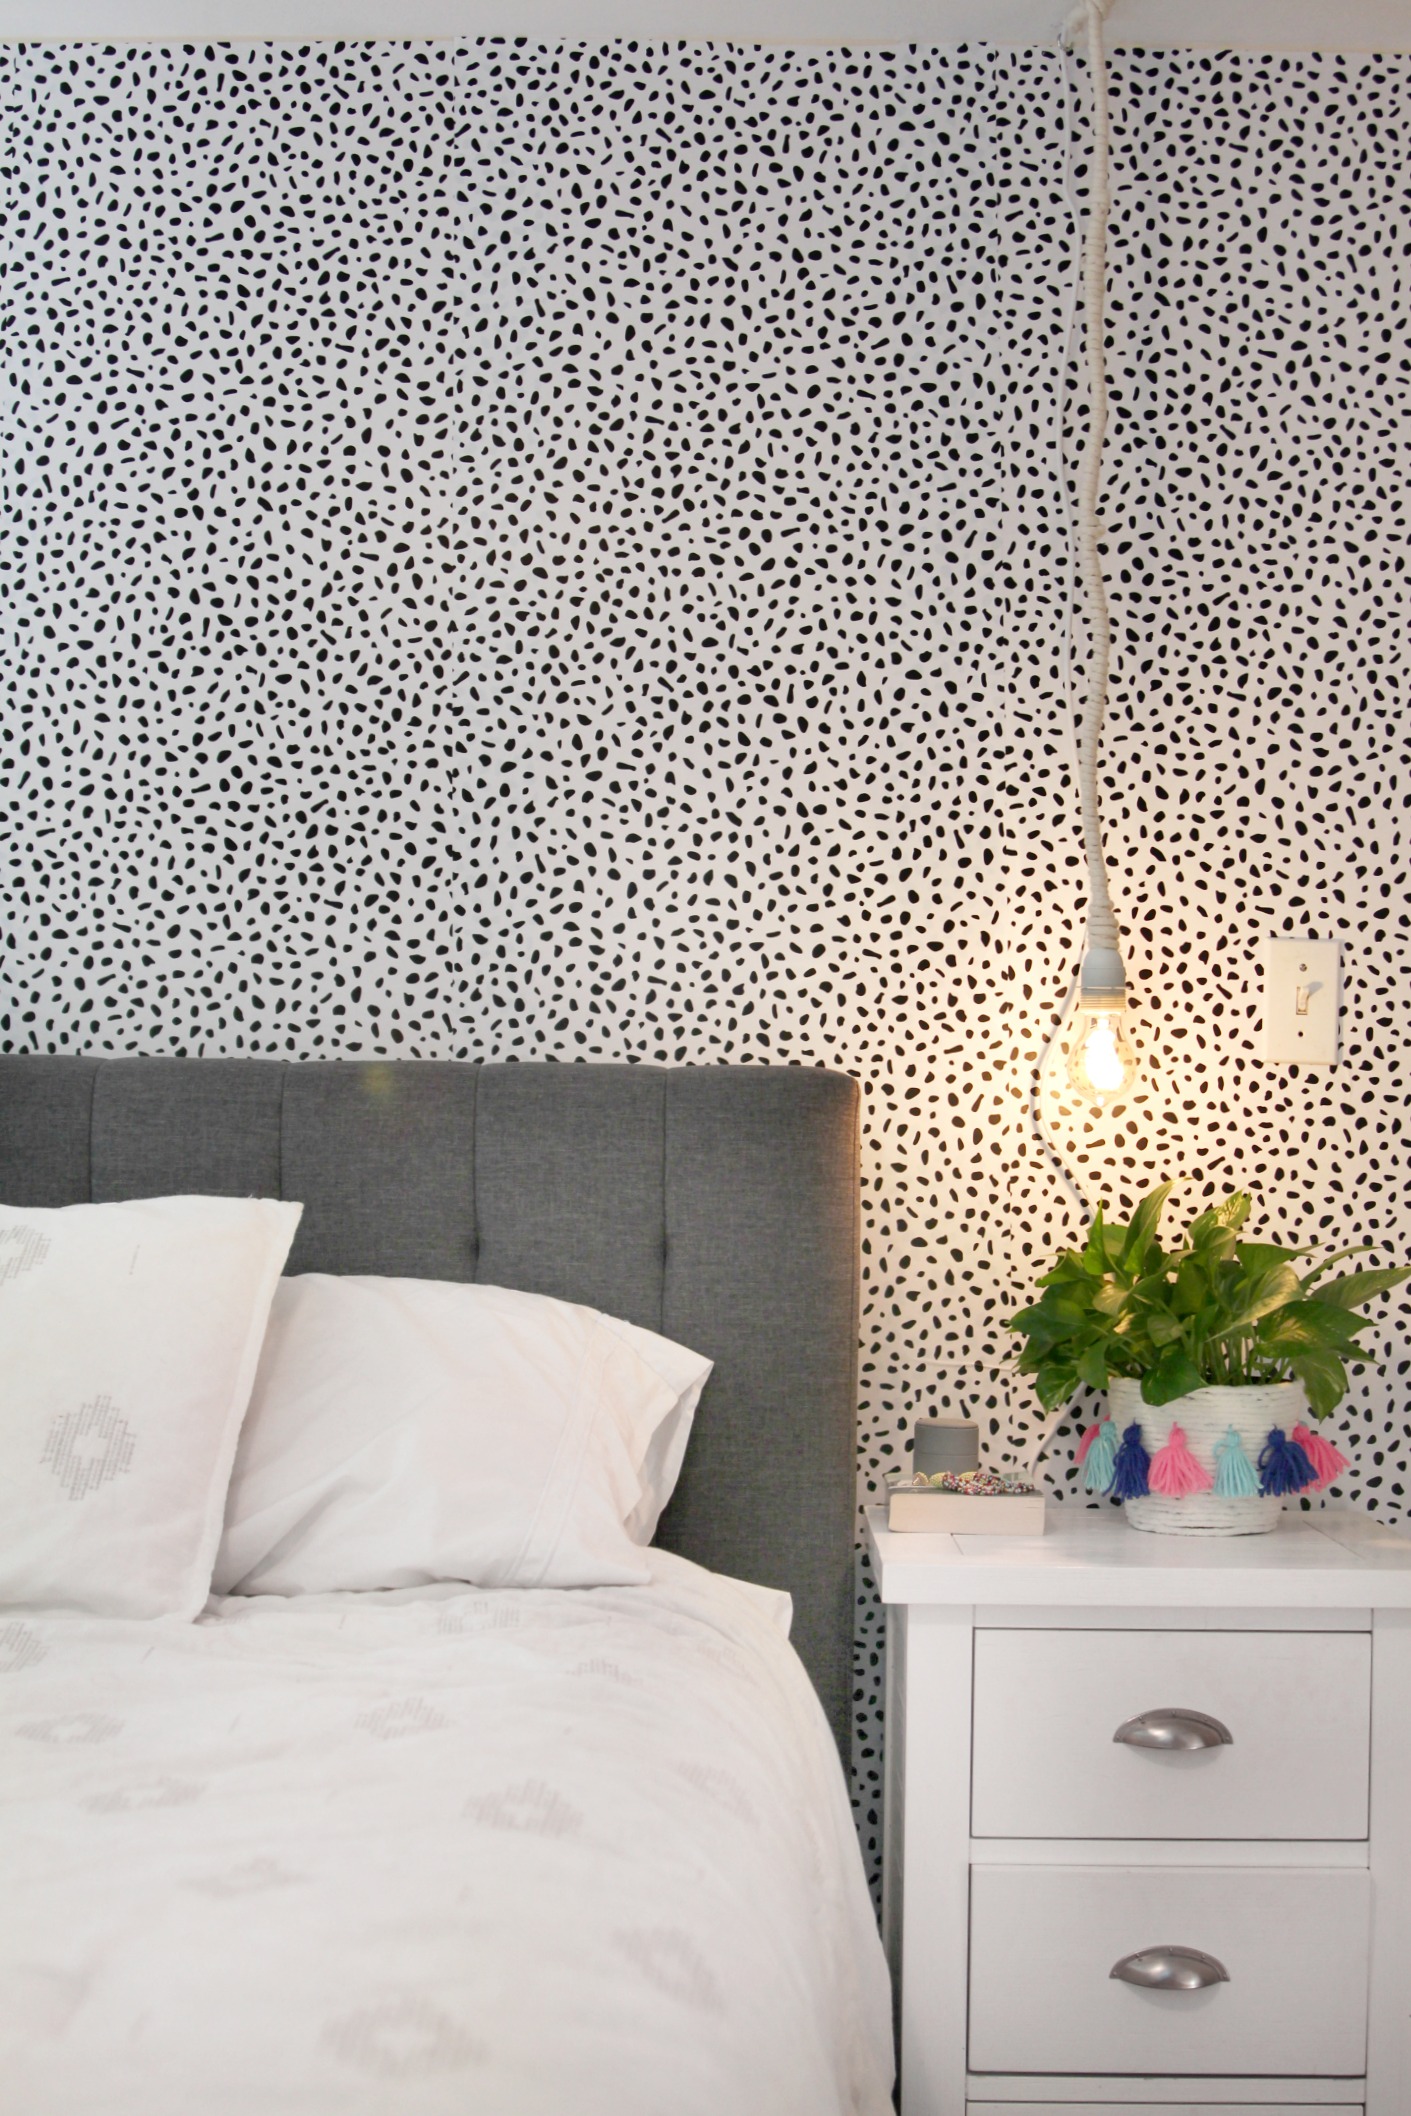
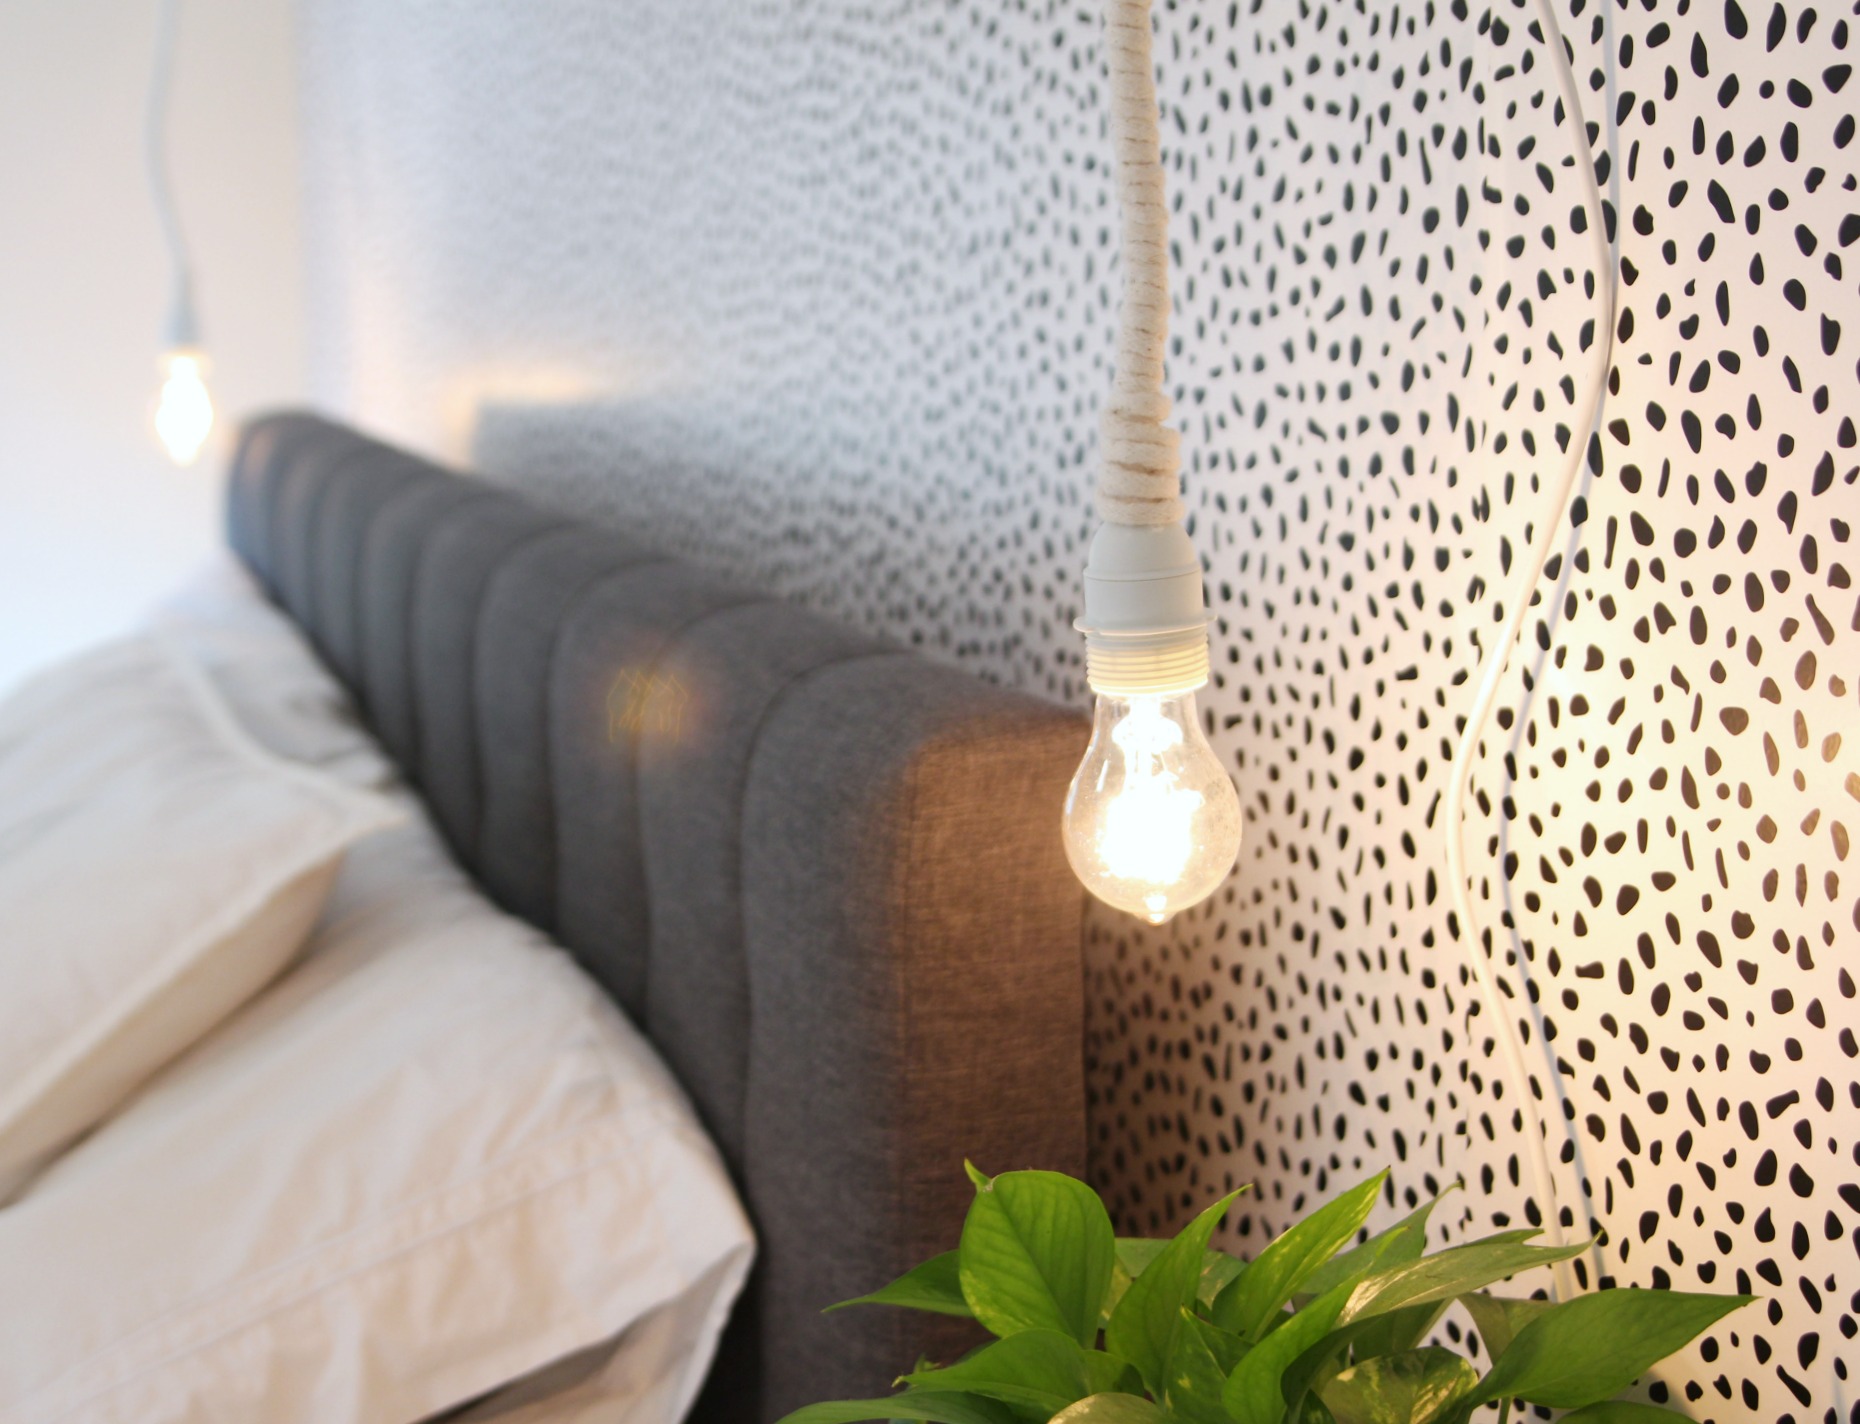
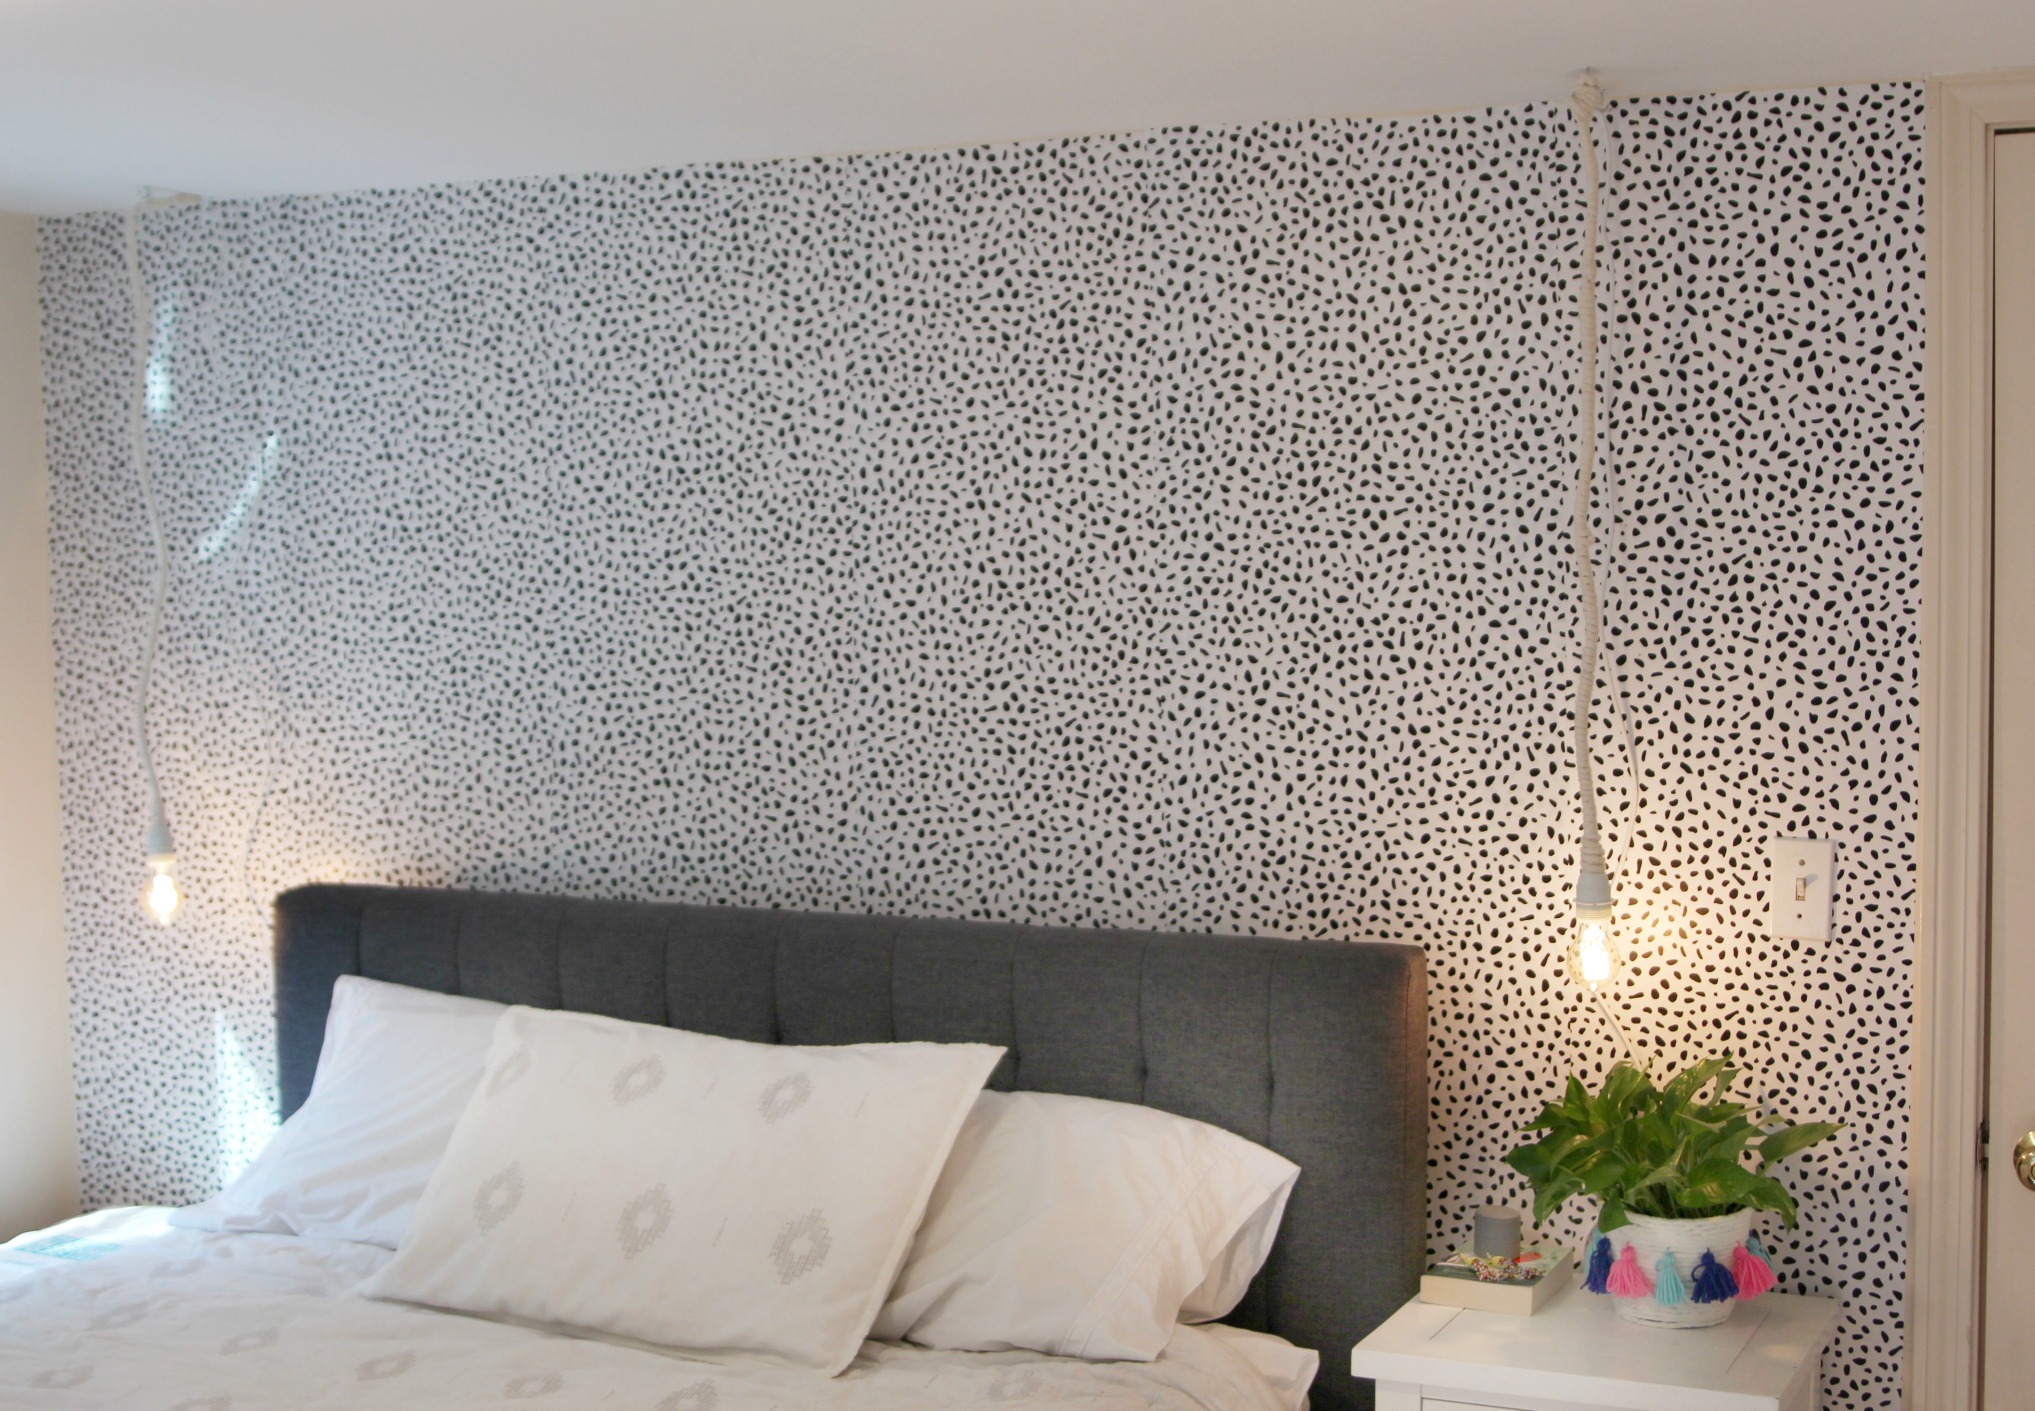
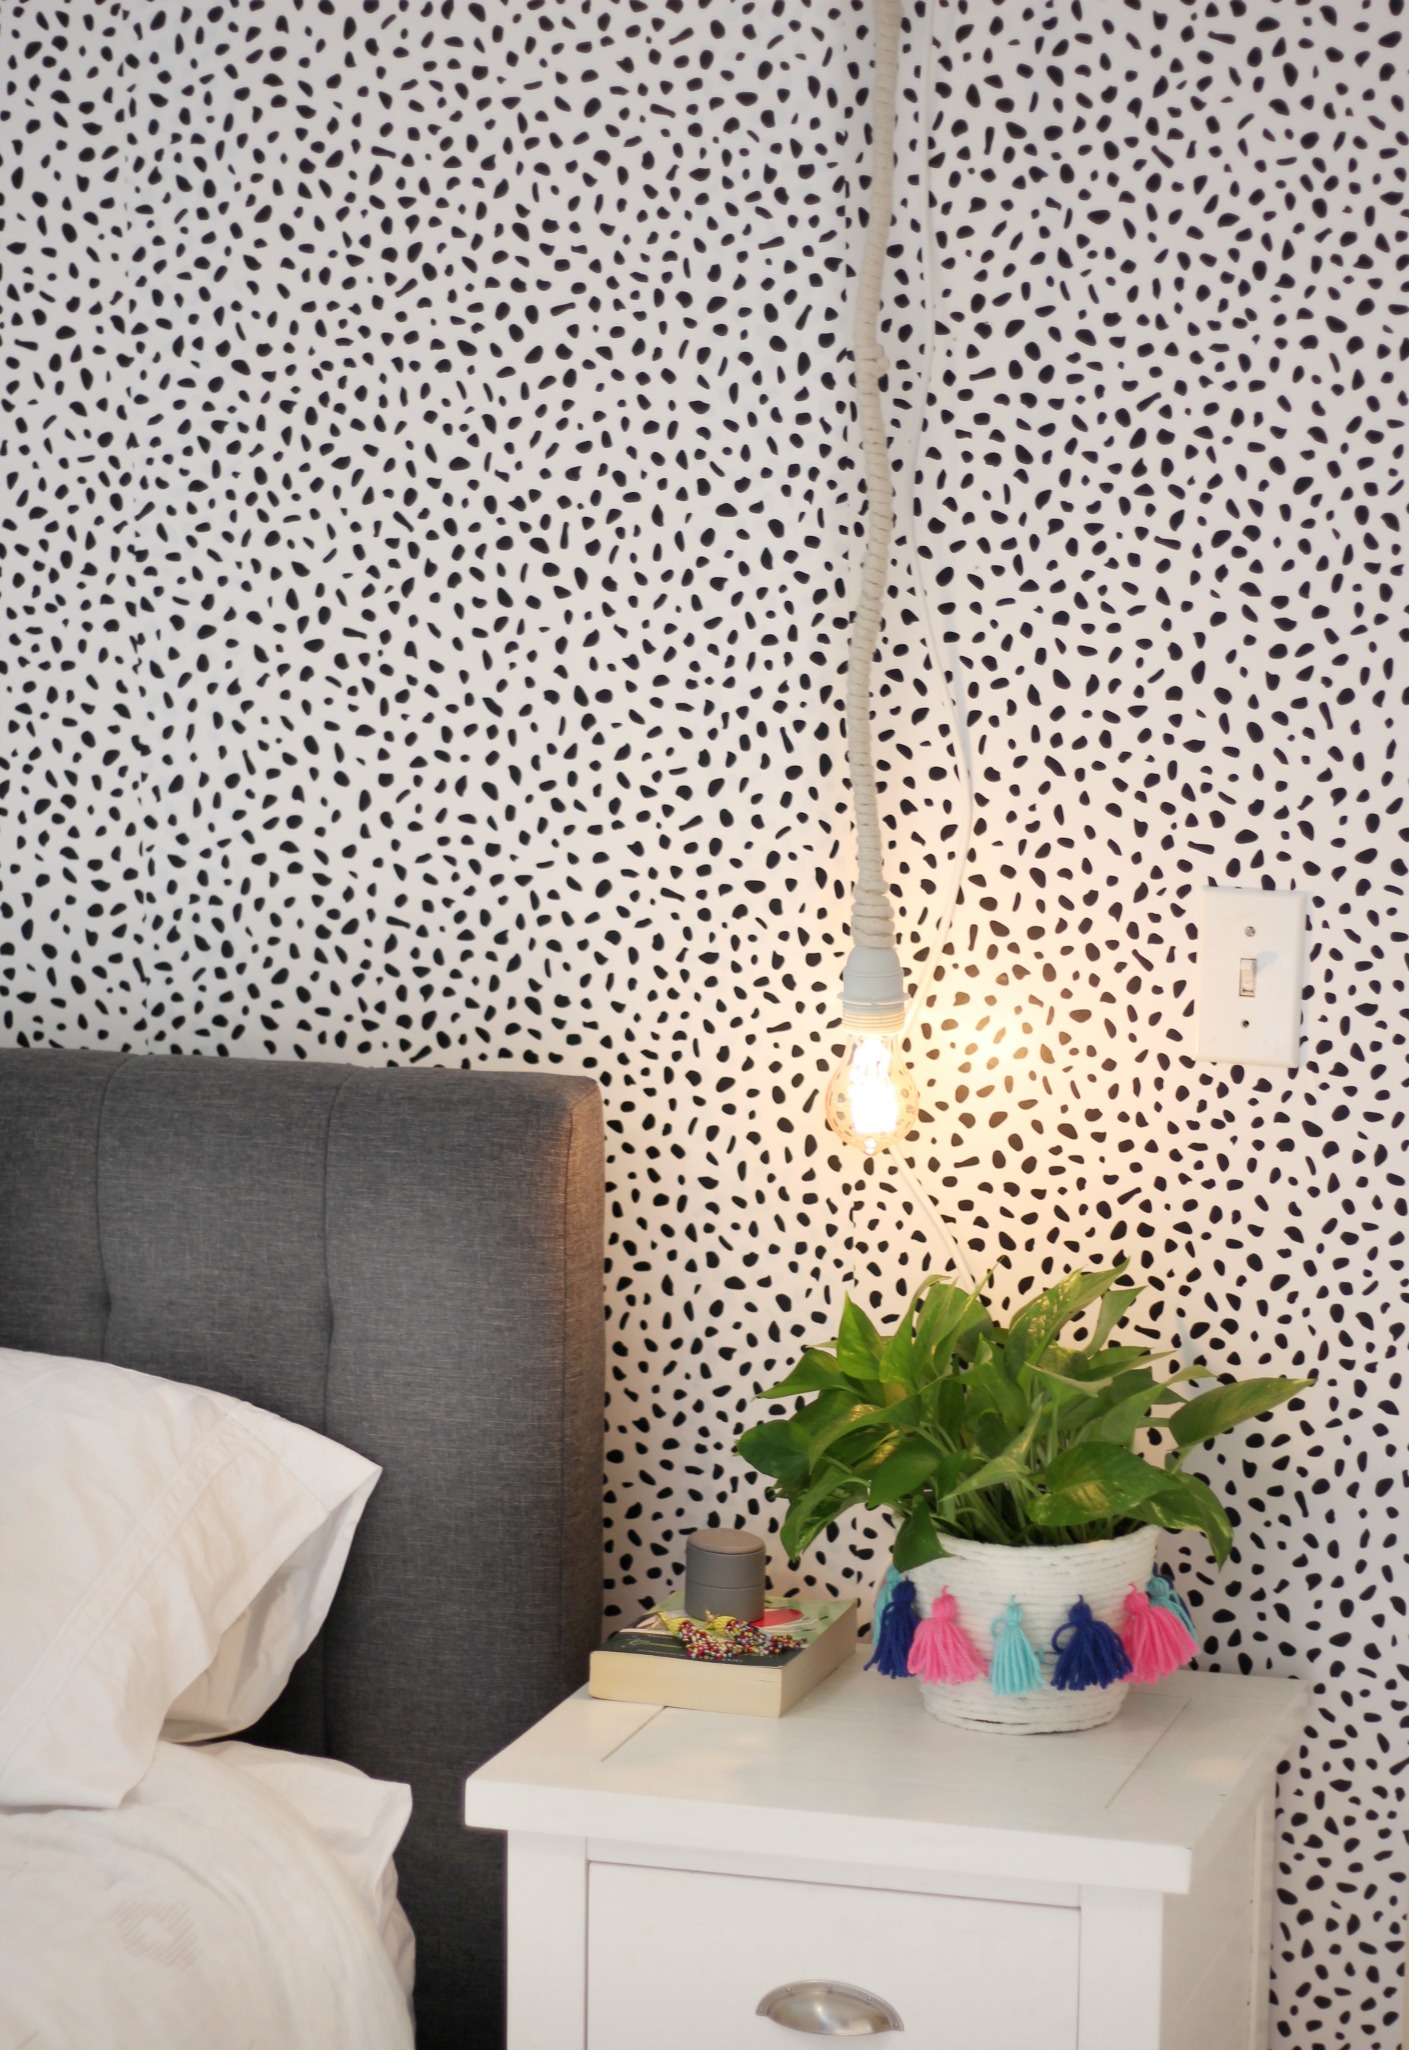
I’m so pleased with how these came out. Not only were they SUPER easy – like for real I did these in about an hour – but they also meet all the needs I wanted in bedside lighting. They are unobtrusive and don’t take up any of the space on my nightstand. I also love how they give us each our own bedside light. I was able to plug the lights in behind the bed and then string the portion of cord that had the on/off switch to sit right on the corner of our bed frame. You can’t see it, but we each have simple access to our bedside light.
Oh, I also decided to opt for vintage-style light bulbs like Edison bulbs.

From my extensive Pinterest research (very important in all DIY projects) I noticed most of these style lights opted for an Edison bulb. And it makes sense, these bulbs gave the lighting more character and make them look more like a lighting fixture.
What some more Buy or DIY?
See all the past Buy or DIY Posts right here!
If you re-create this, don’t forget to share with me using #butfirstcoffeeDIY
Shop my bedroom

*This post may contain affiliate Links*


